
Filters
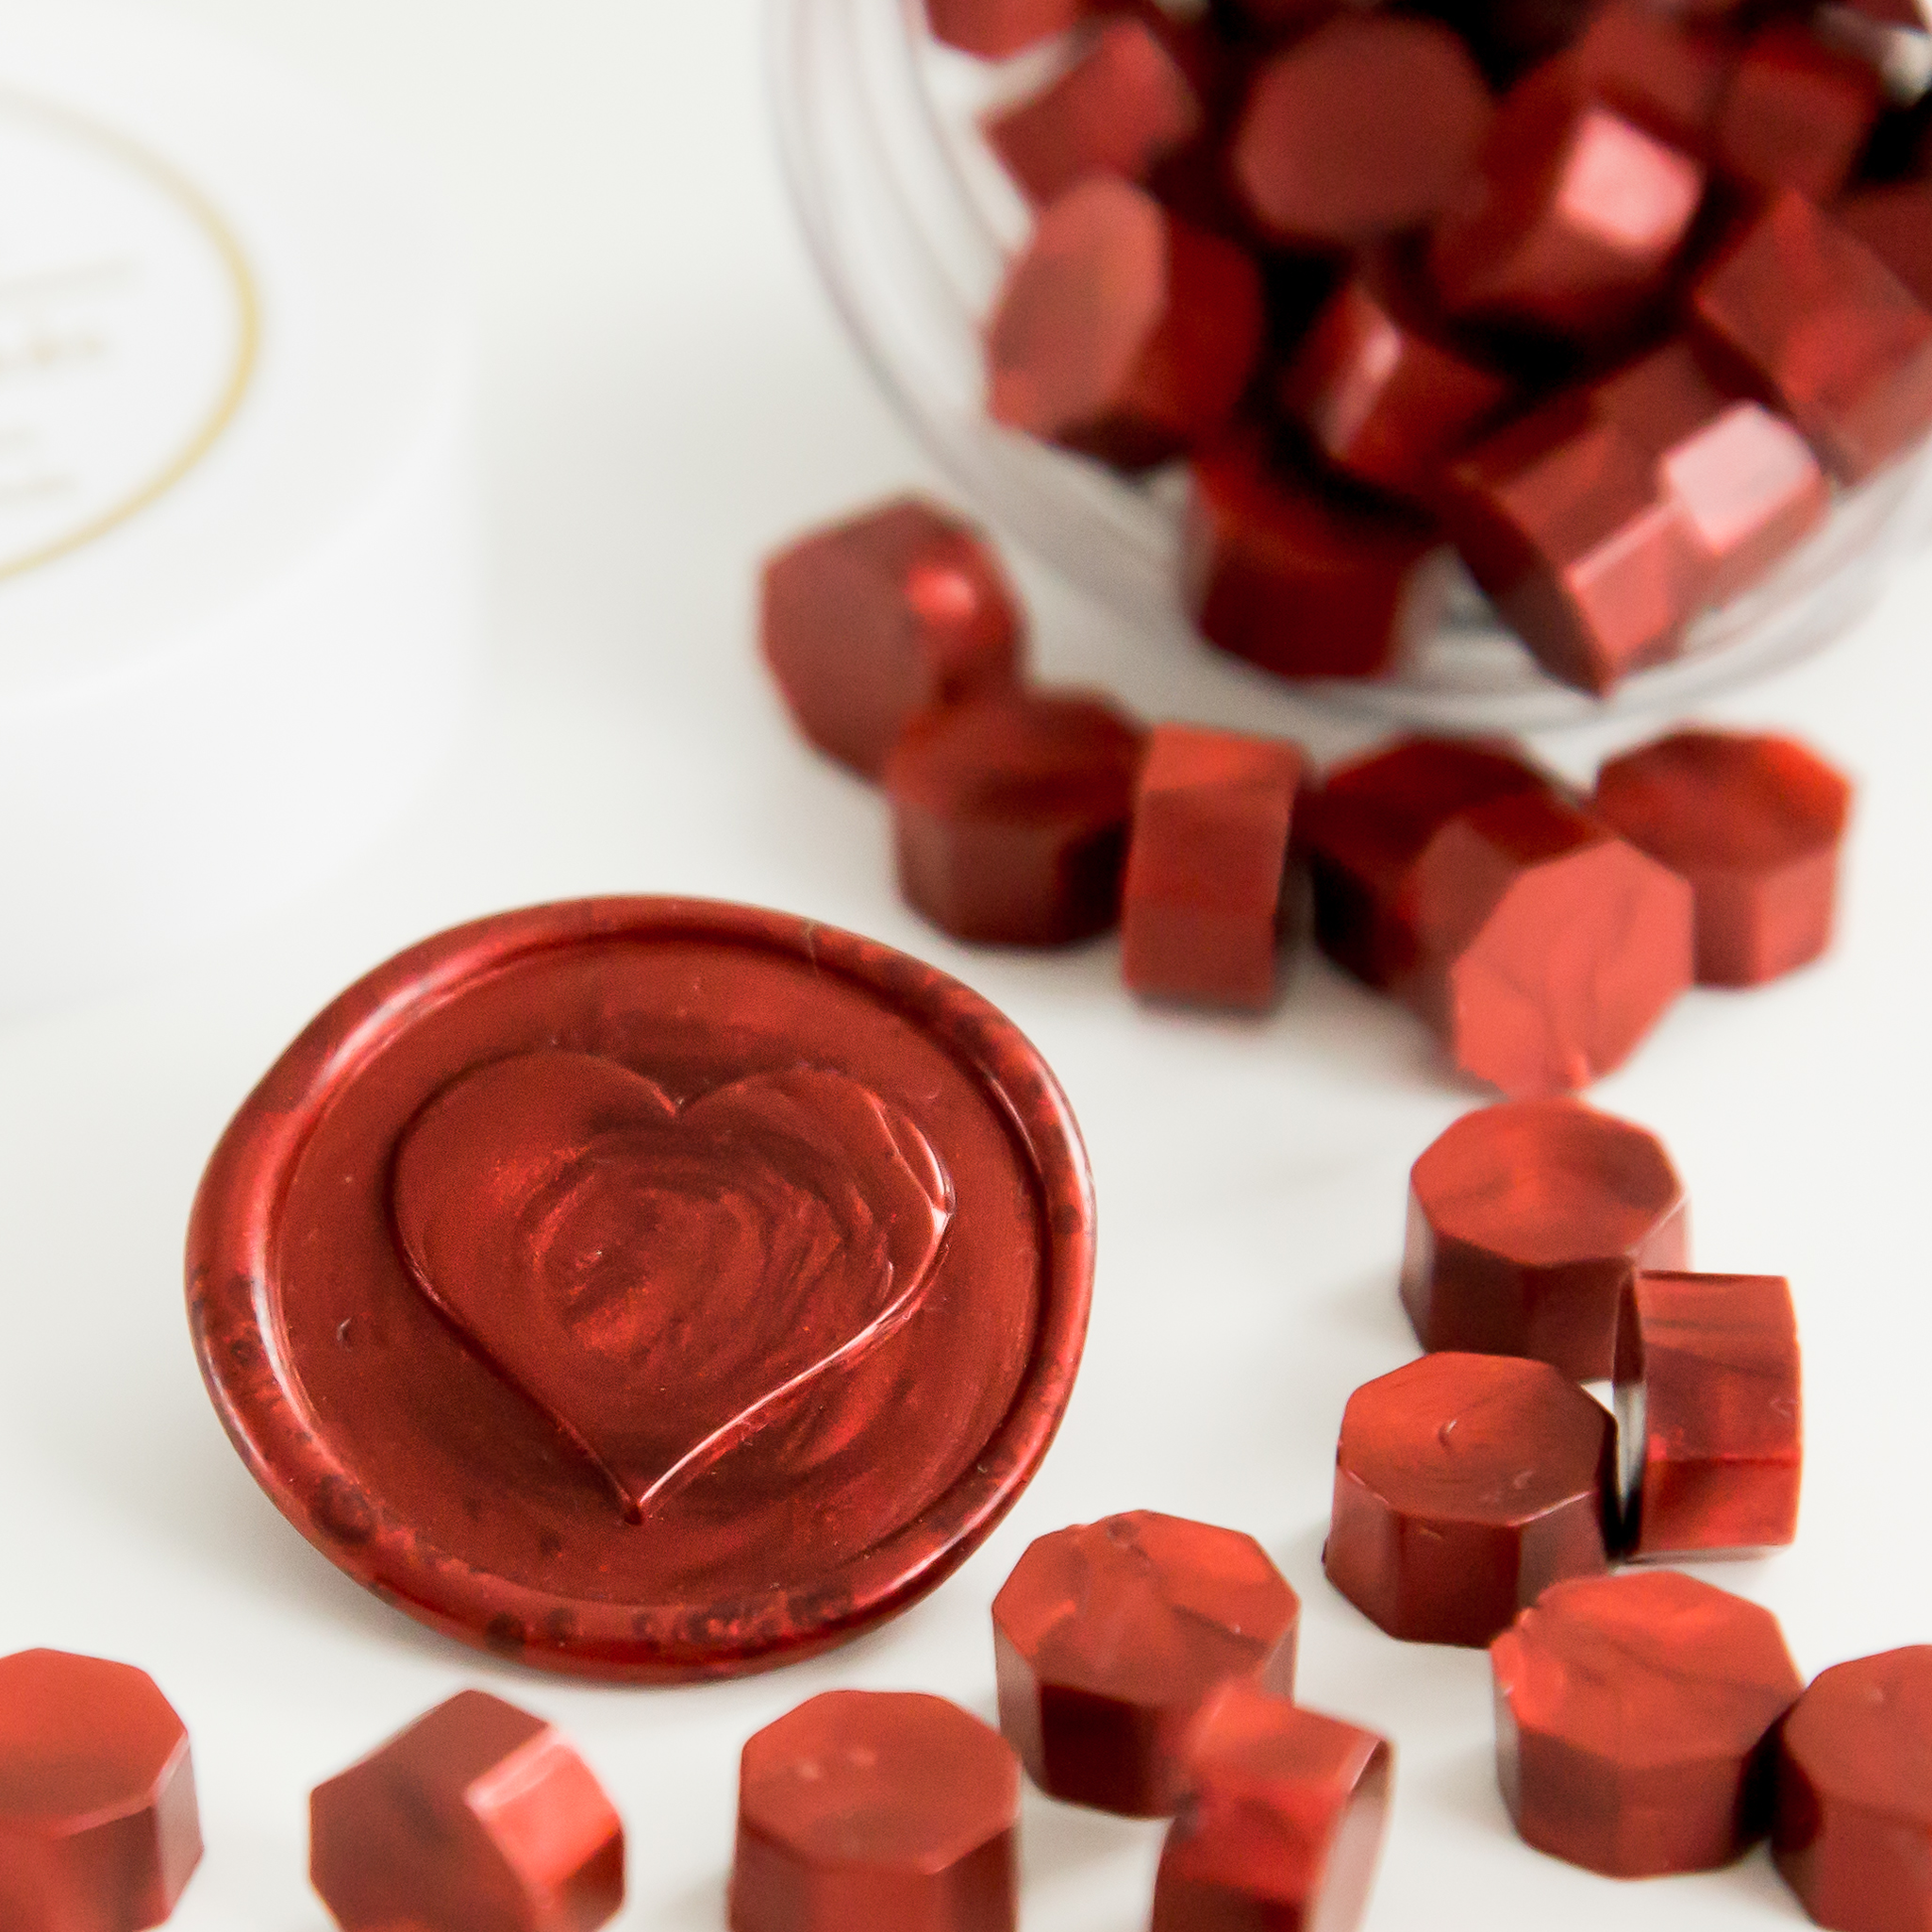
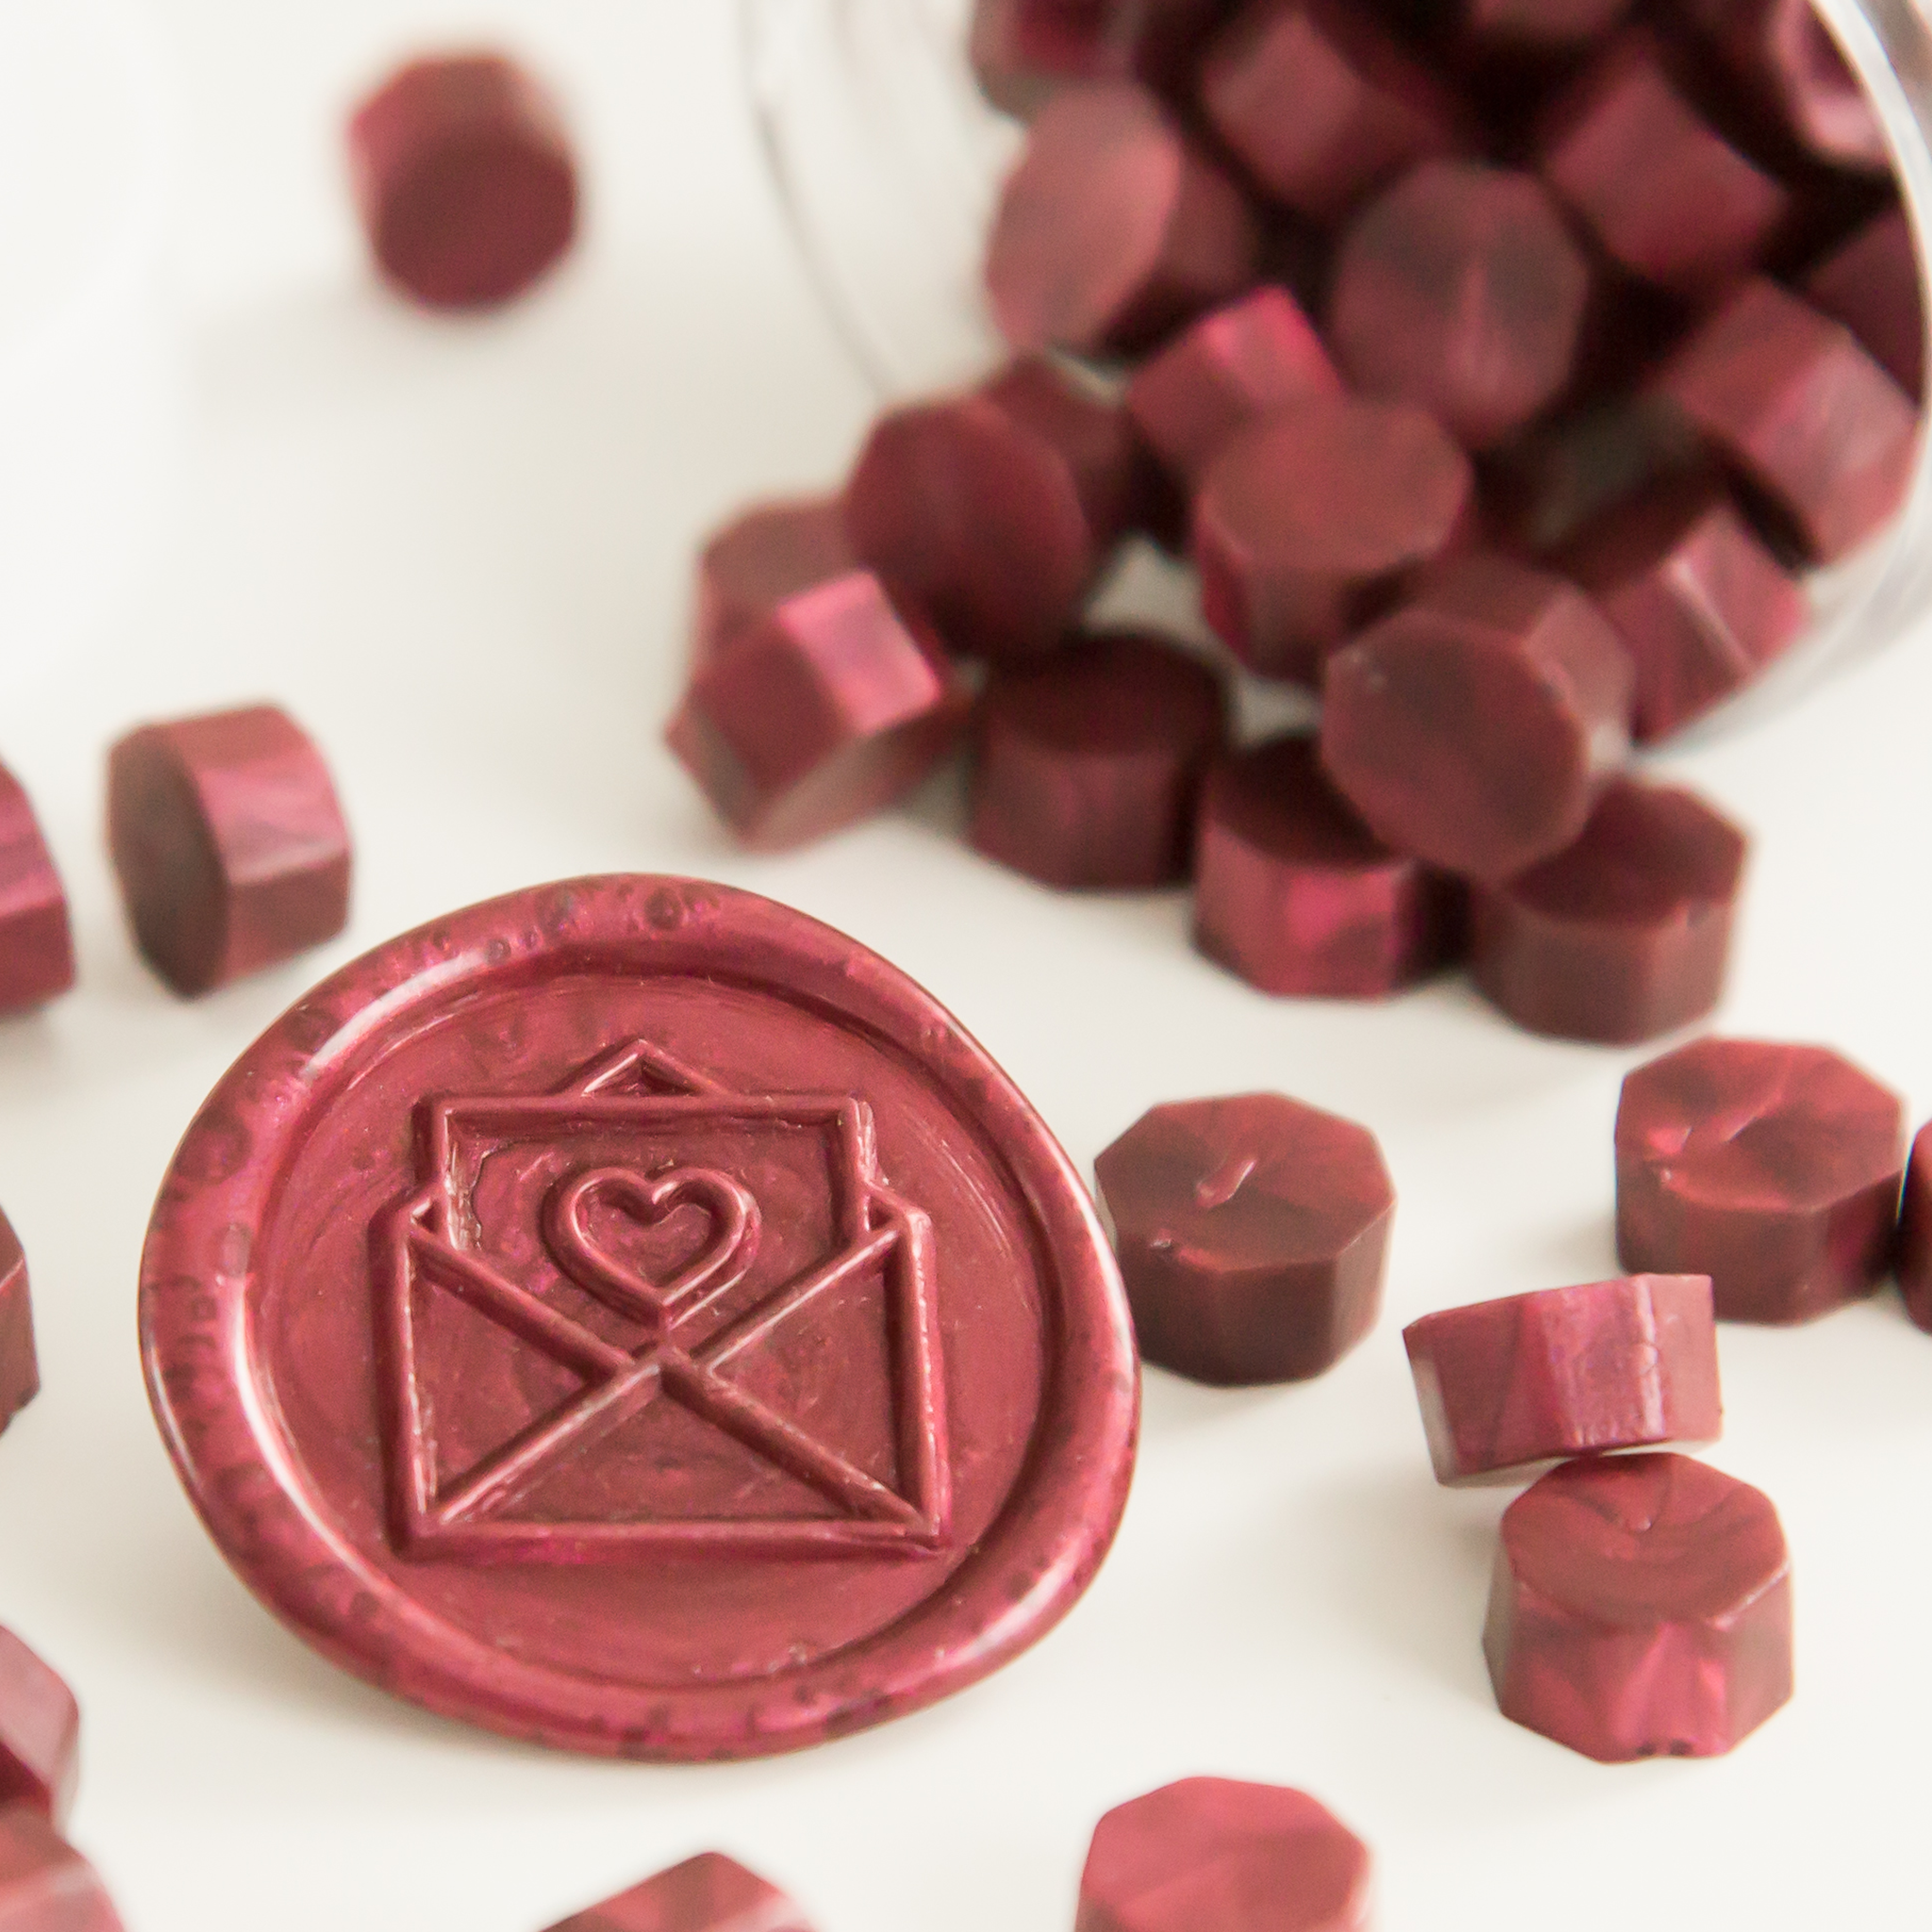
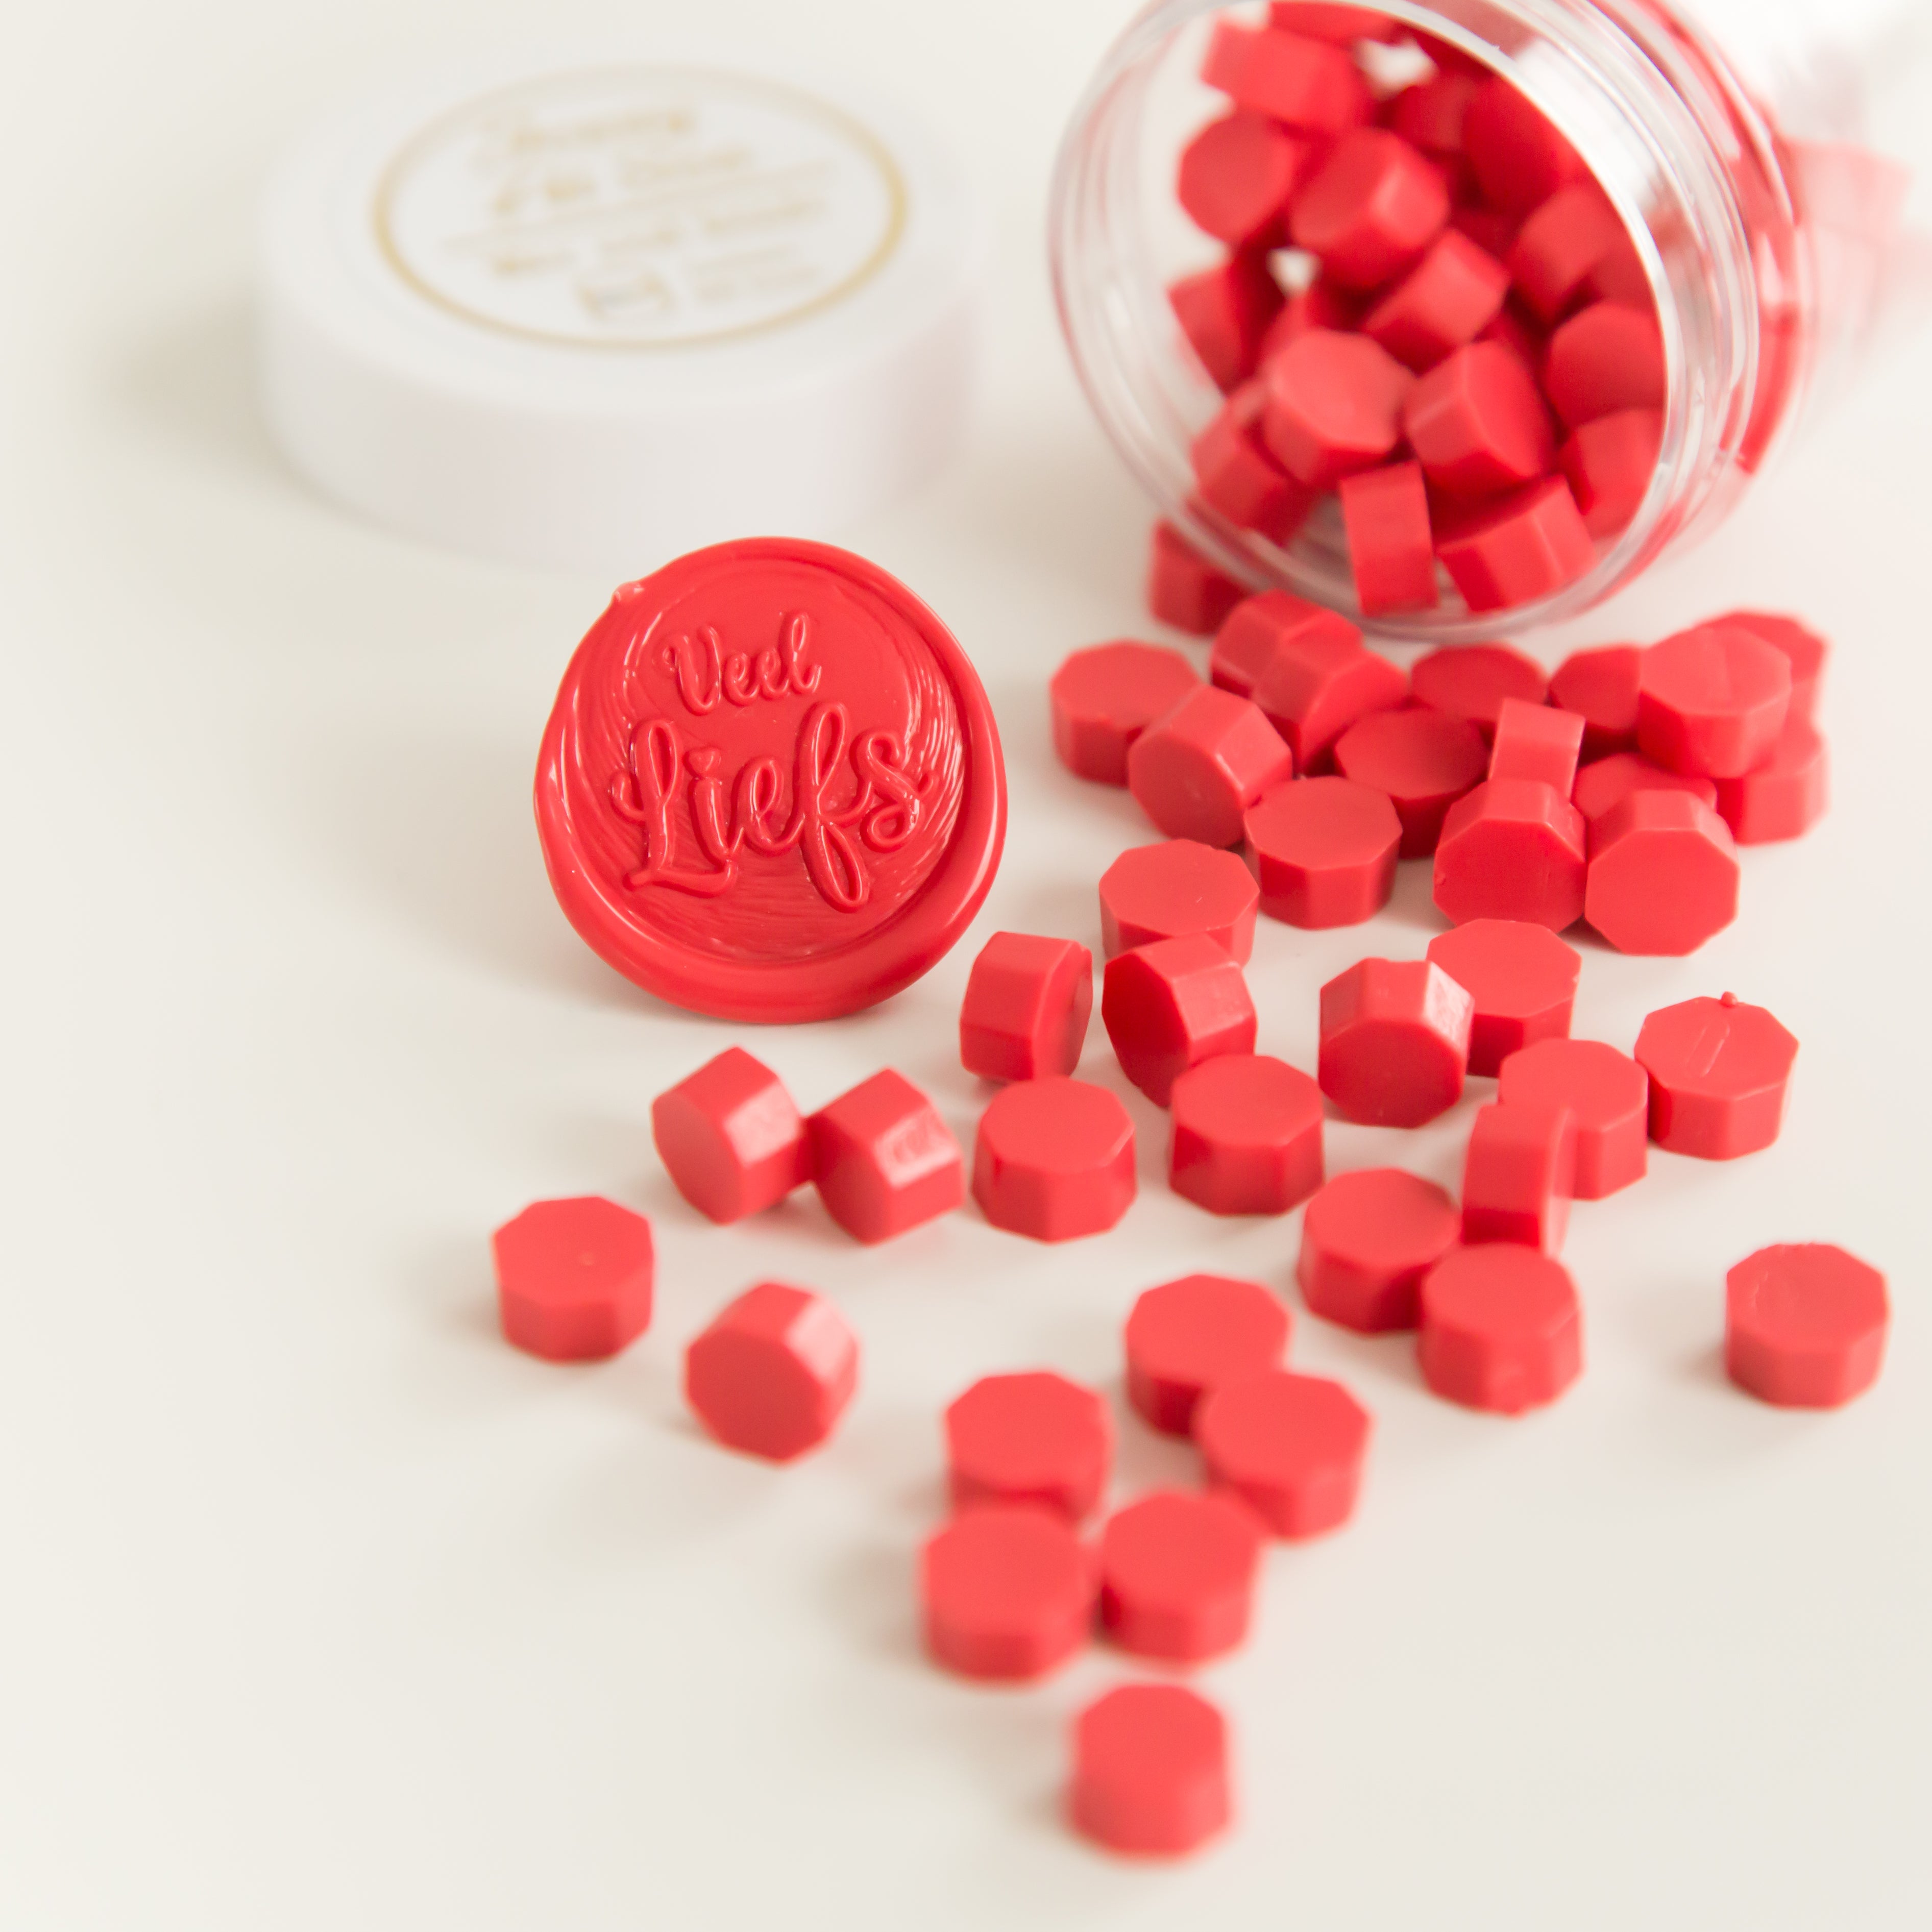

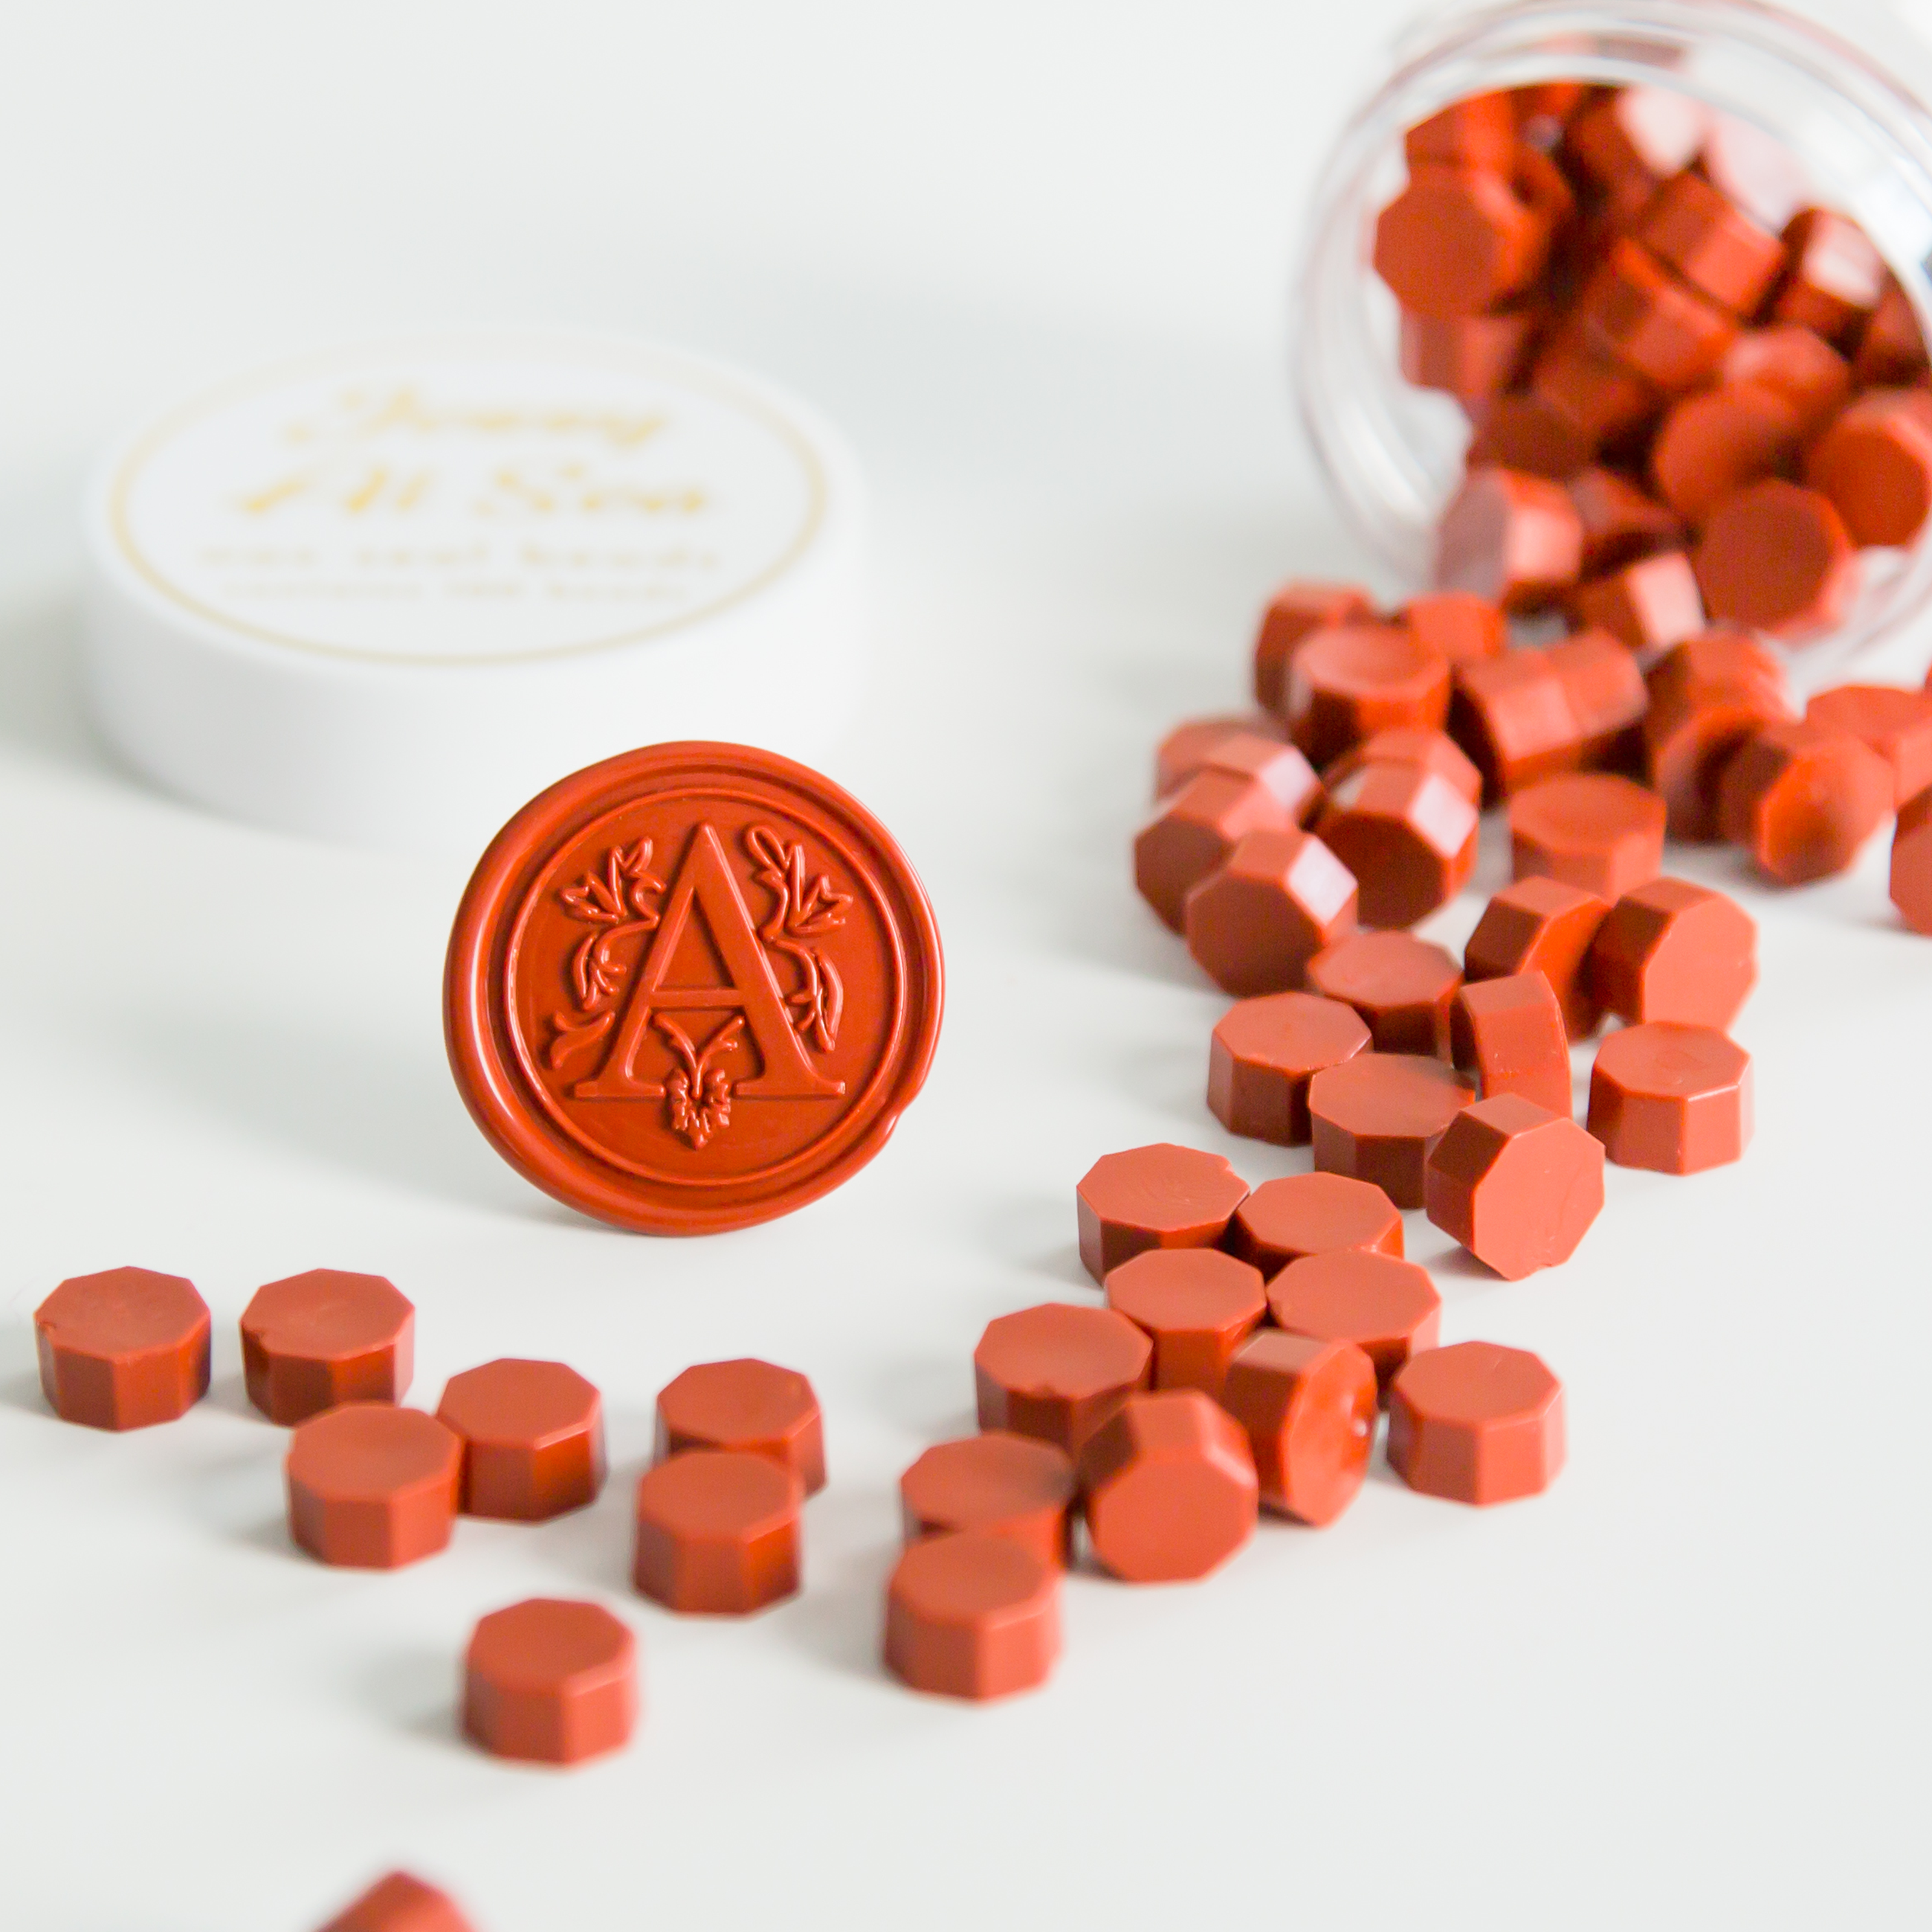
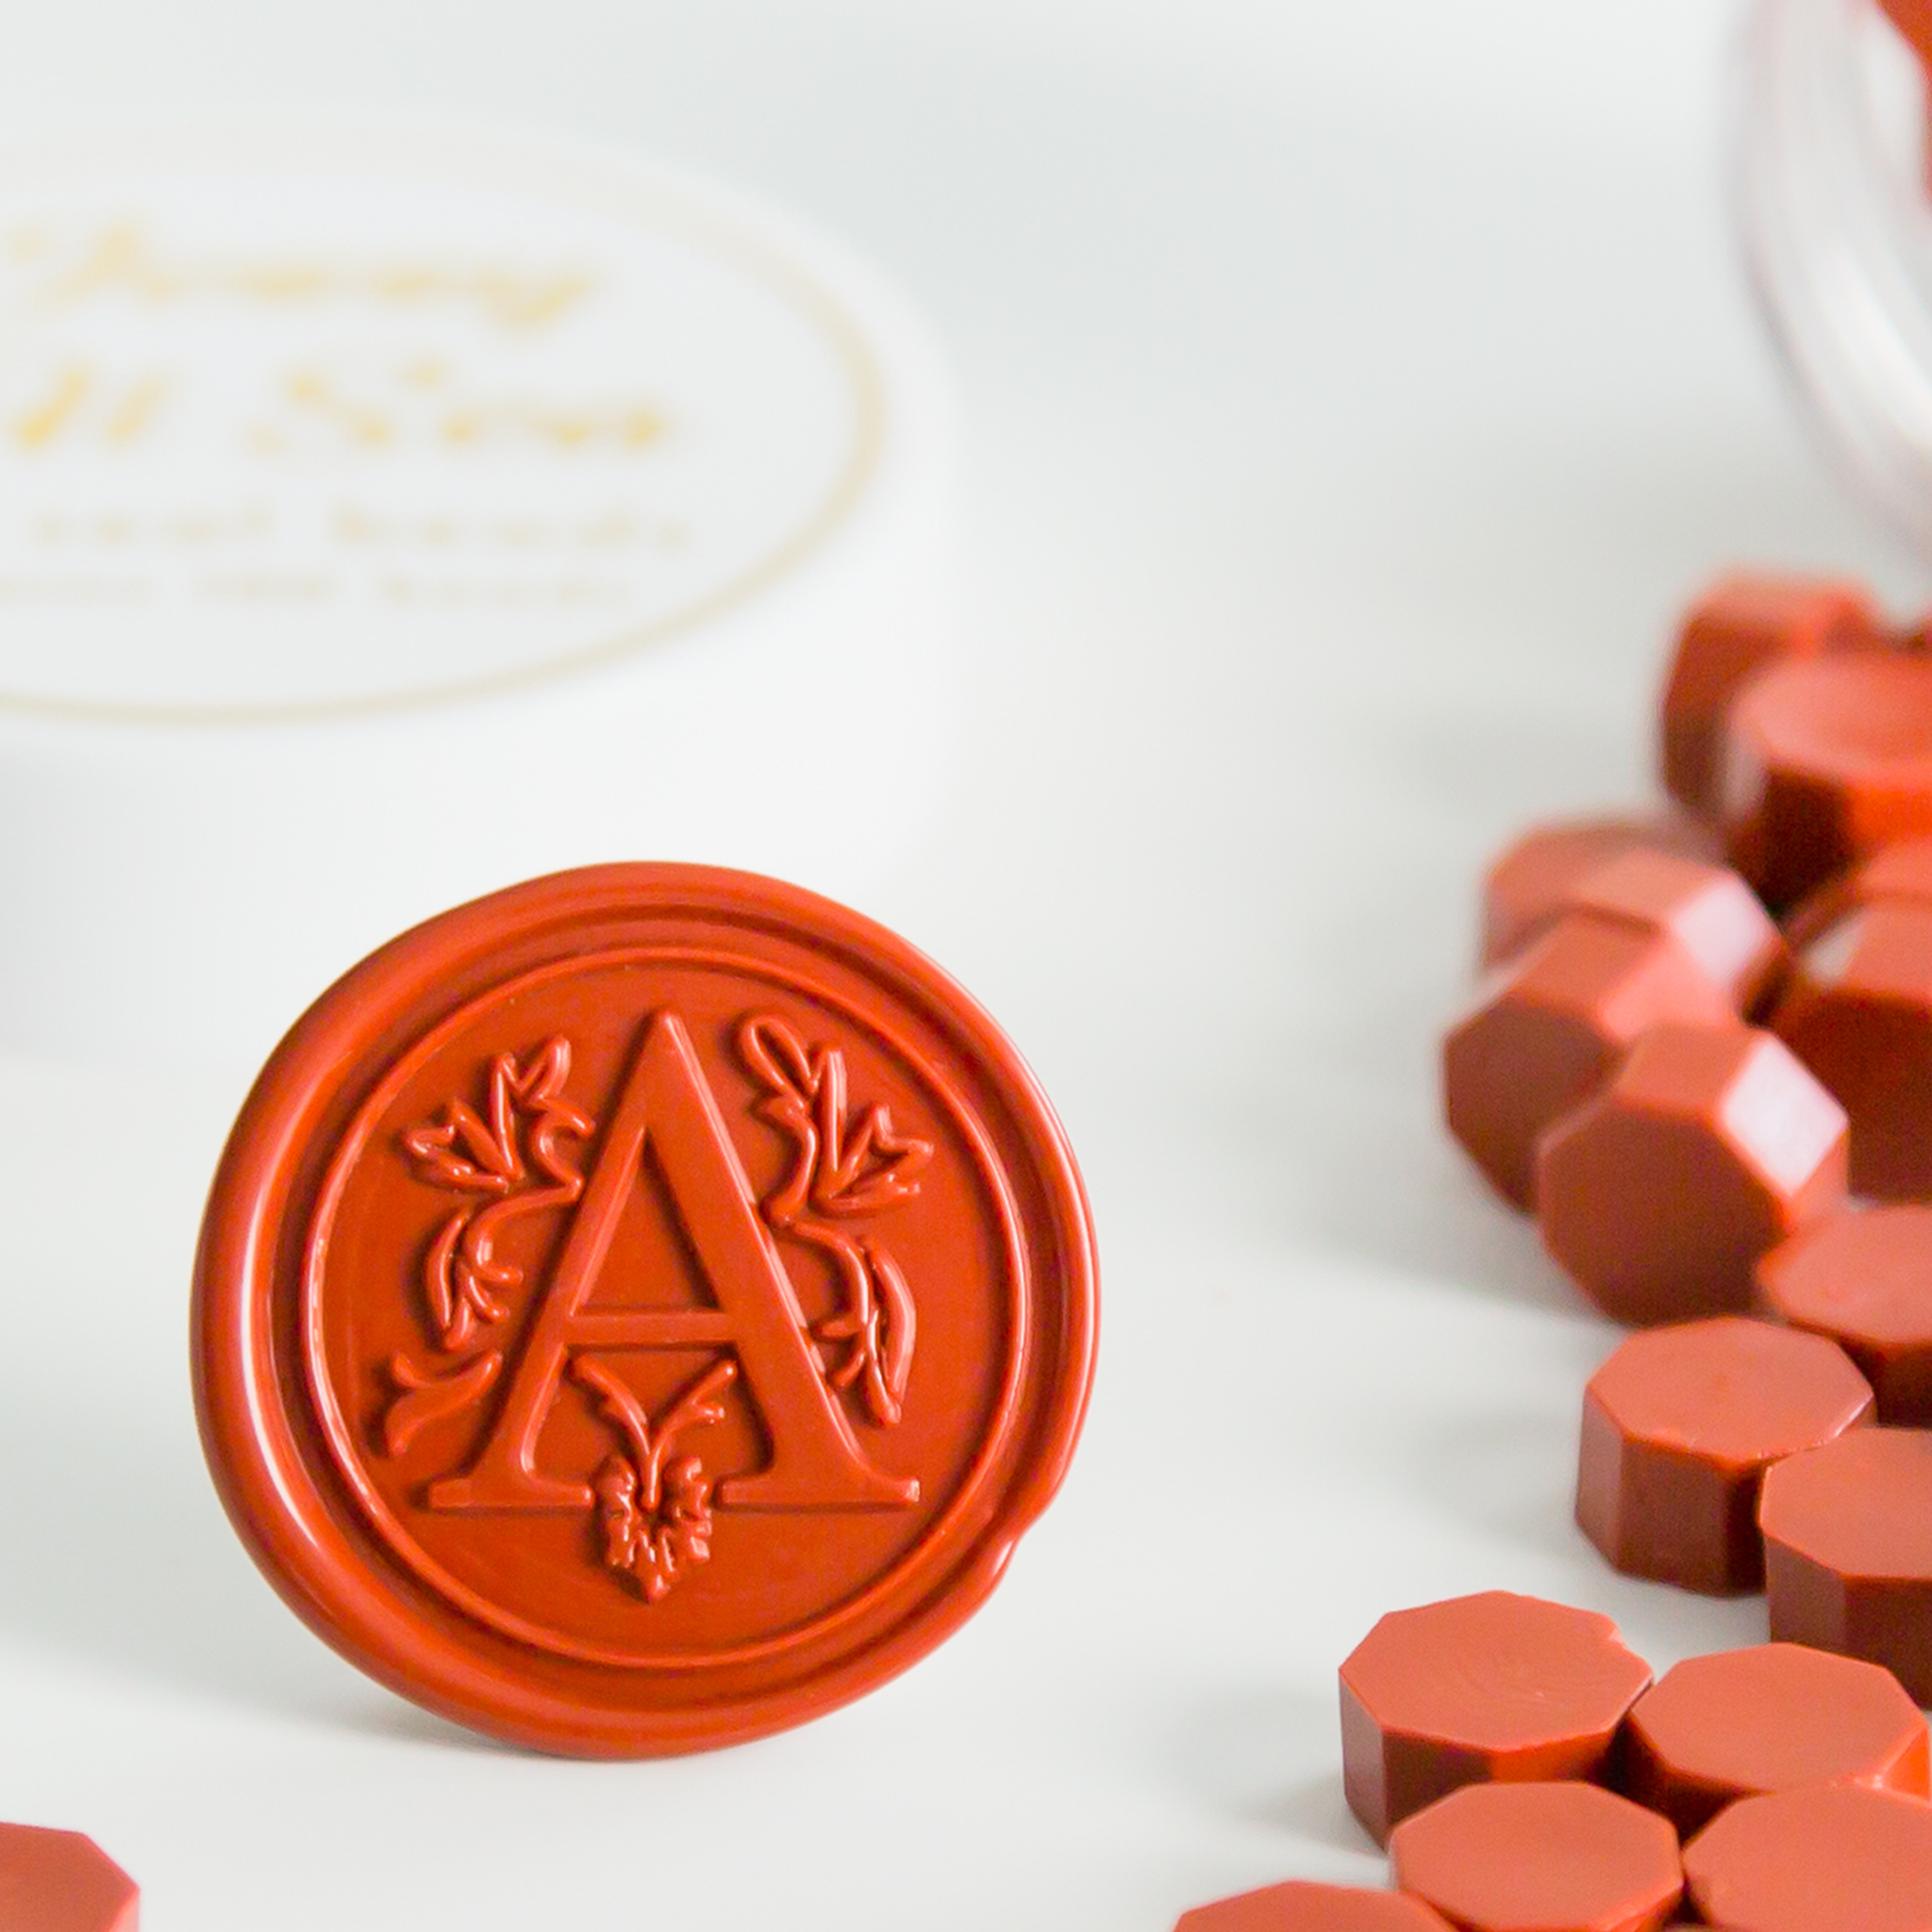
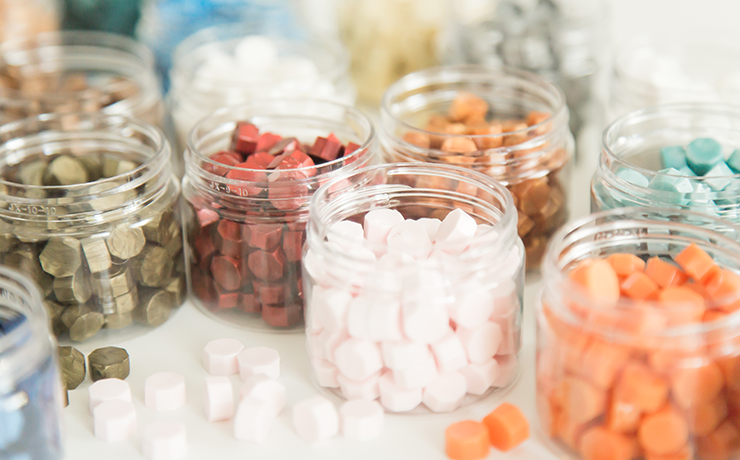
Sealing Wax Red
Create classic wax seals with red sealing wax
Vinyl records and analogue cameras – knitting, crocheting and baking bread; all products and activities that were once essential, but have made a real comeback as trends. You’ve probably guessed it already, but wax seals belong on that list too. And when we think of those nostalgic, classic seals, one colour instantly stands out: (deep) red. As this is a trend we’re incredibly excited about, we’d love to pay tribute to the red wax seal and show you how to make and use it!
A brief history of red wax seals
Let’s take a step back in time, to a period when emails and digital signatures didn’t yet exist. Back then, wax seals were an essential part of communication. They served as a seal of confidentiality and added a sense of authenticity to important documents.
But there was more than just practical use! Wax seals symbolised prestige and power. In the Middle Ages, the deep red colour of sealing wax carried special meaning. For example, red could indicate that the post came from the Emperor of the Holy Roman Empire. Only the emperor had the privilege of using red sealing wax, and his correspondence was addressed to princes, rulers and dukes.
Back to the present
Although today anyone can use red wax seals, the association with power and prestige has never fully disappeared. And that is exactly why red wax seals have made such a strong comeback.
There’s something truly magical about receiving a handwritten letter, an invitation or a gift with a sealed envelope. It brings a sense of excitement and mystery that many creative minds love. It also shows attention to detail and appreciation for craftsmanship. A perfect combination that explains why sealing wax – especially in red – has made a full return.
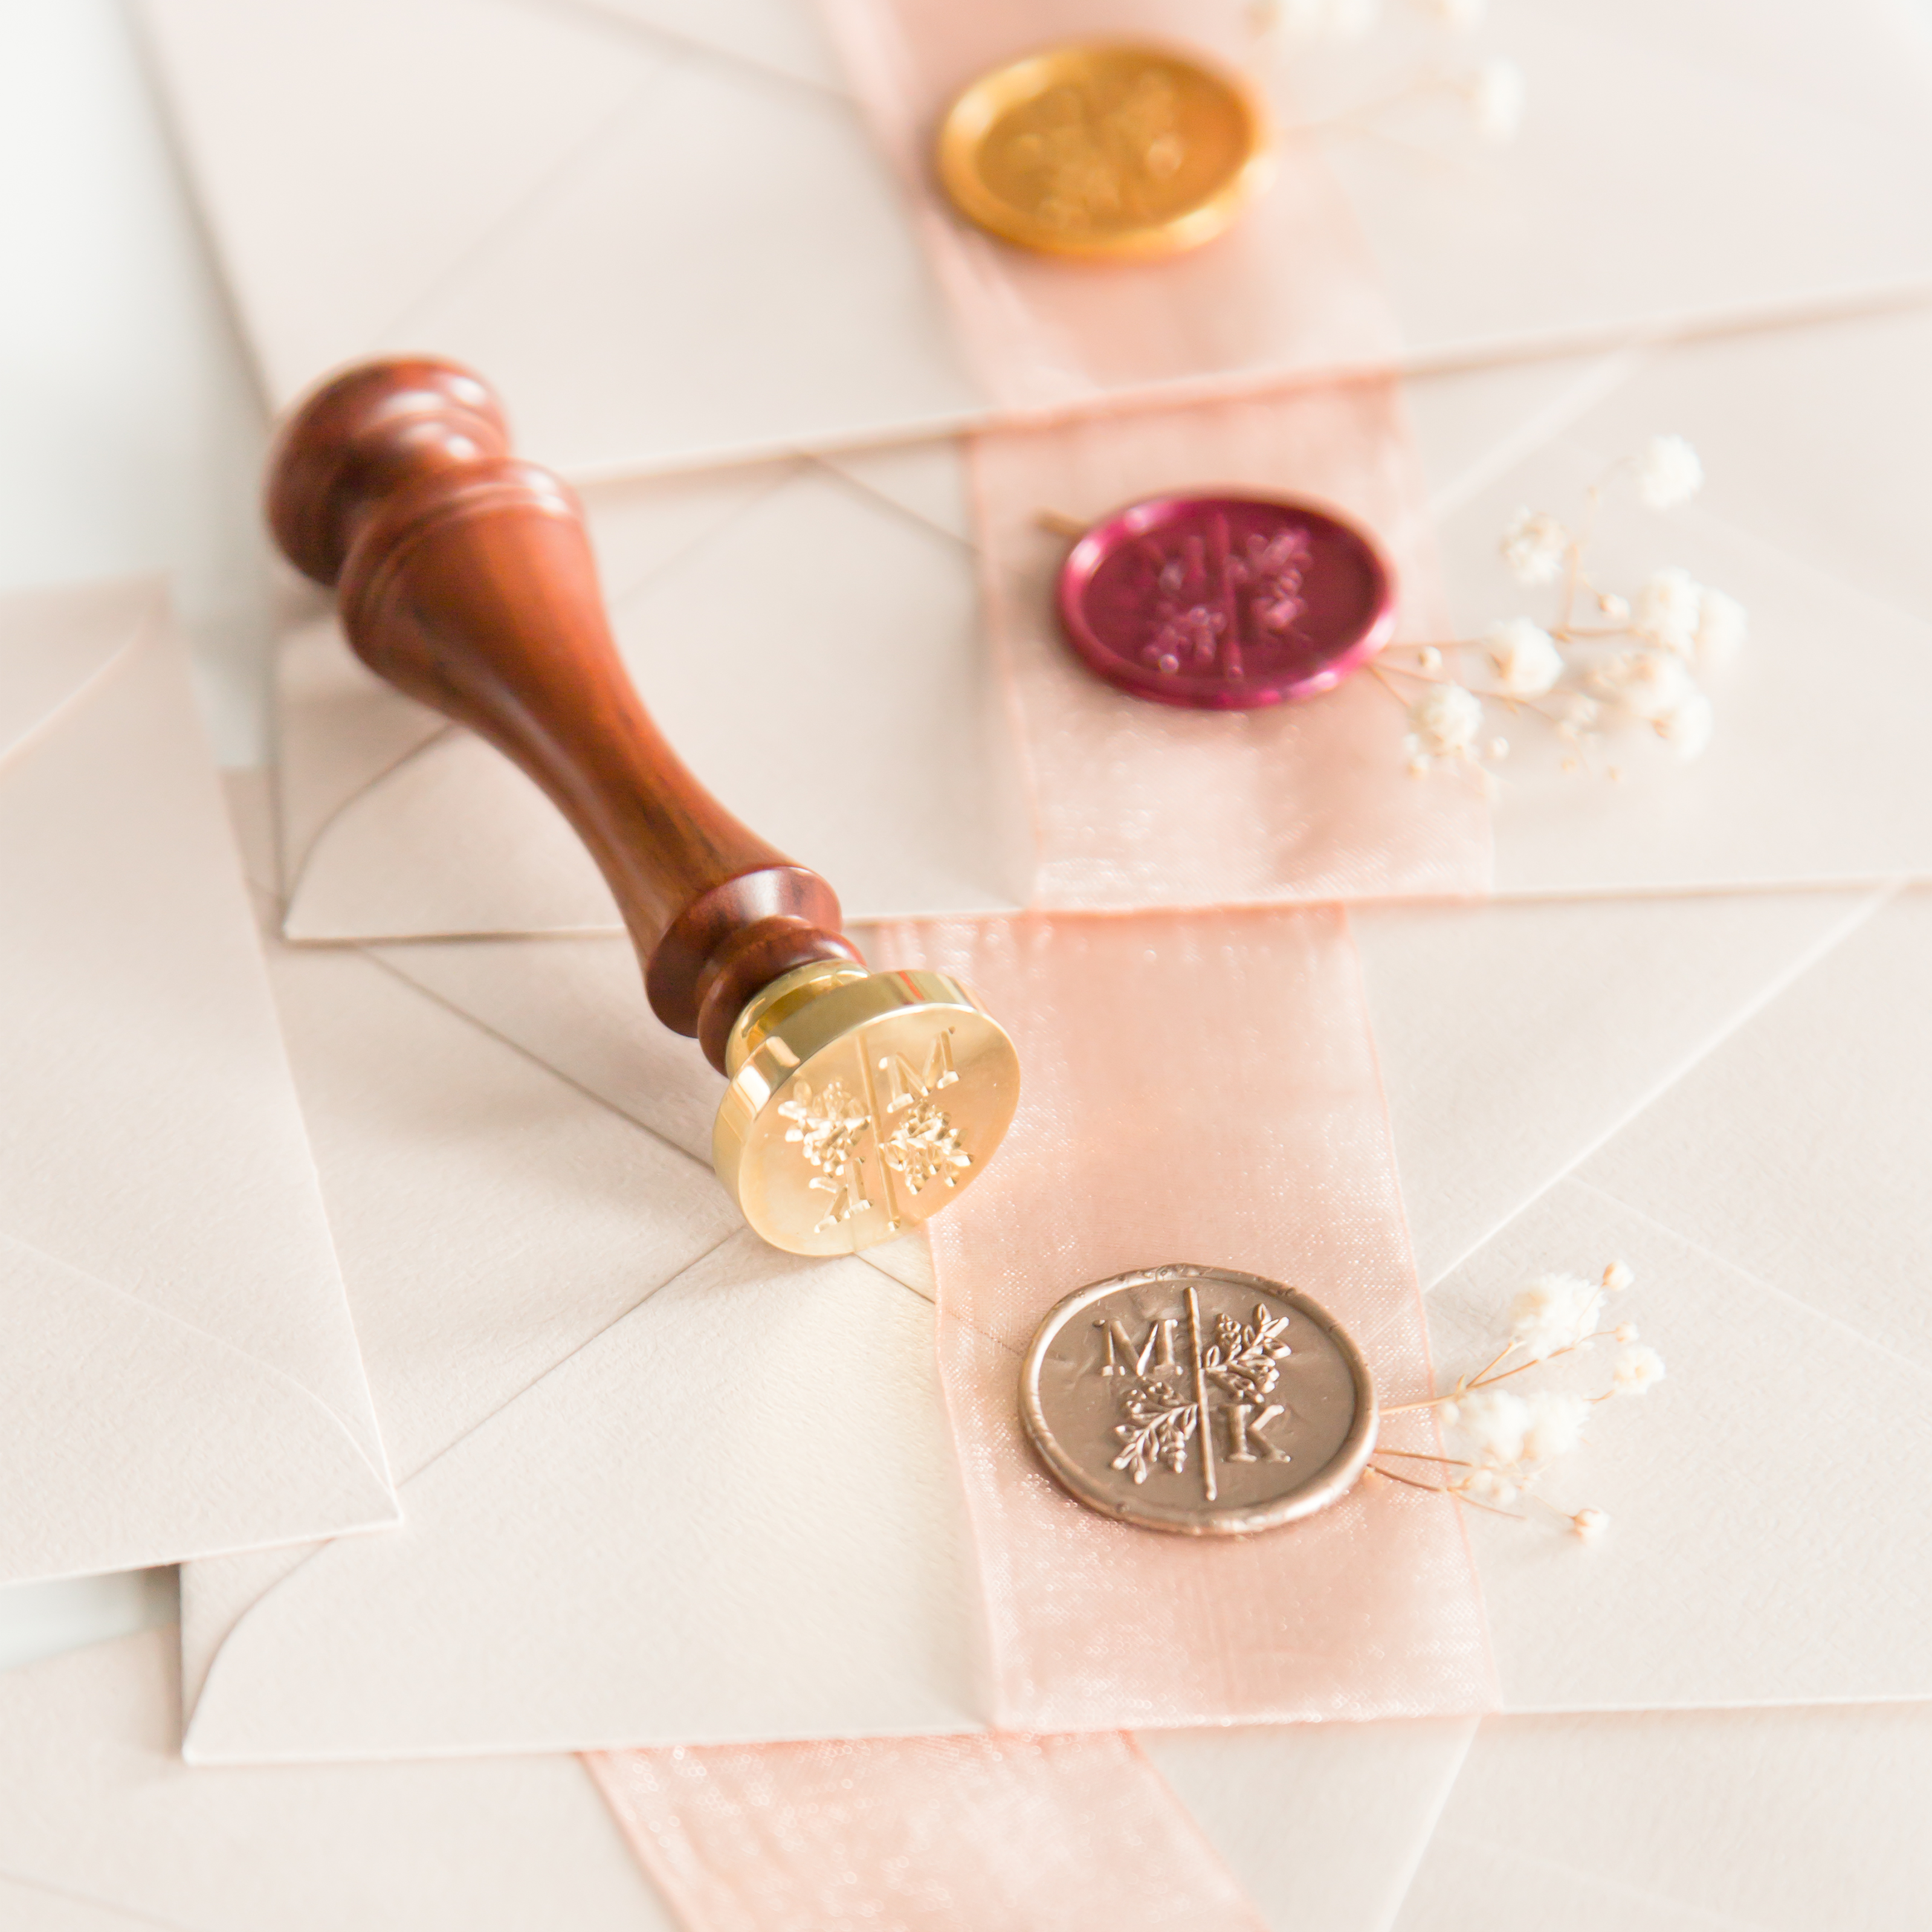
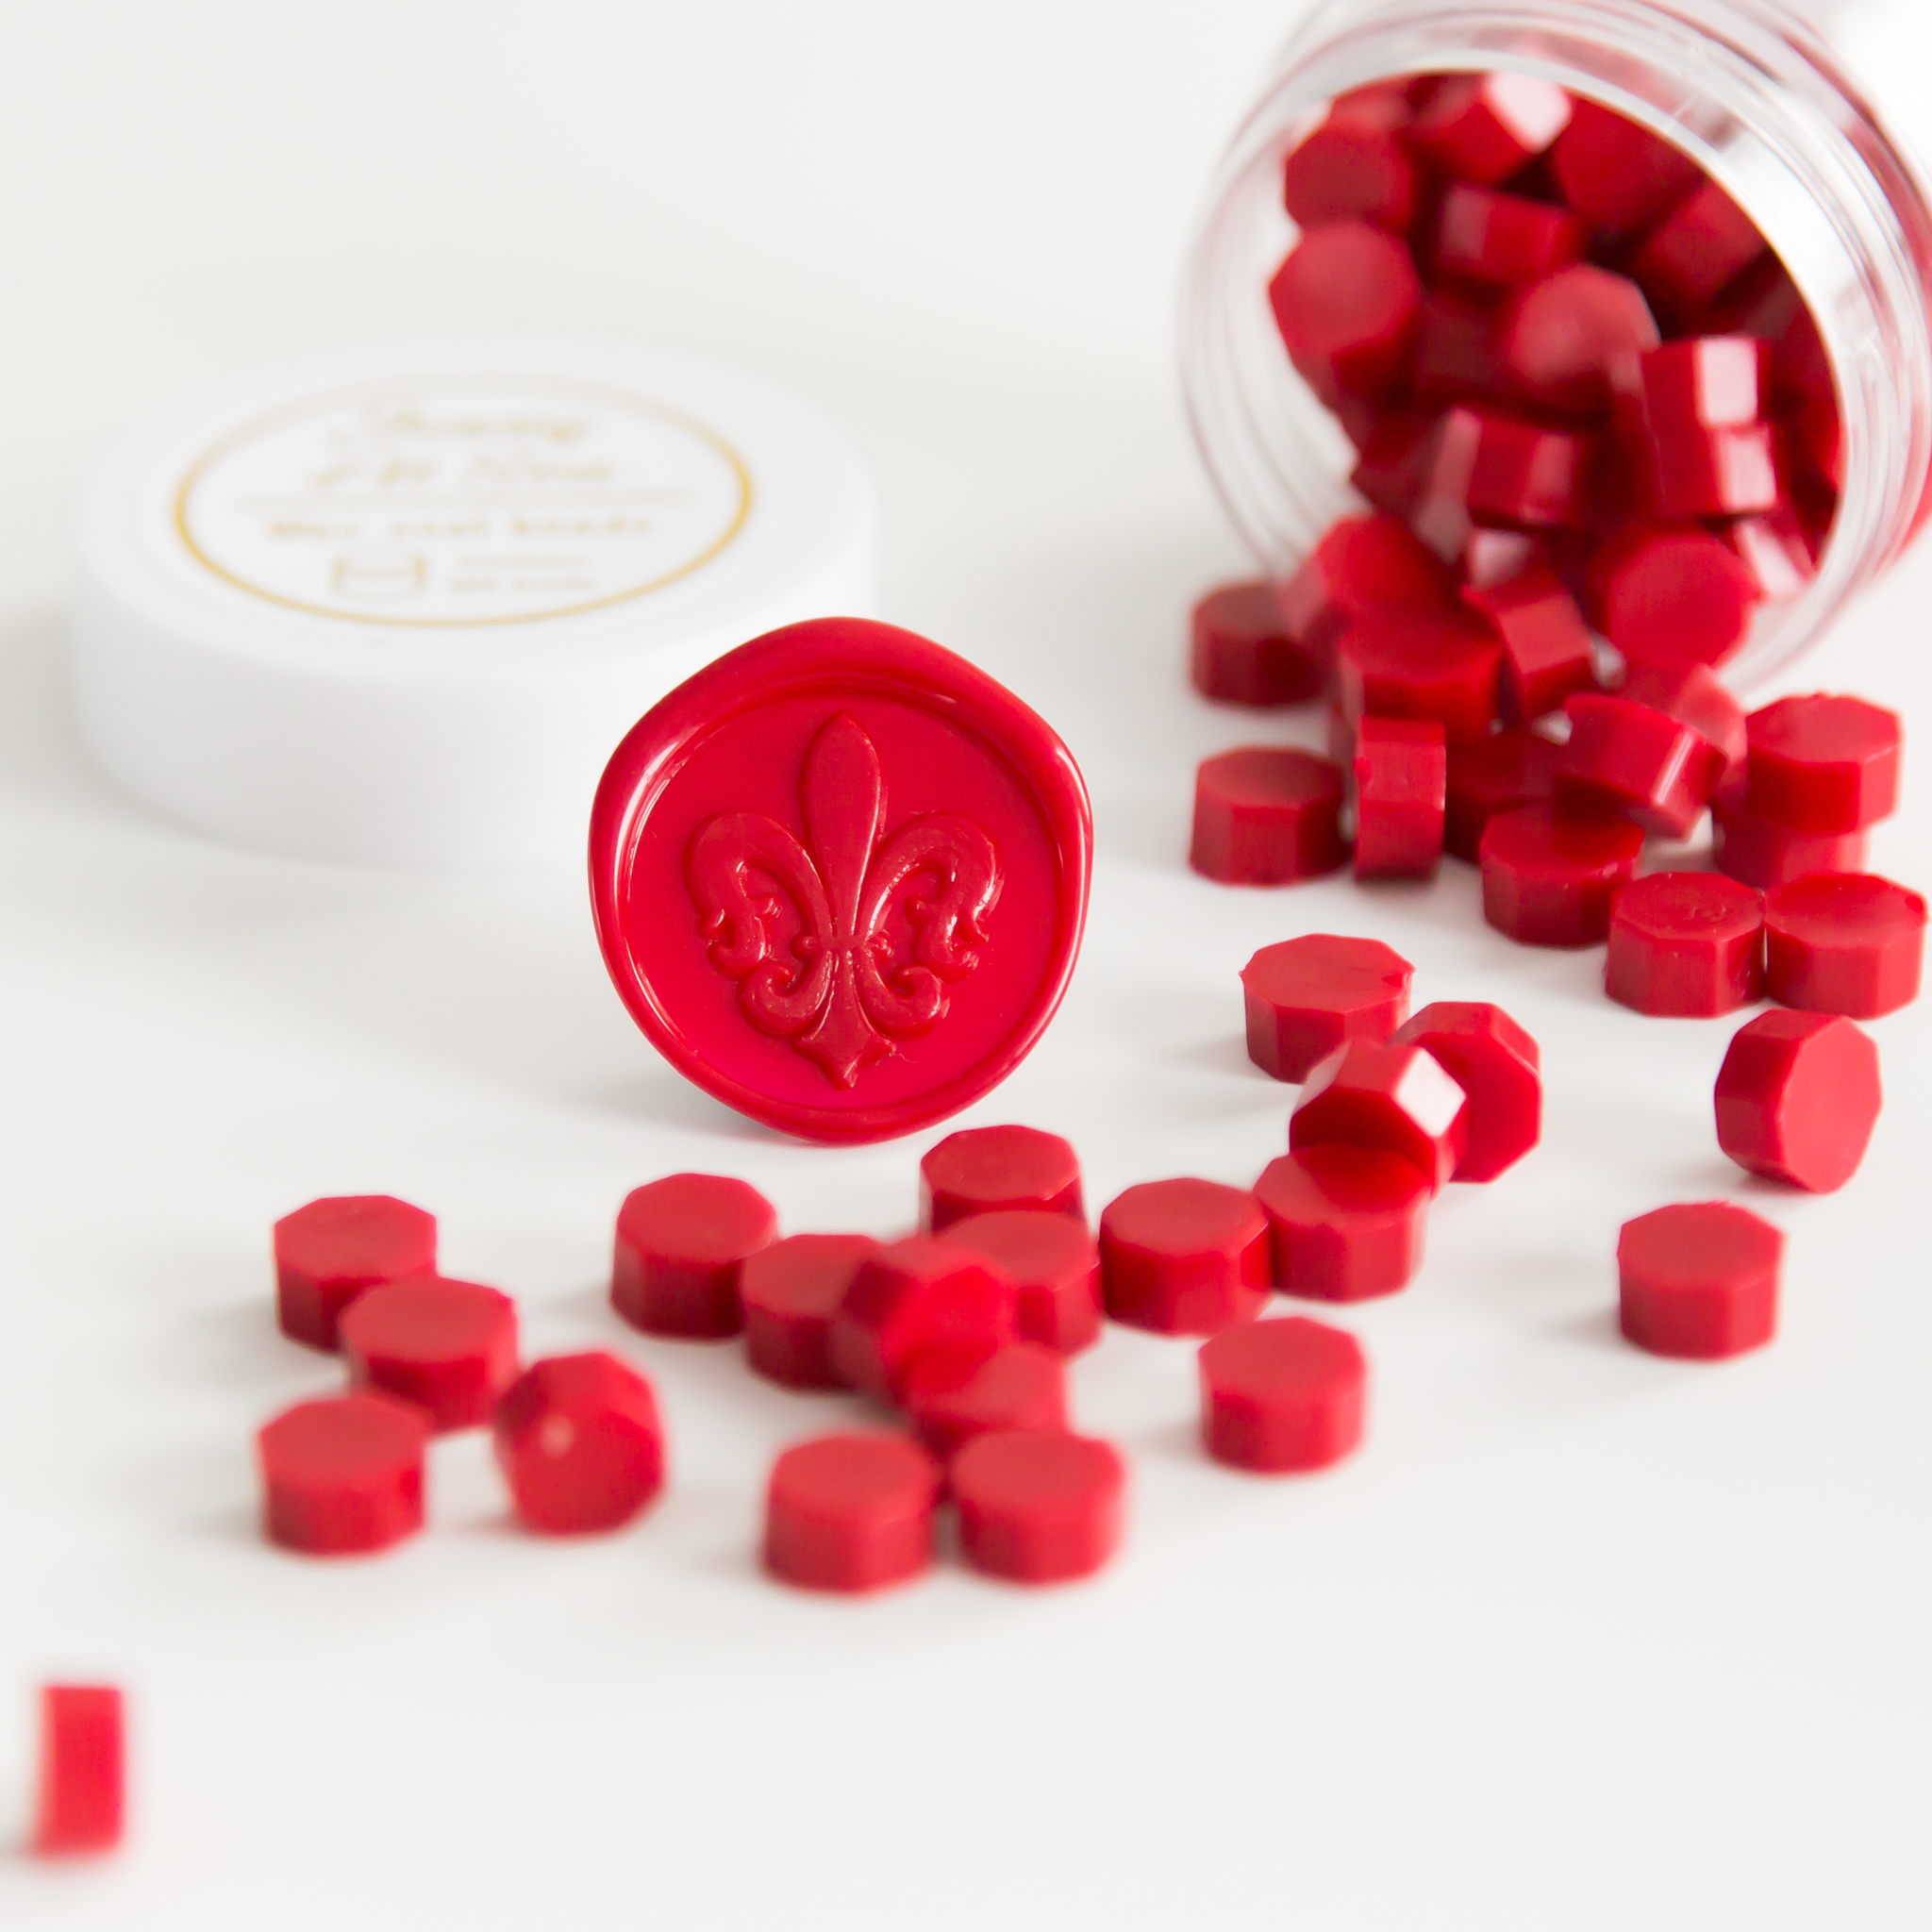
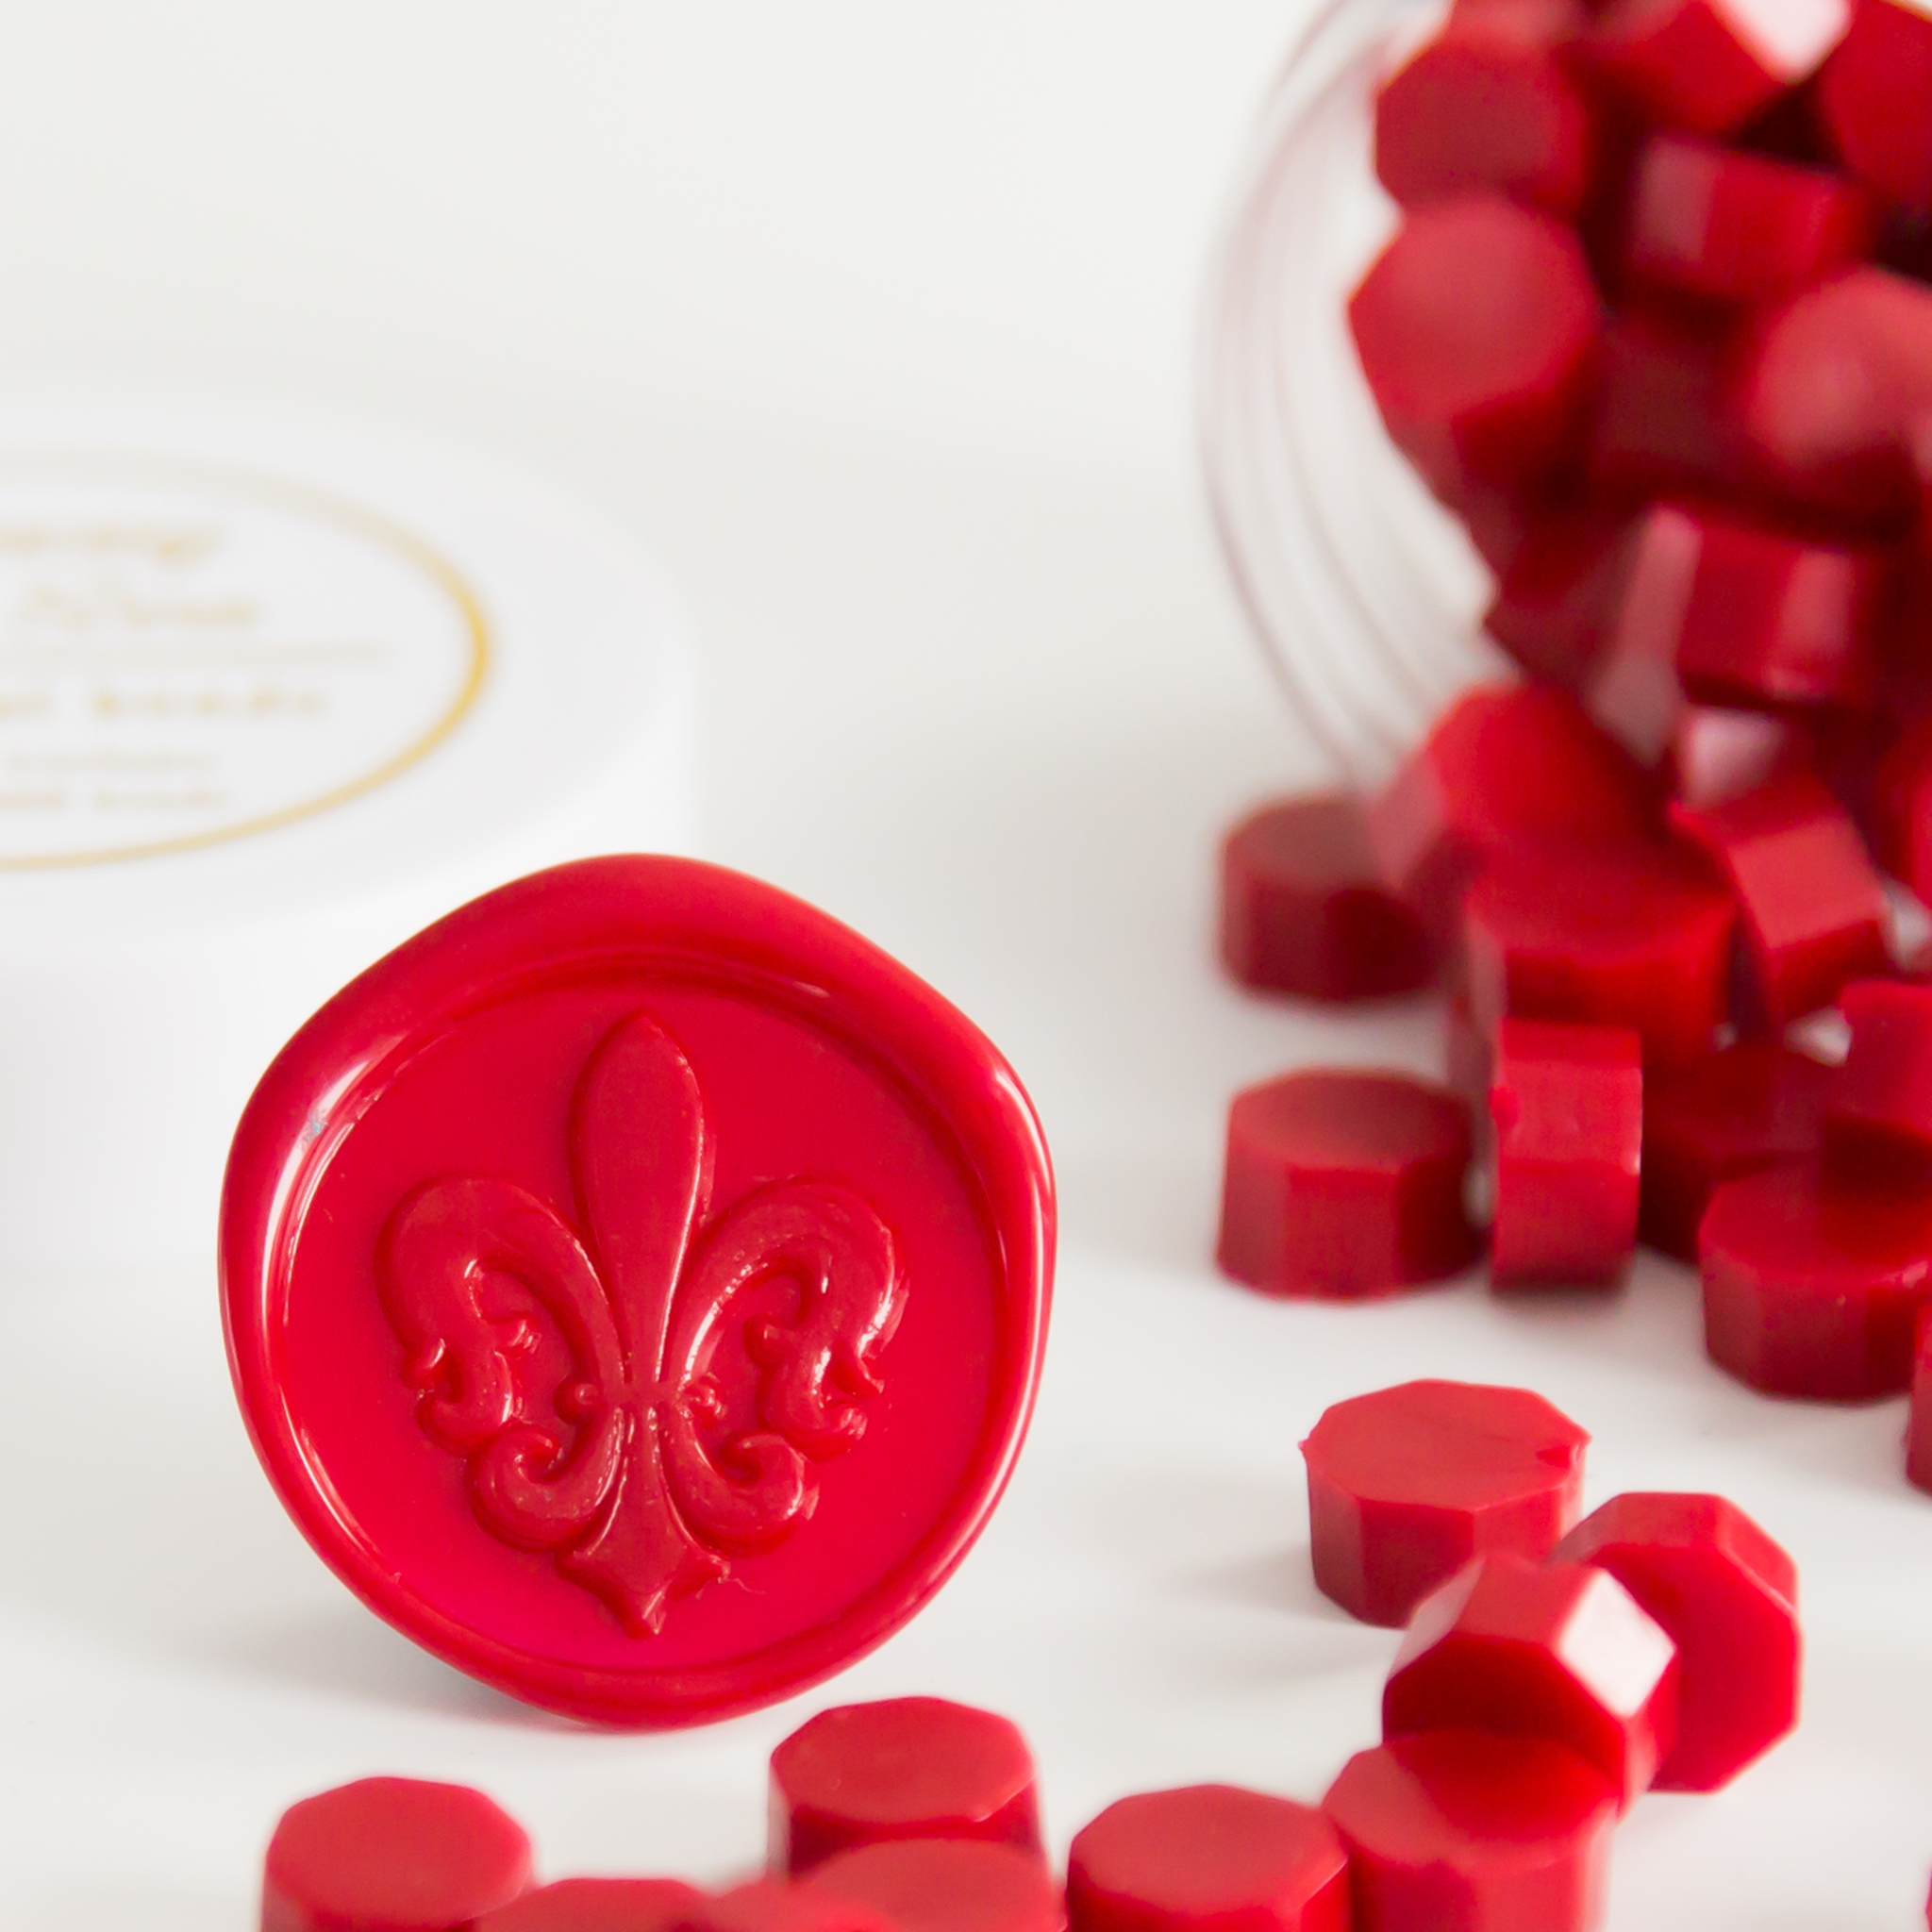
How do you create red sealing wax seals?
Start by choosing your favourite red sealing wax and make sure you have a wax seal stamp with a design that adds a personal touch to your creation. Found your stamp? Then follow these steps:
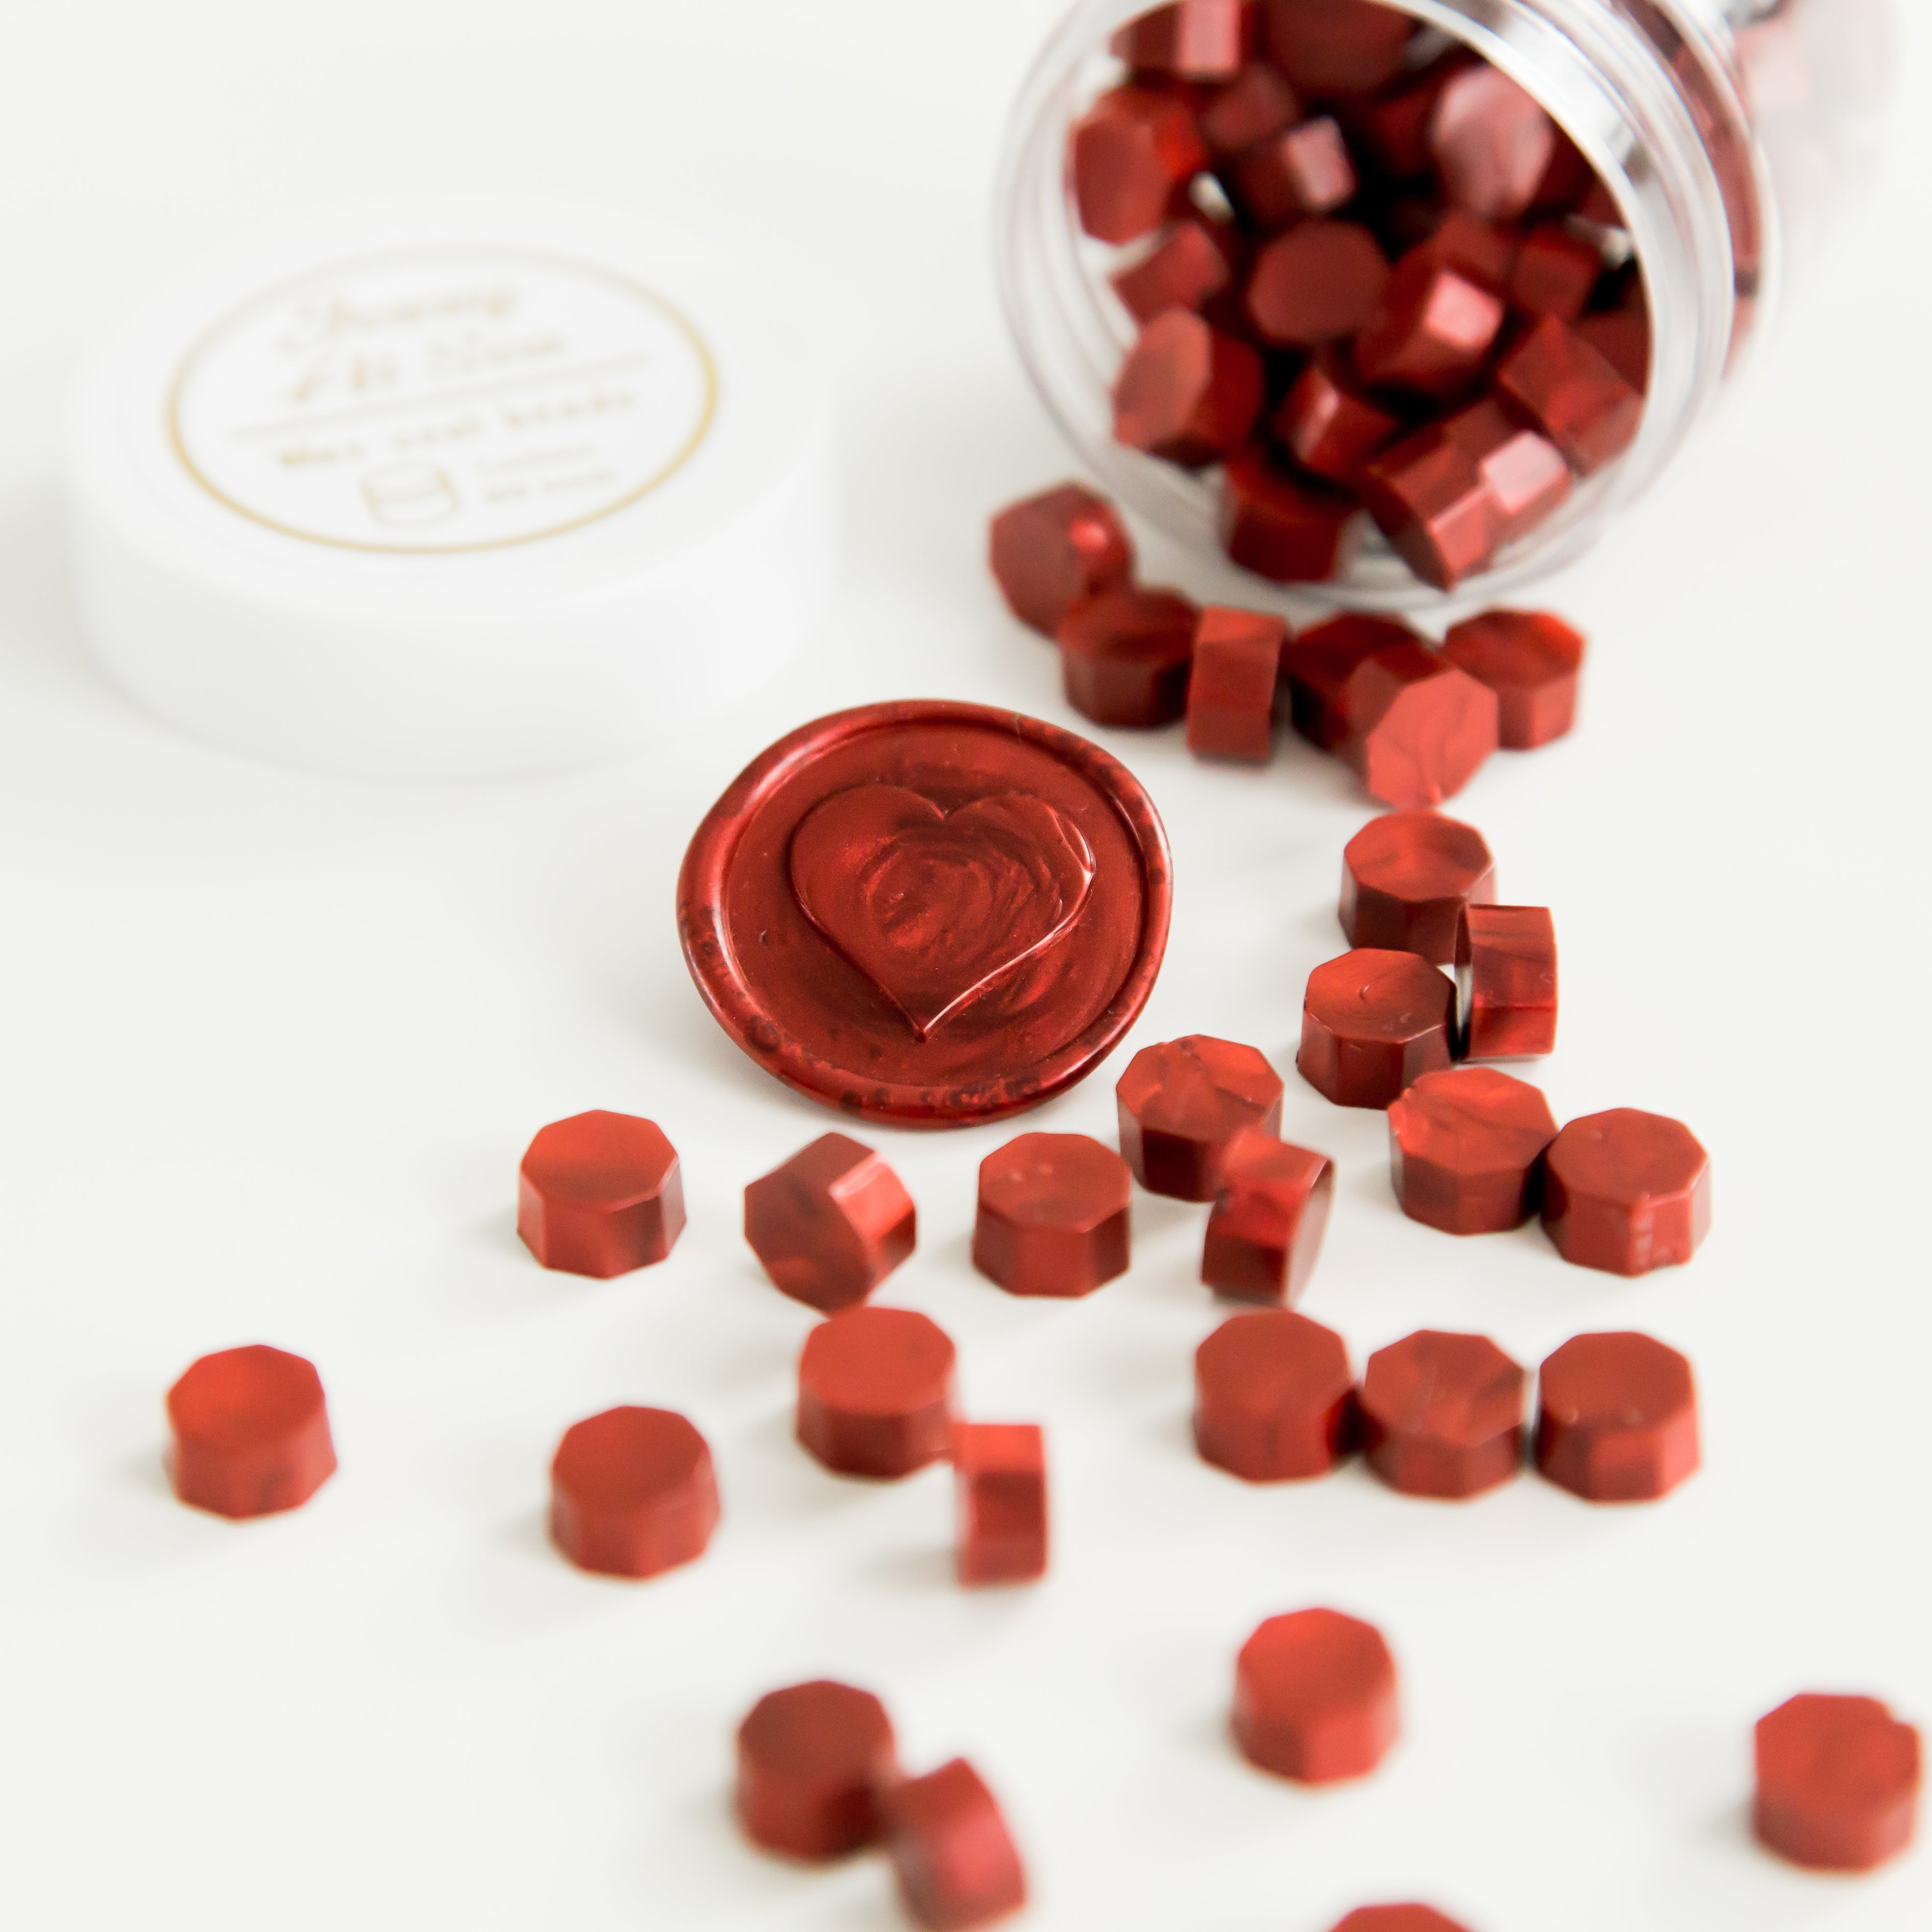
Step 1: Heat the red wax
Place 3 (for a 25 mm stamp) or 4 (for a 30 mm stamp) pieces of red sealing wax in the wax seal oven and wait until it has melted and has a smooth, glossy texture.
Step 2: Pour the red sealing wax
Once the wax has fully melted, use the wax seal spoon to carefully pour the liquid wax onto the wax seal mat or your chosen surface.
Step 3: Place the stamp onto the red wax
Once the wax has been poured, place the wax seal stamp into the still-warm wax. Do this without applying too much pressure.
Step 4: Let the red wax cool
Wait 30 seconds until the wax has cooled and hardened. This is when your red wax seal reveals its shine and beautiful details. Be careful though, if the wax is still warm and soft, the design may distort when removing the stamp.
Step 5: Remove the stamp
Finally, carefully lift the wax stamp from the surface and admire your handmade classic red wax seal.
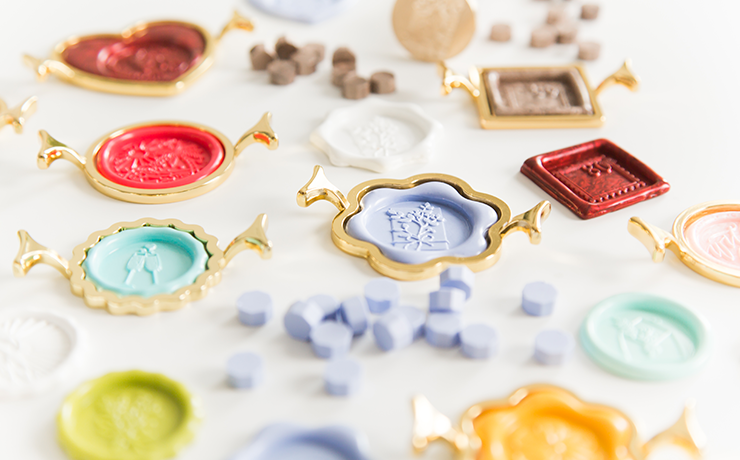
What can you use classic red wax seals for?
Feeling inspired and ready to create your own red wax seals? Not sure how to use them yet? No worries, here are a few ideas:
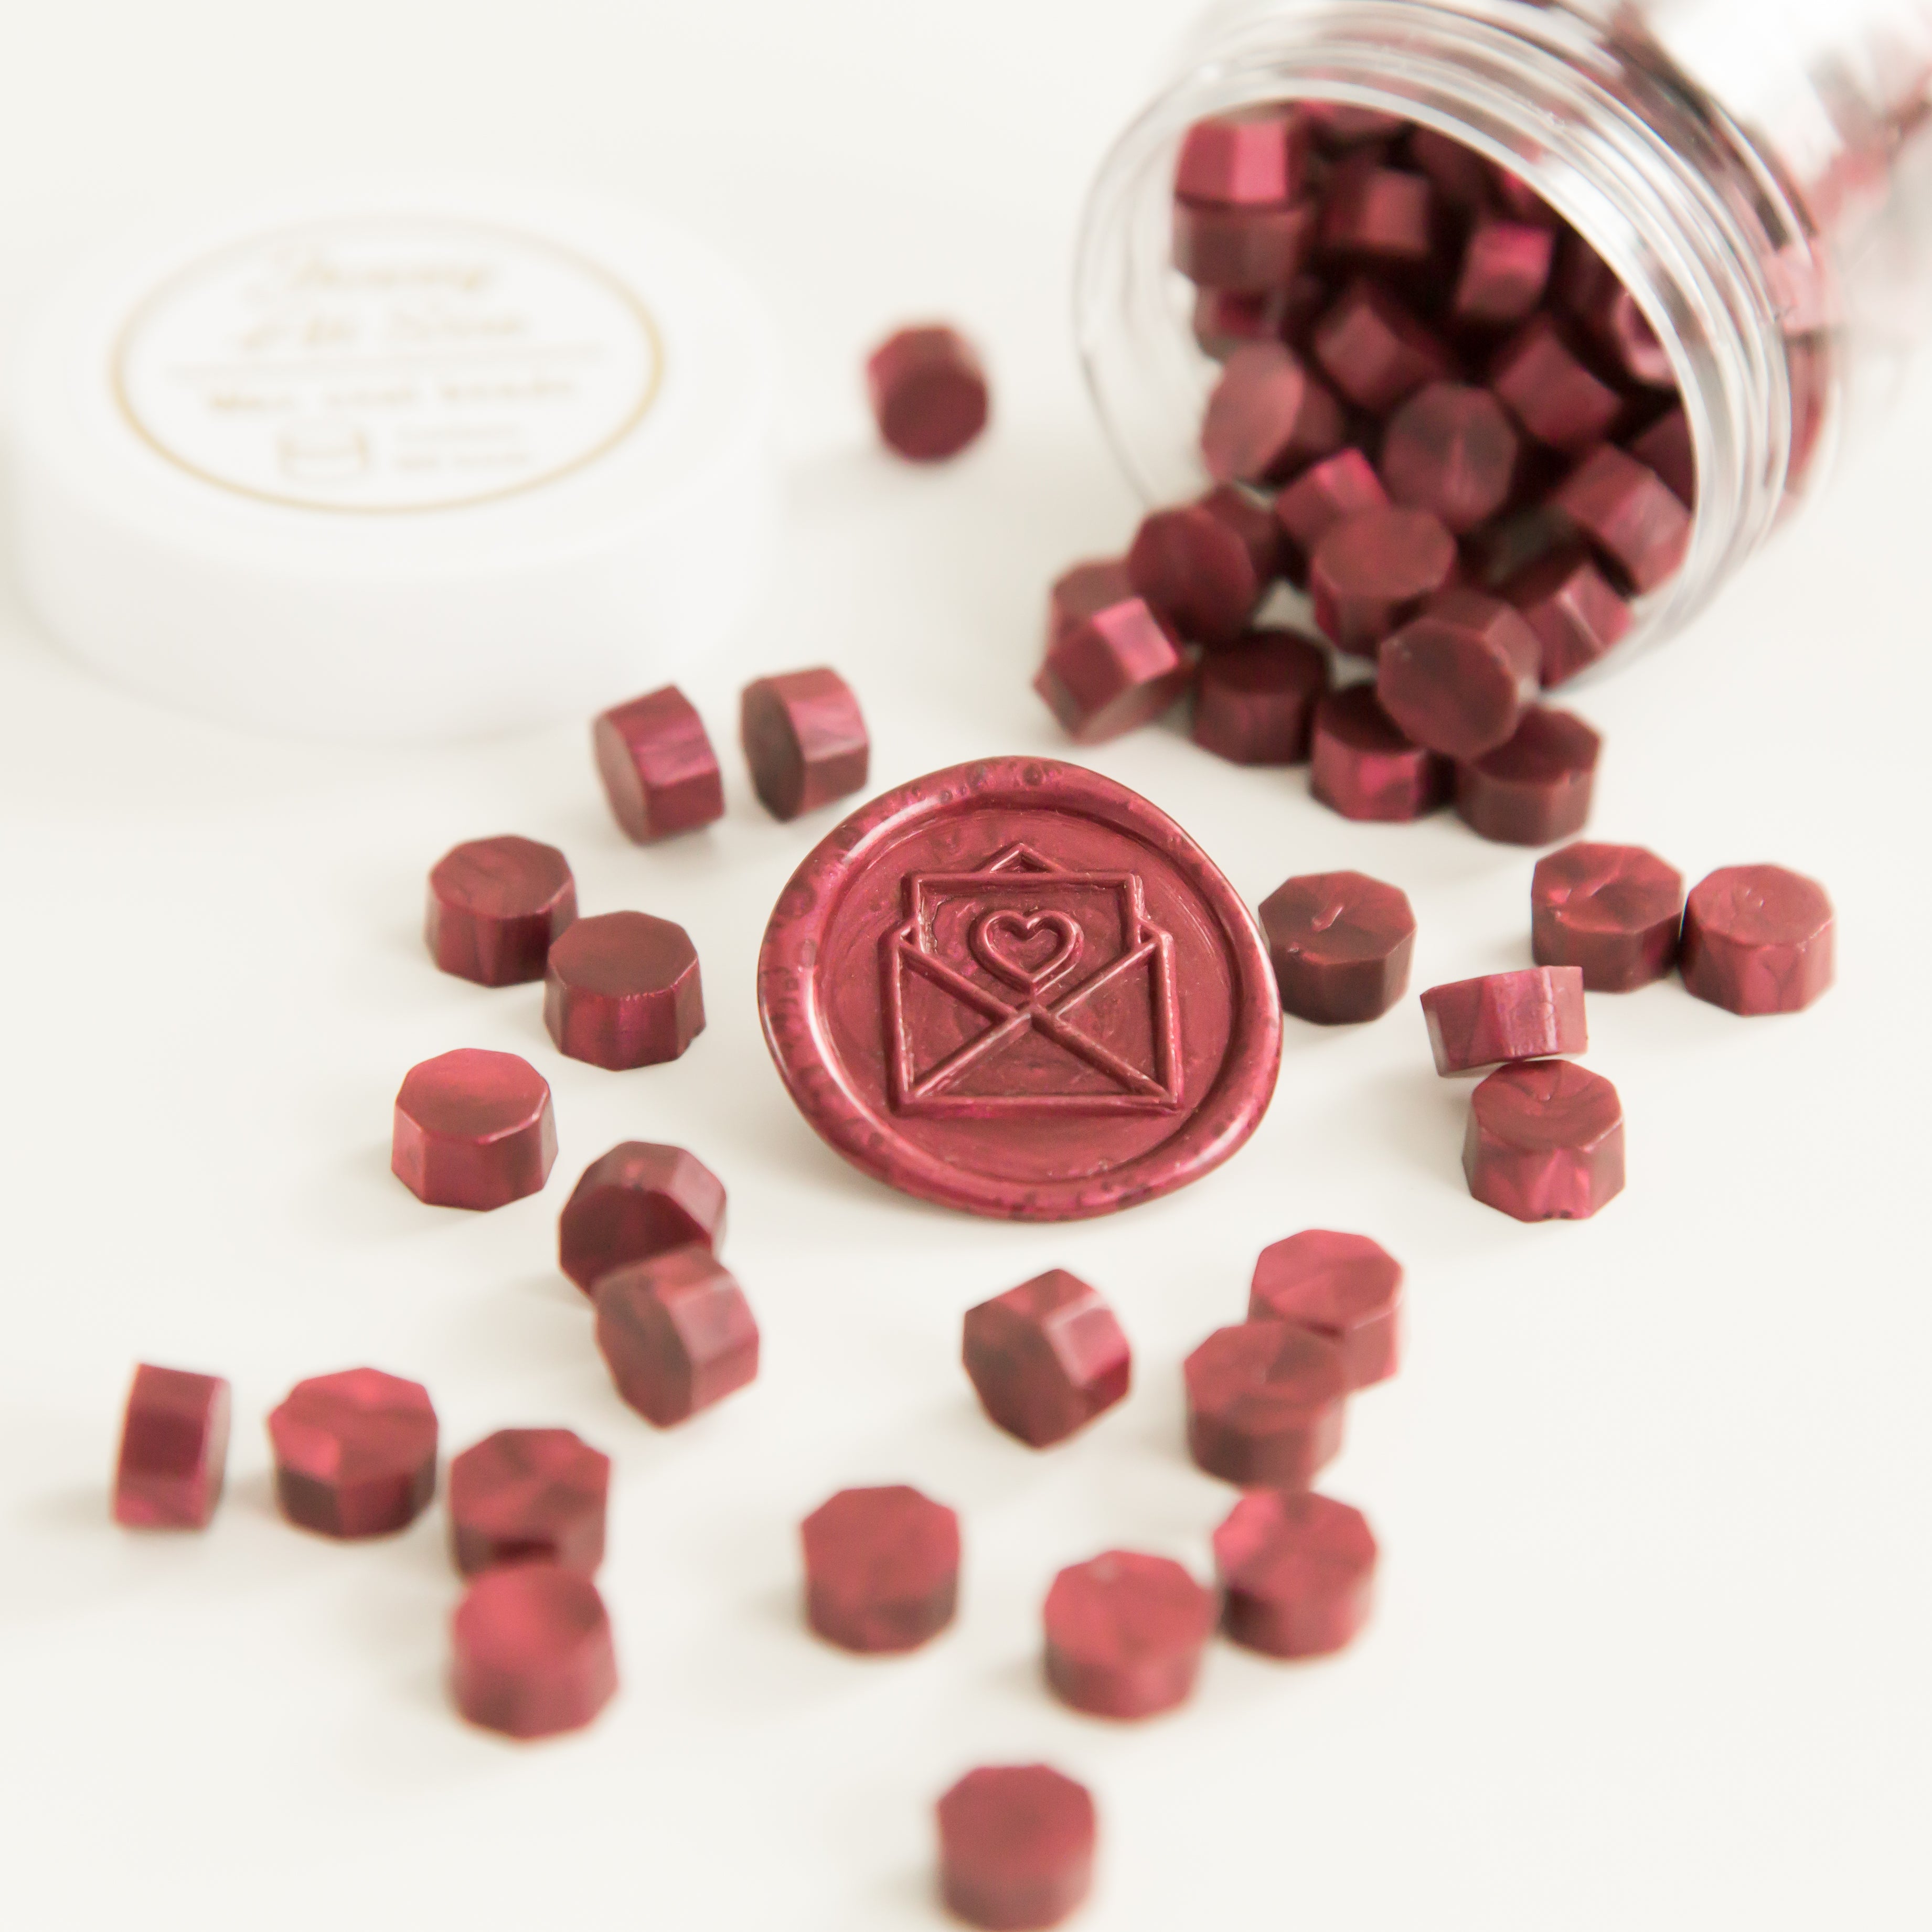
- Seal letters and invitations
Make your post more unique and authentic by sealing envelopes with a red wax seal. It adds a nostalgic touch and sparks curiosity about what’s inside. - Weddings and anniversaries
For special occasions such as weddings, anniversaries or romantic proposals, use classic red wax seals to seal invitations, menus, thank-you notes or even the marriage certificate. It adds that extra touch of romance. - Certificates and diplomas
Give certificates and diplomas an official finish by adding a red wax seal. It makes recognition feel even more special and sets it apart from ordinary documents. - Invitations for themed parties
For themed events such as a royal ball (nowadays also known as a ‘Bridgerton’-style event) or a historical costume party, use red wax seals on invitations to instantly set the tone and theme for your guests. - Sealing wine bottles
Did you know you can also seal a cork with a red wax seal? It’s a great way to present a bottle as a gift or to save a special bottle for a meaningful occasion.
Jessy’s personal touch
Hi, Jessy here! Have we inspired you to start creating your own red sealing wax seals? I truly hope so!
Maybe you’re not completely convinced yet, and that’s perfectly fine. We’re always here to answer all your questions. The quickest and easiest way is to contact us via the chat function in the bottom left of your screen. You can also send an email to info@jessyatsea.com, and I’ll get back to you as soon as possible.
P.S. Want to get started with your own red wax seals but not sure where to begin? No worries! We’ve created a special Wax Seal Kit that you can customise. This kit includes everything you need to get started, including a red wax stamp and red sealing wax of your choice!