

Filters
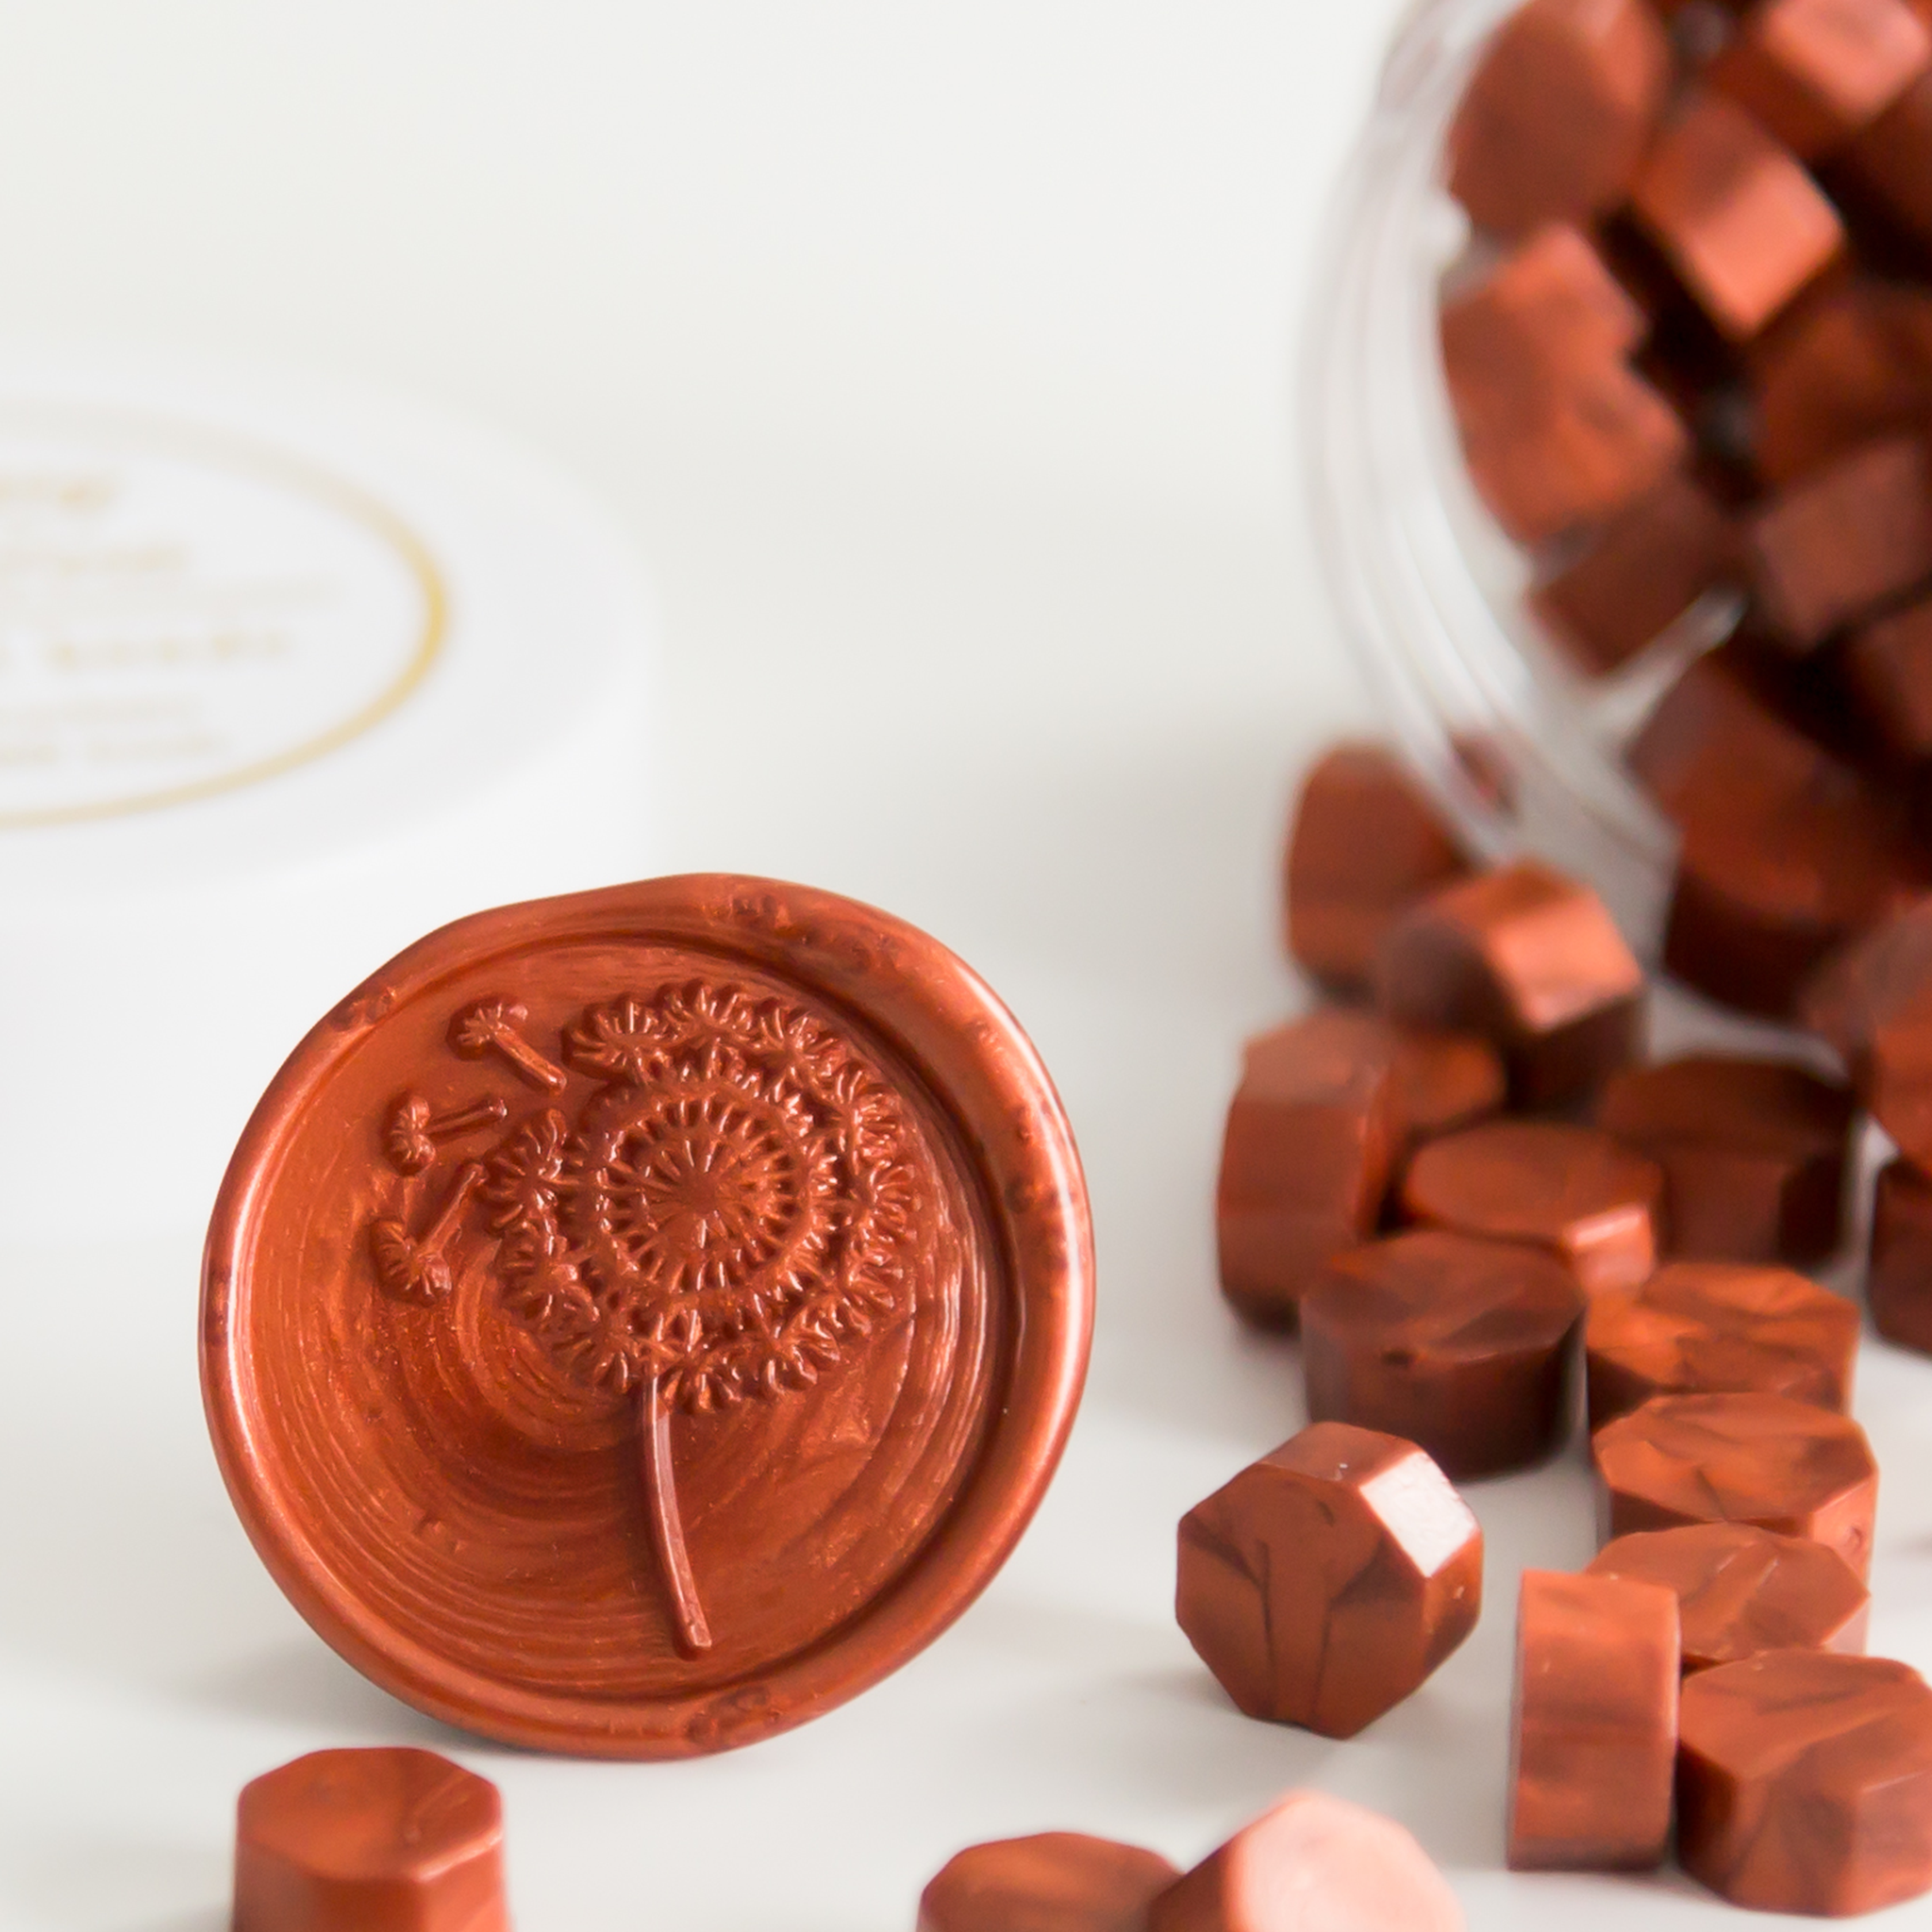
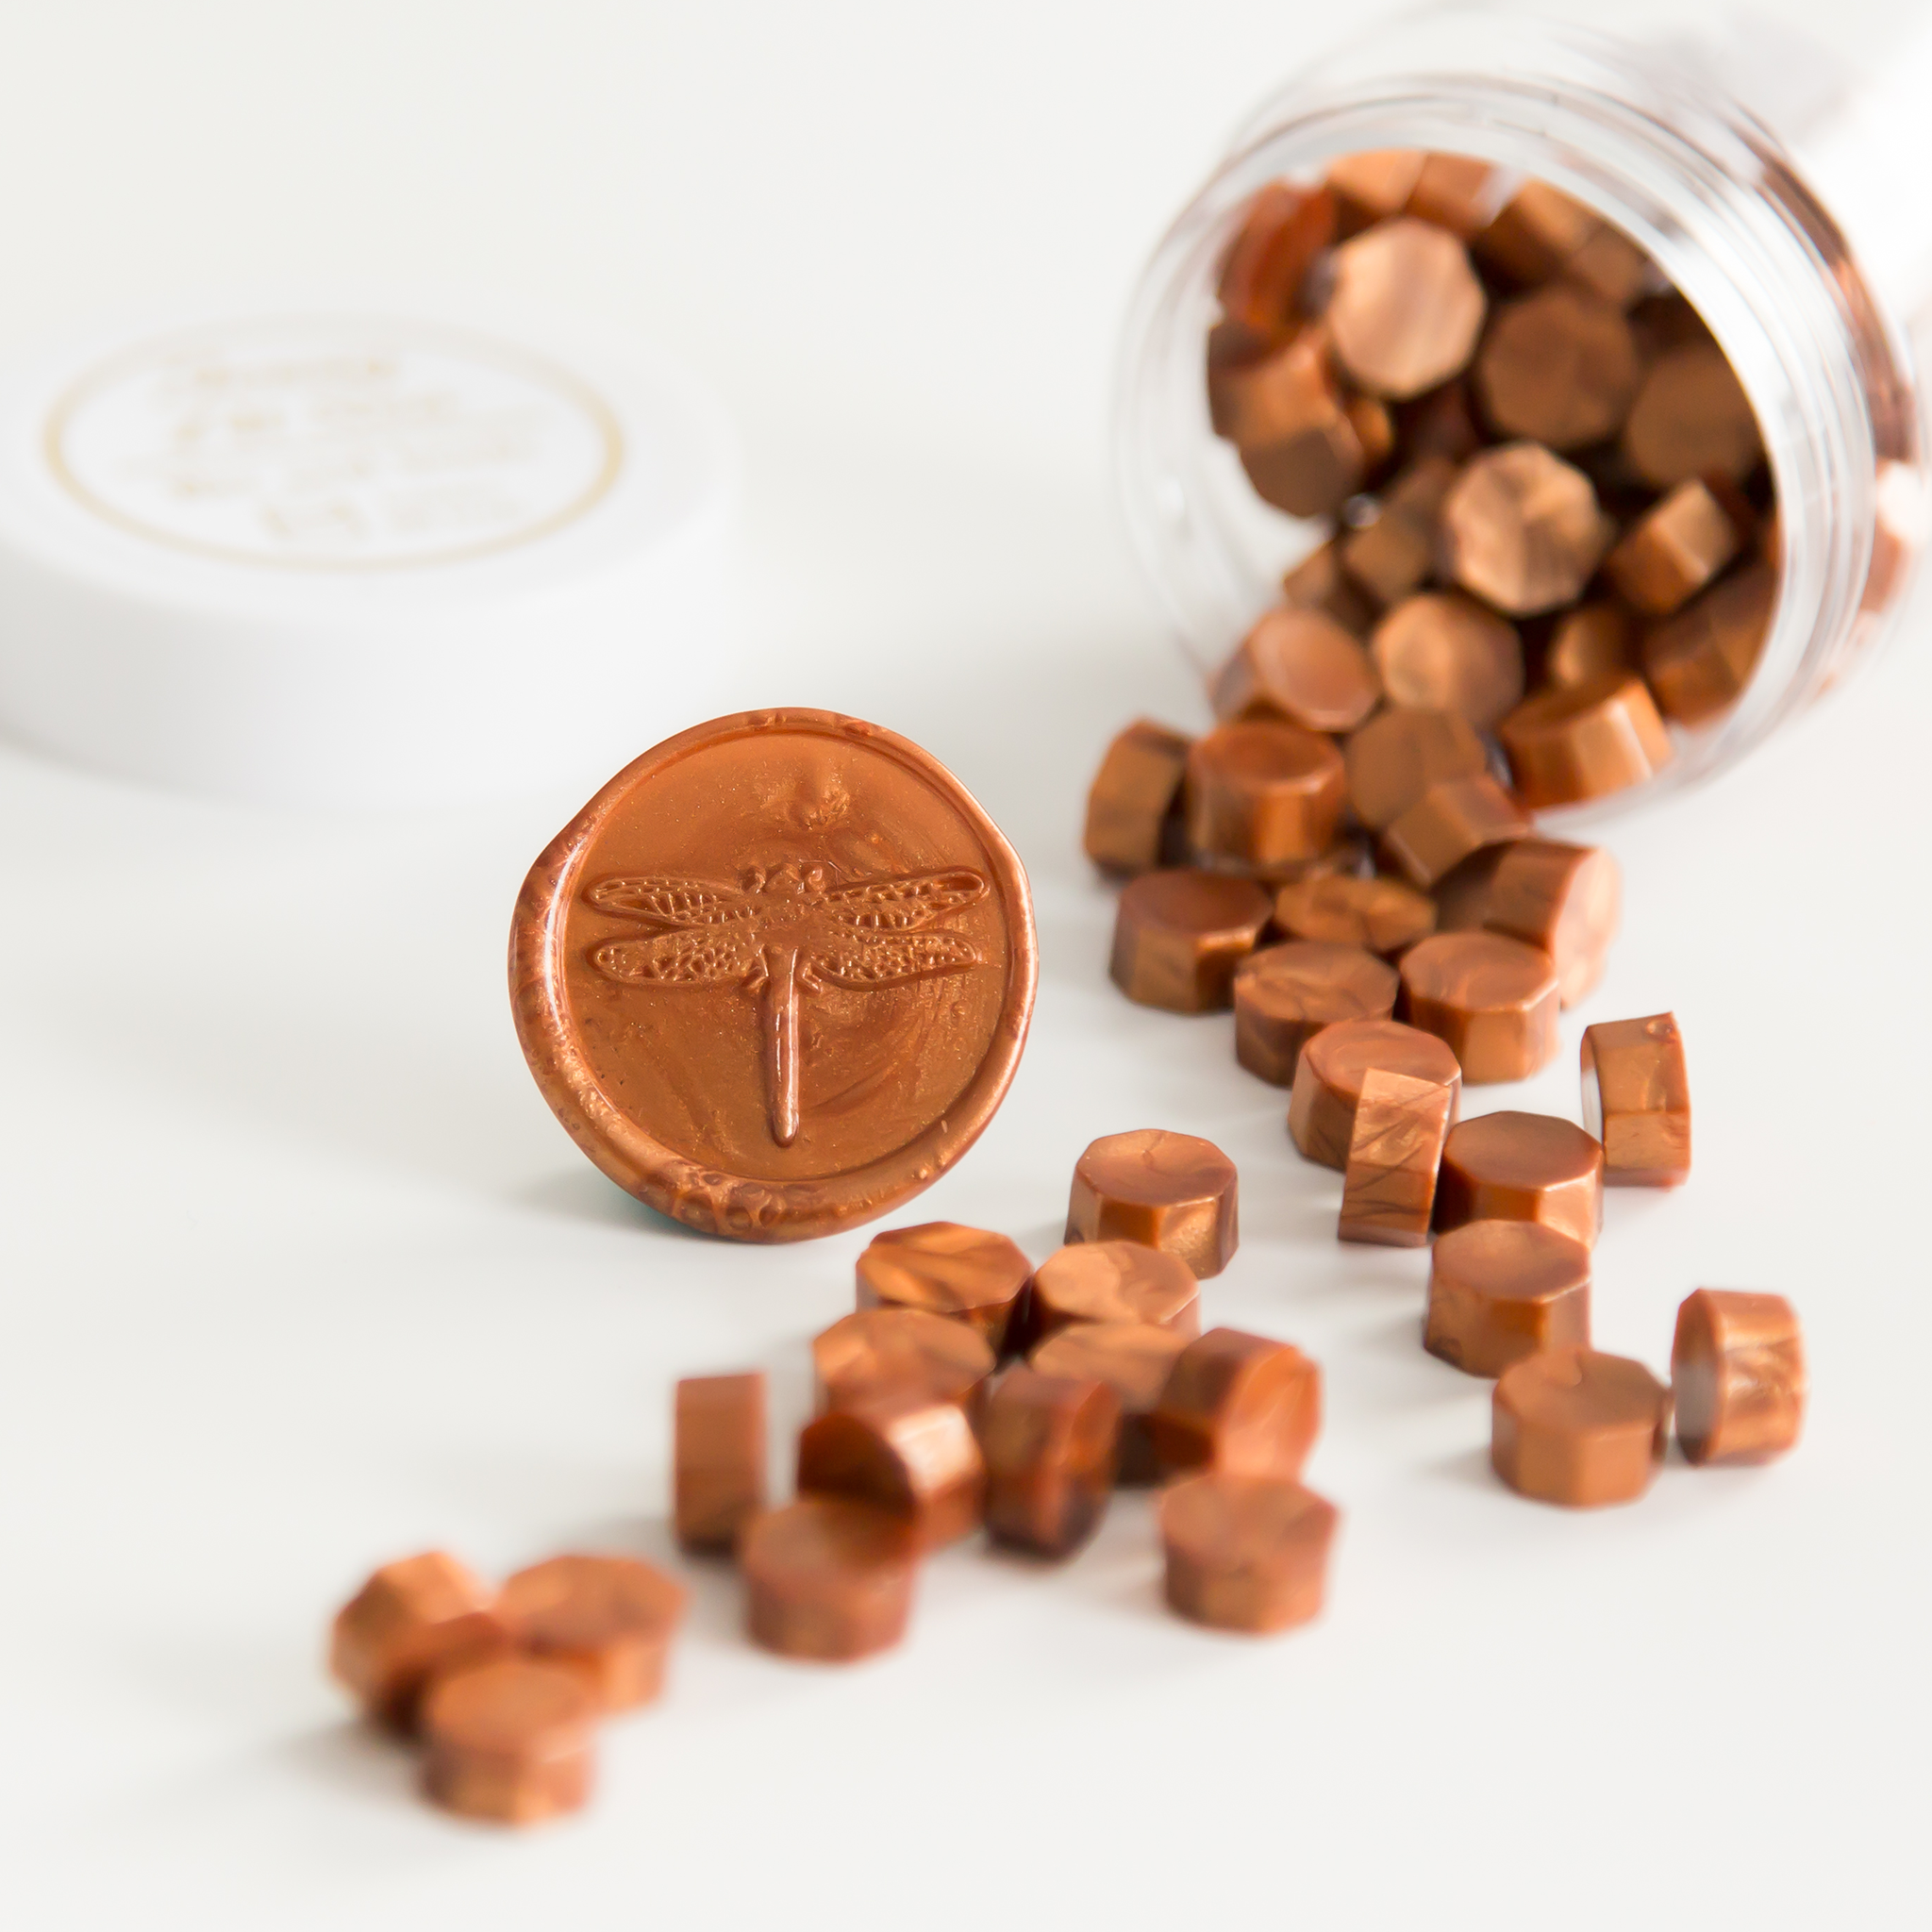
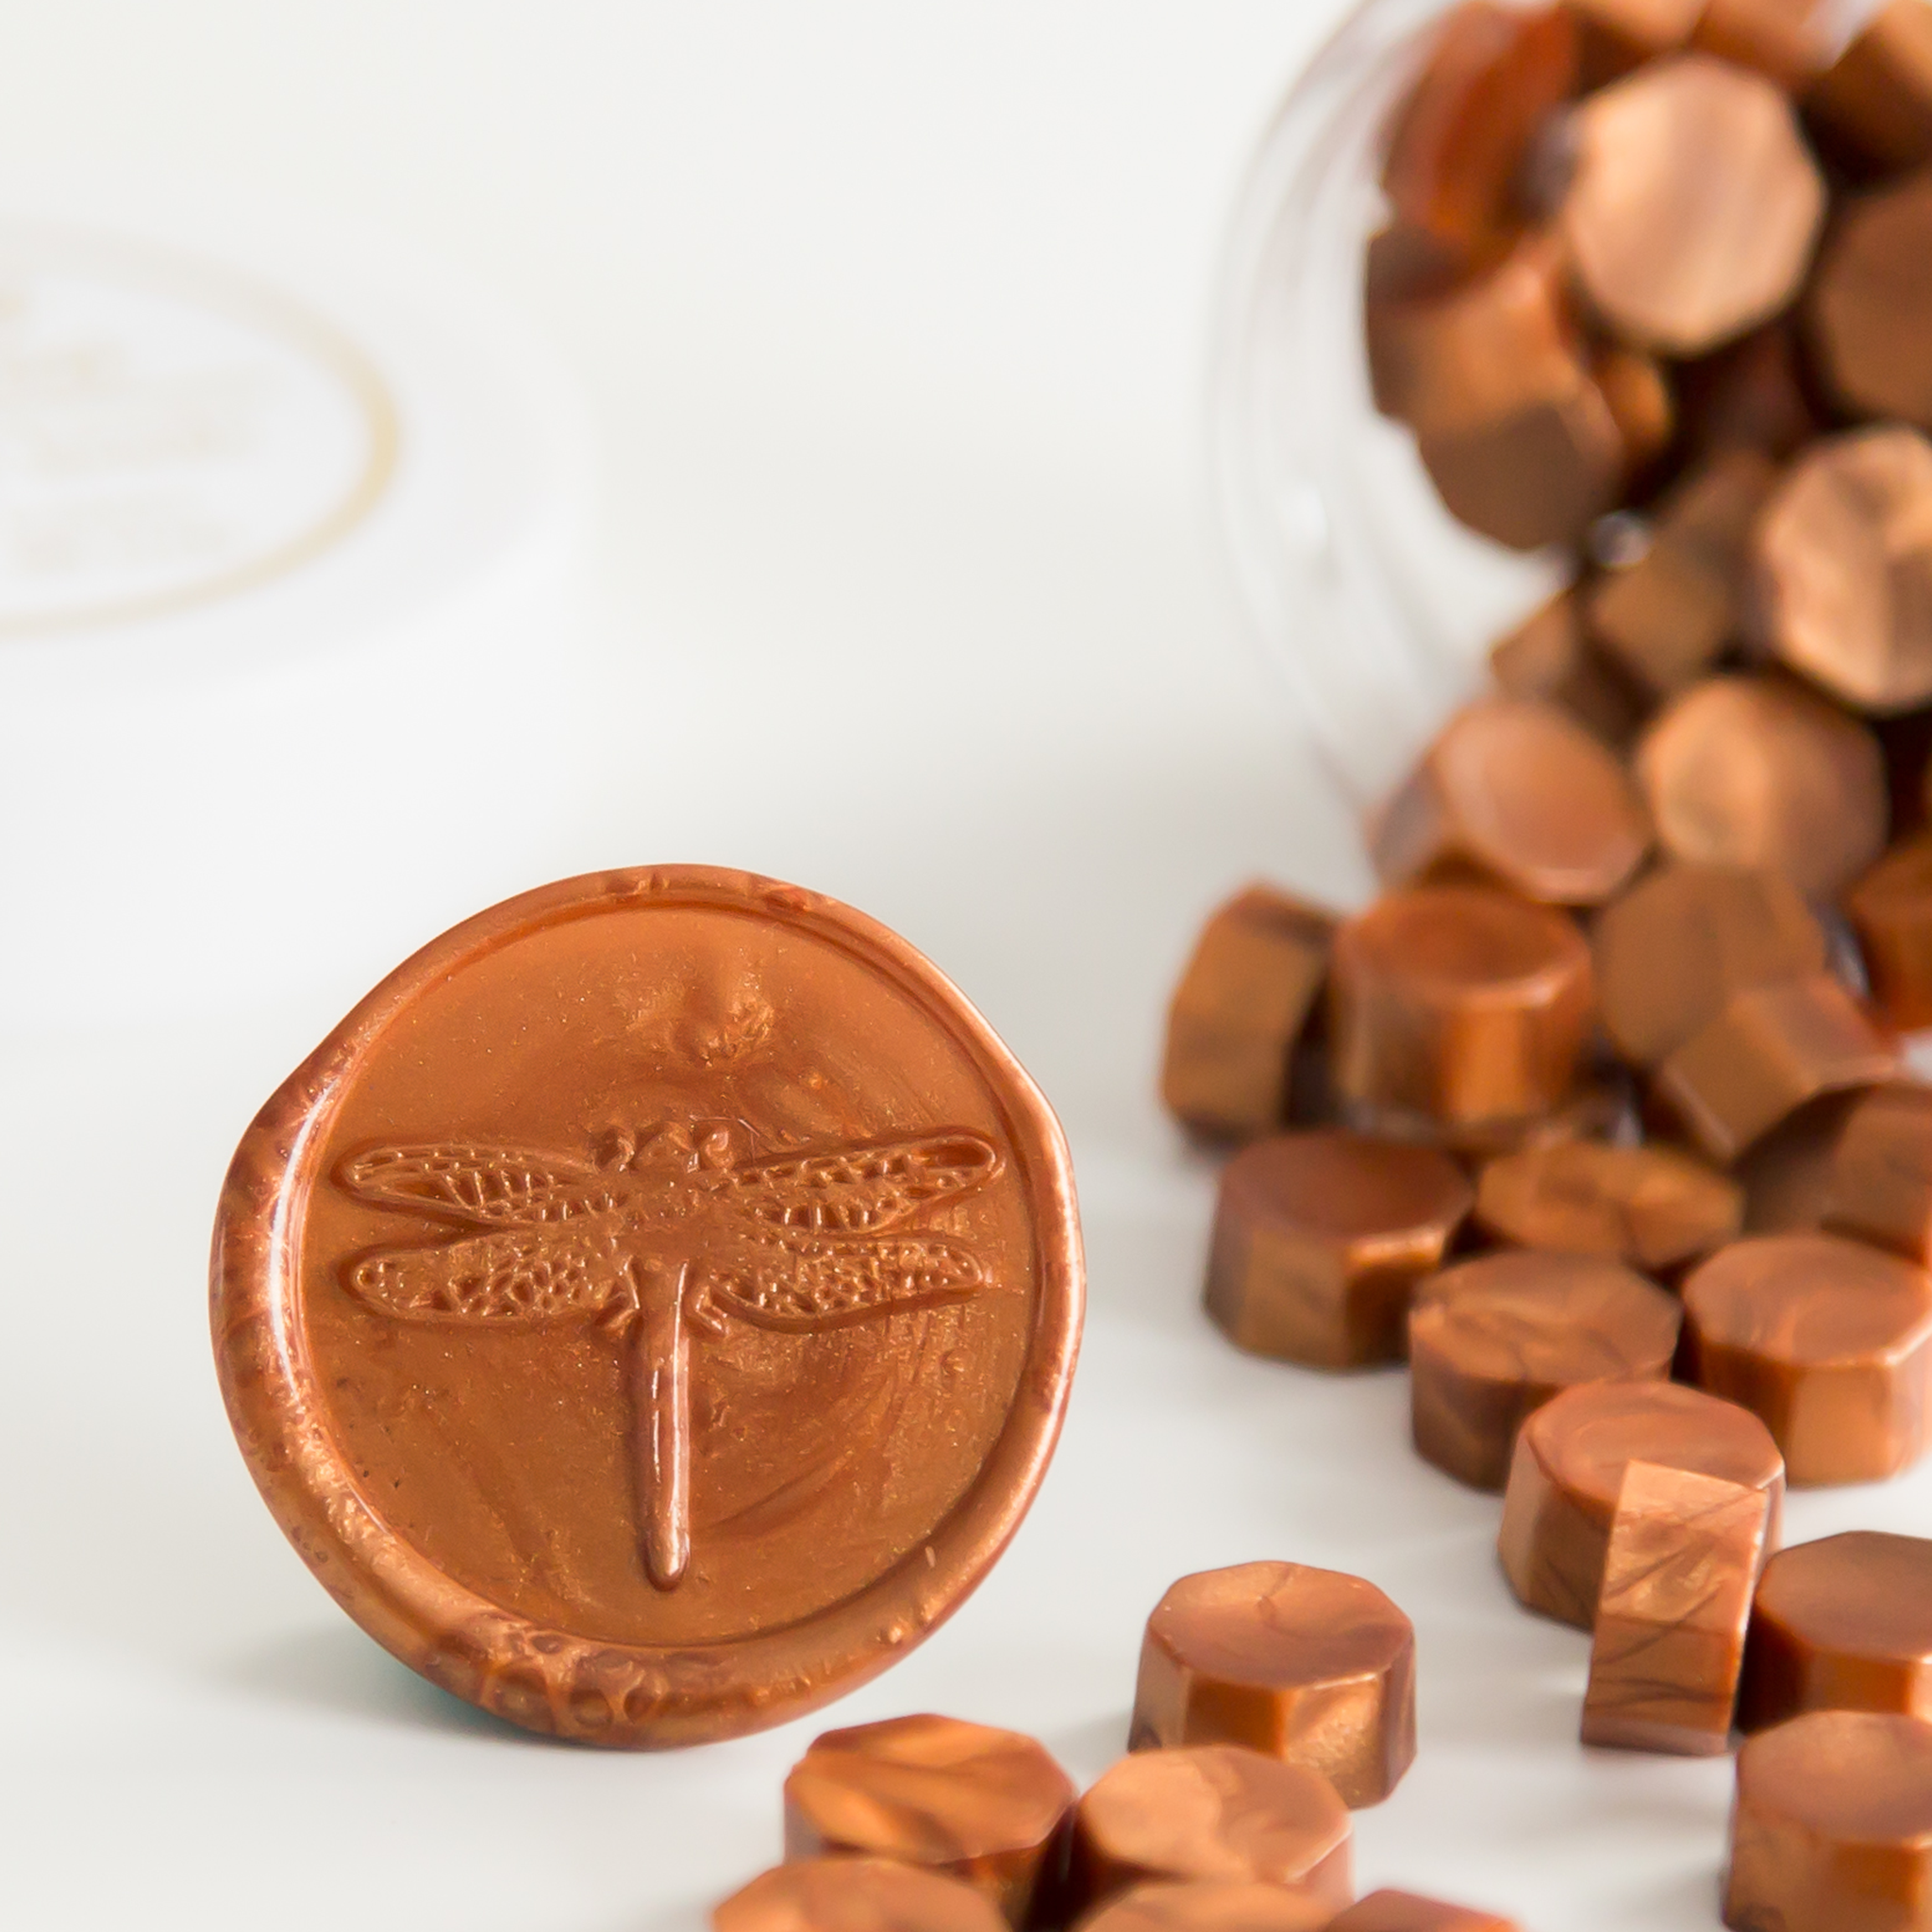
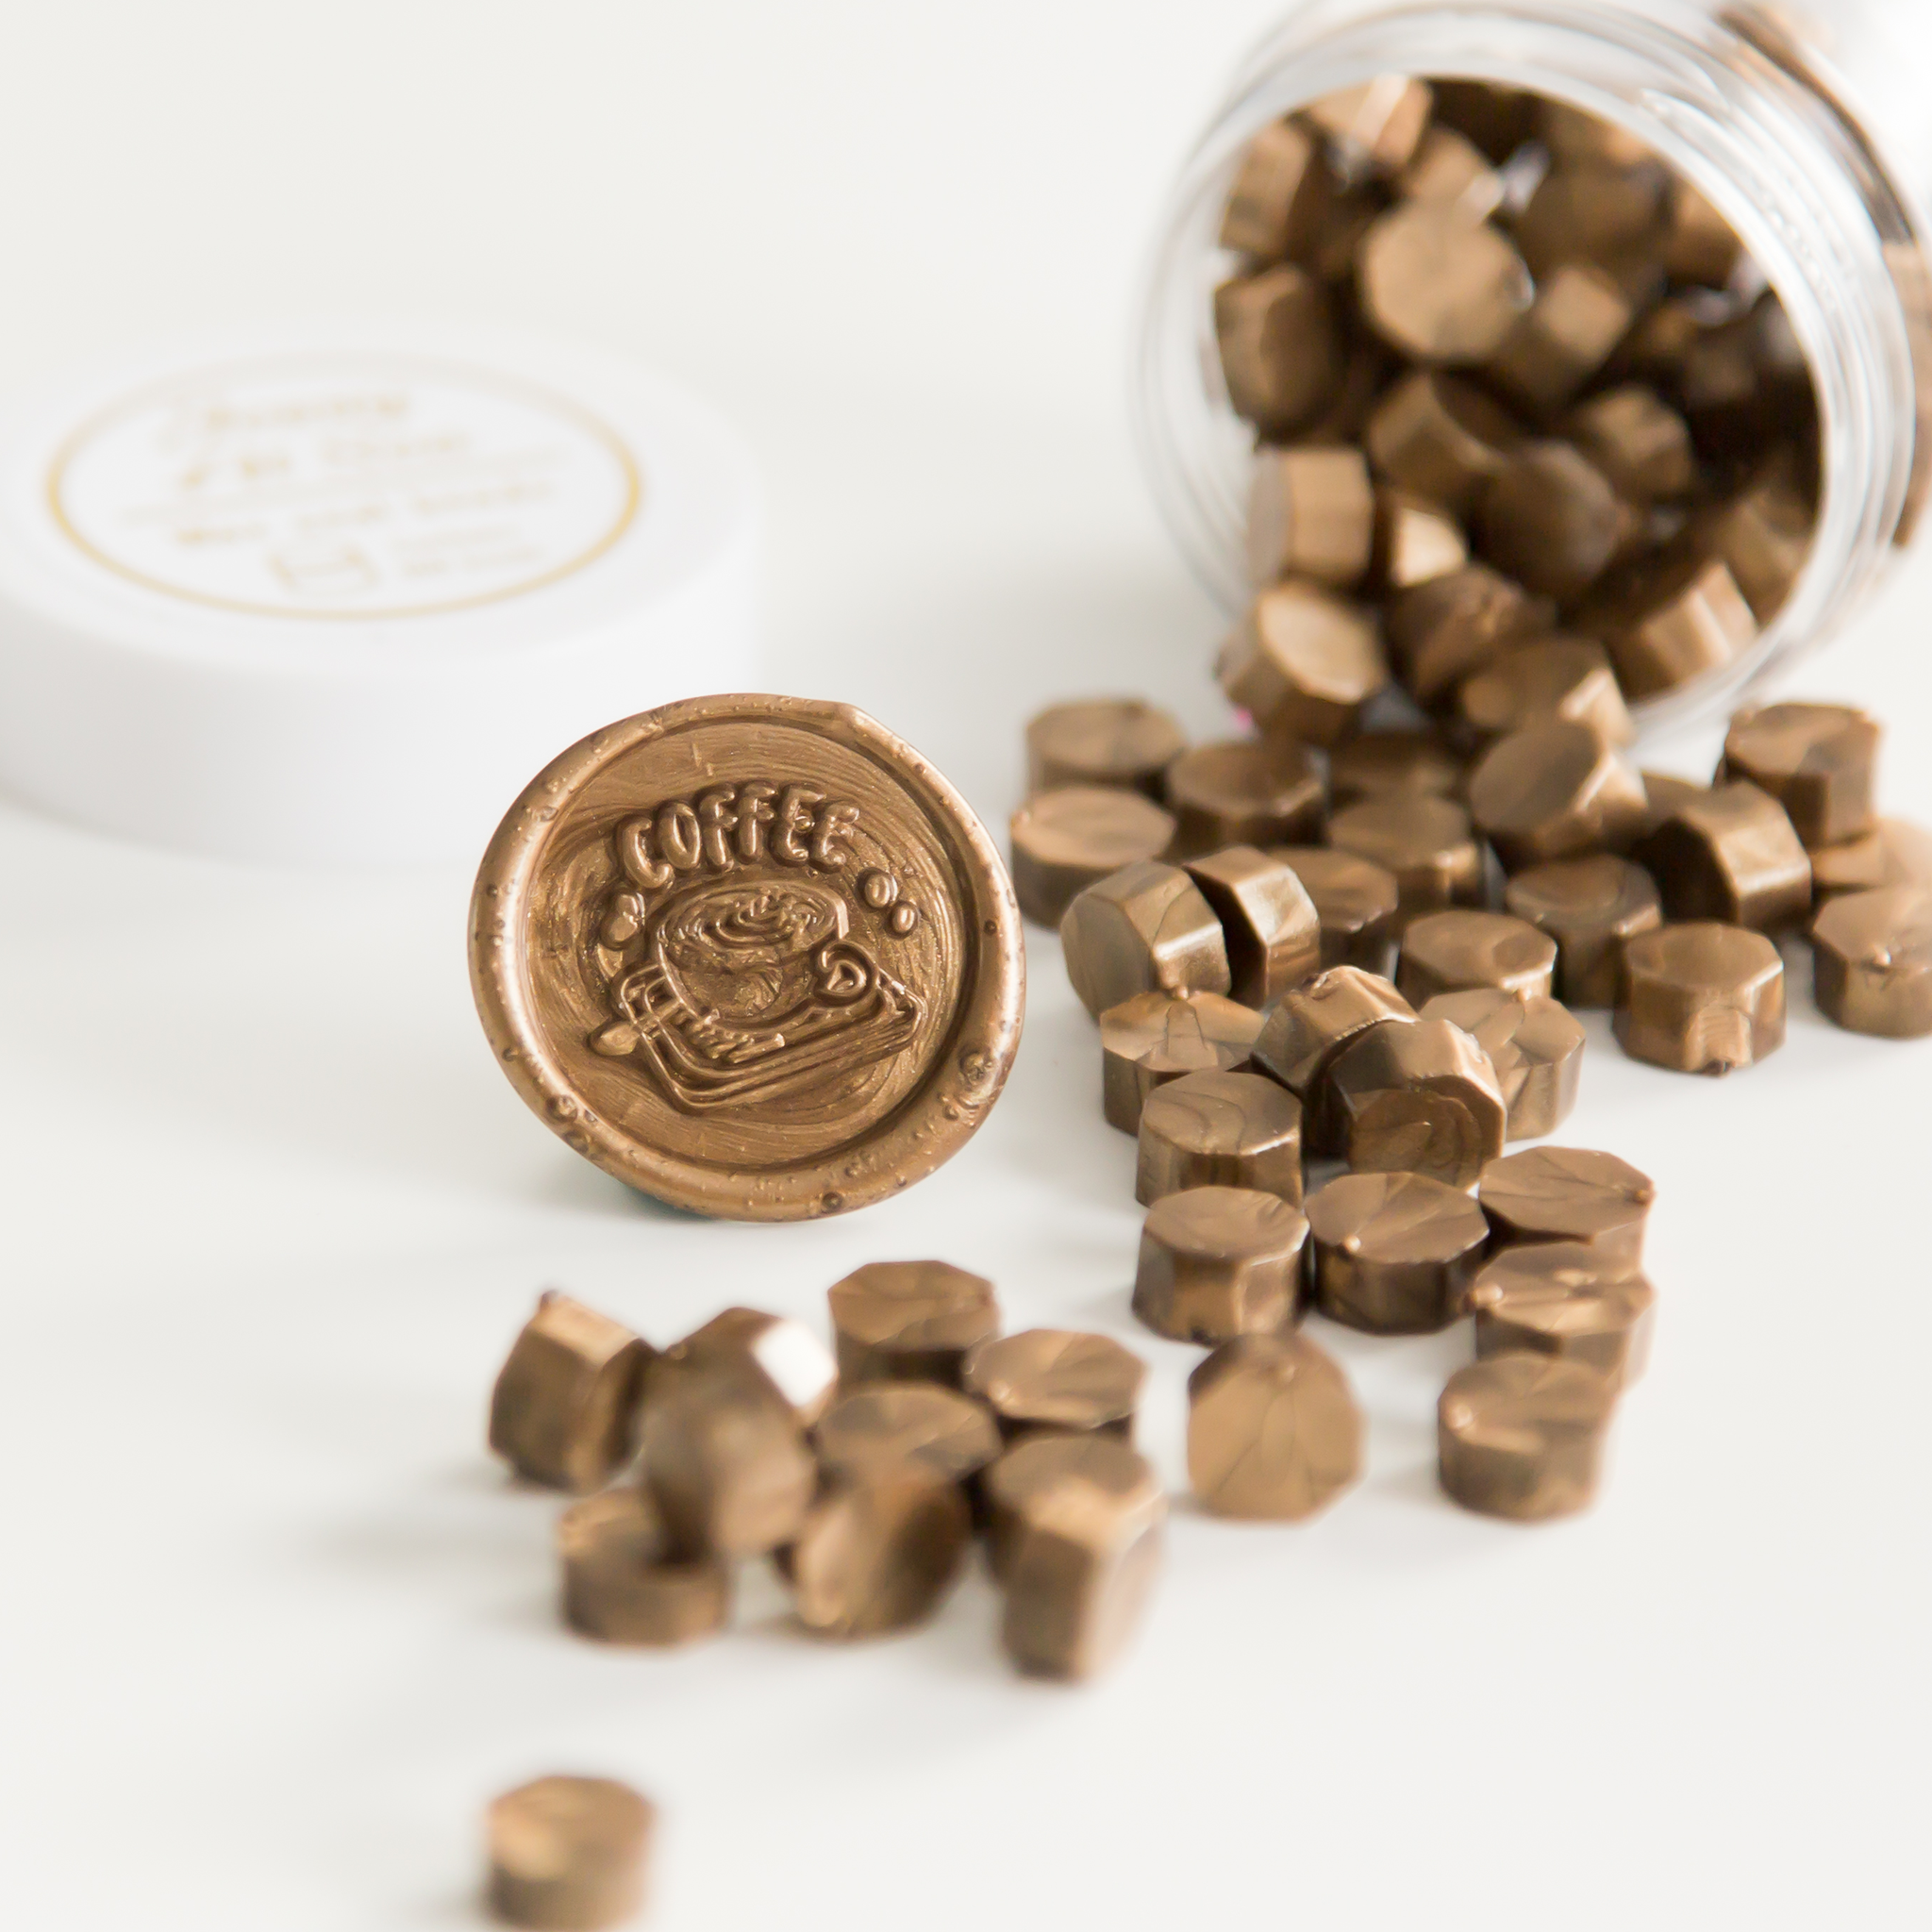
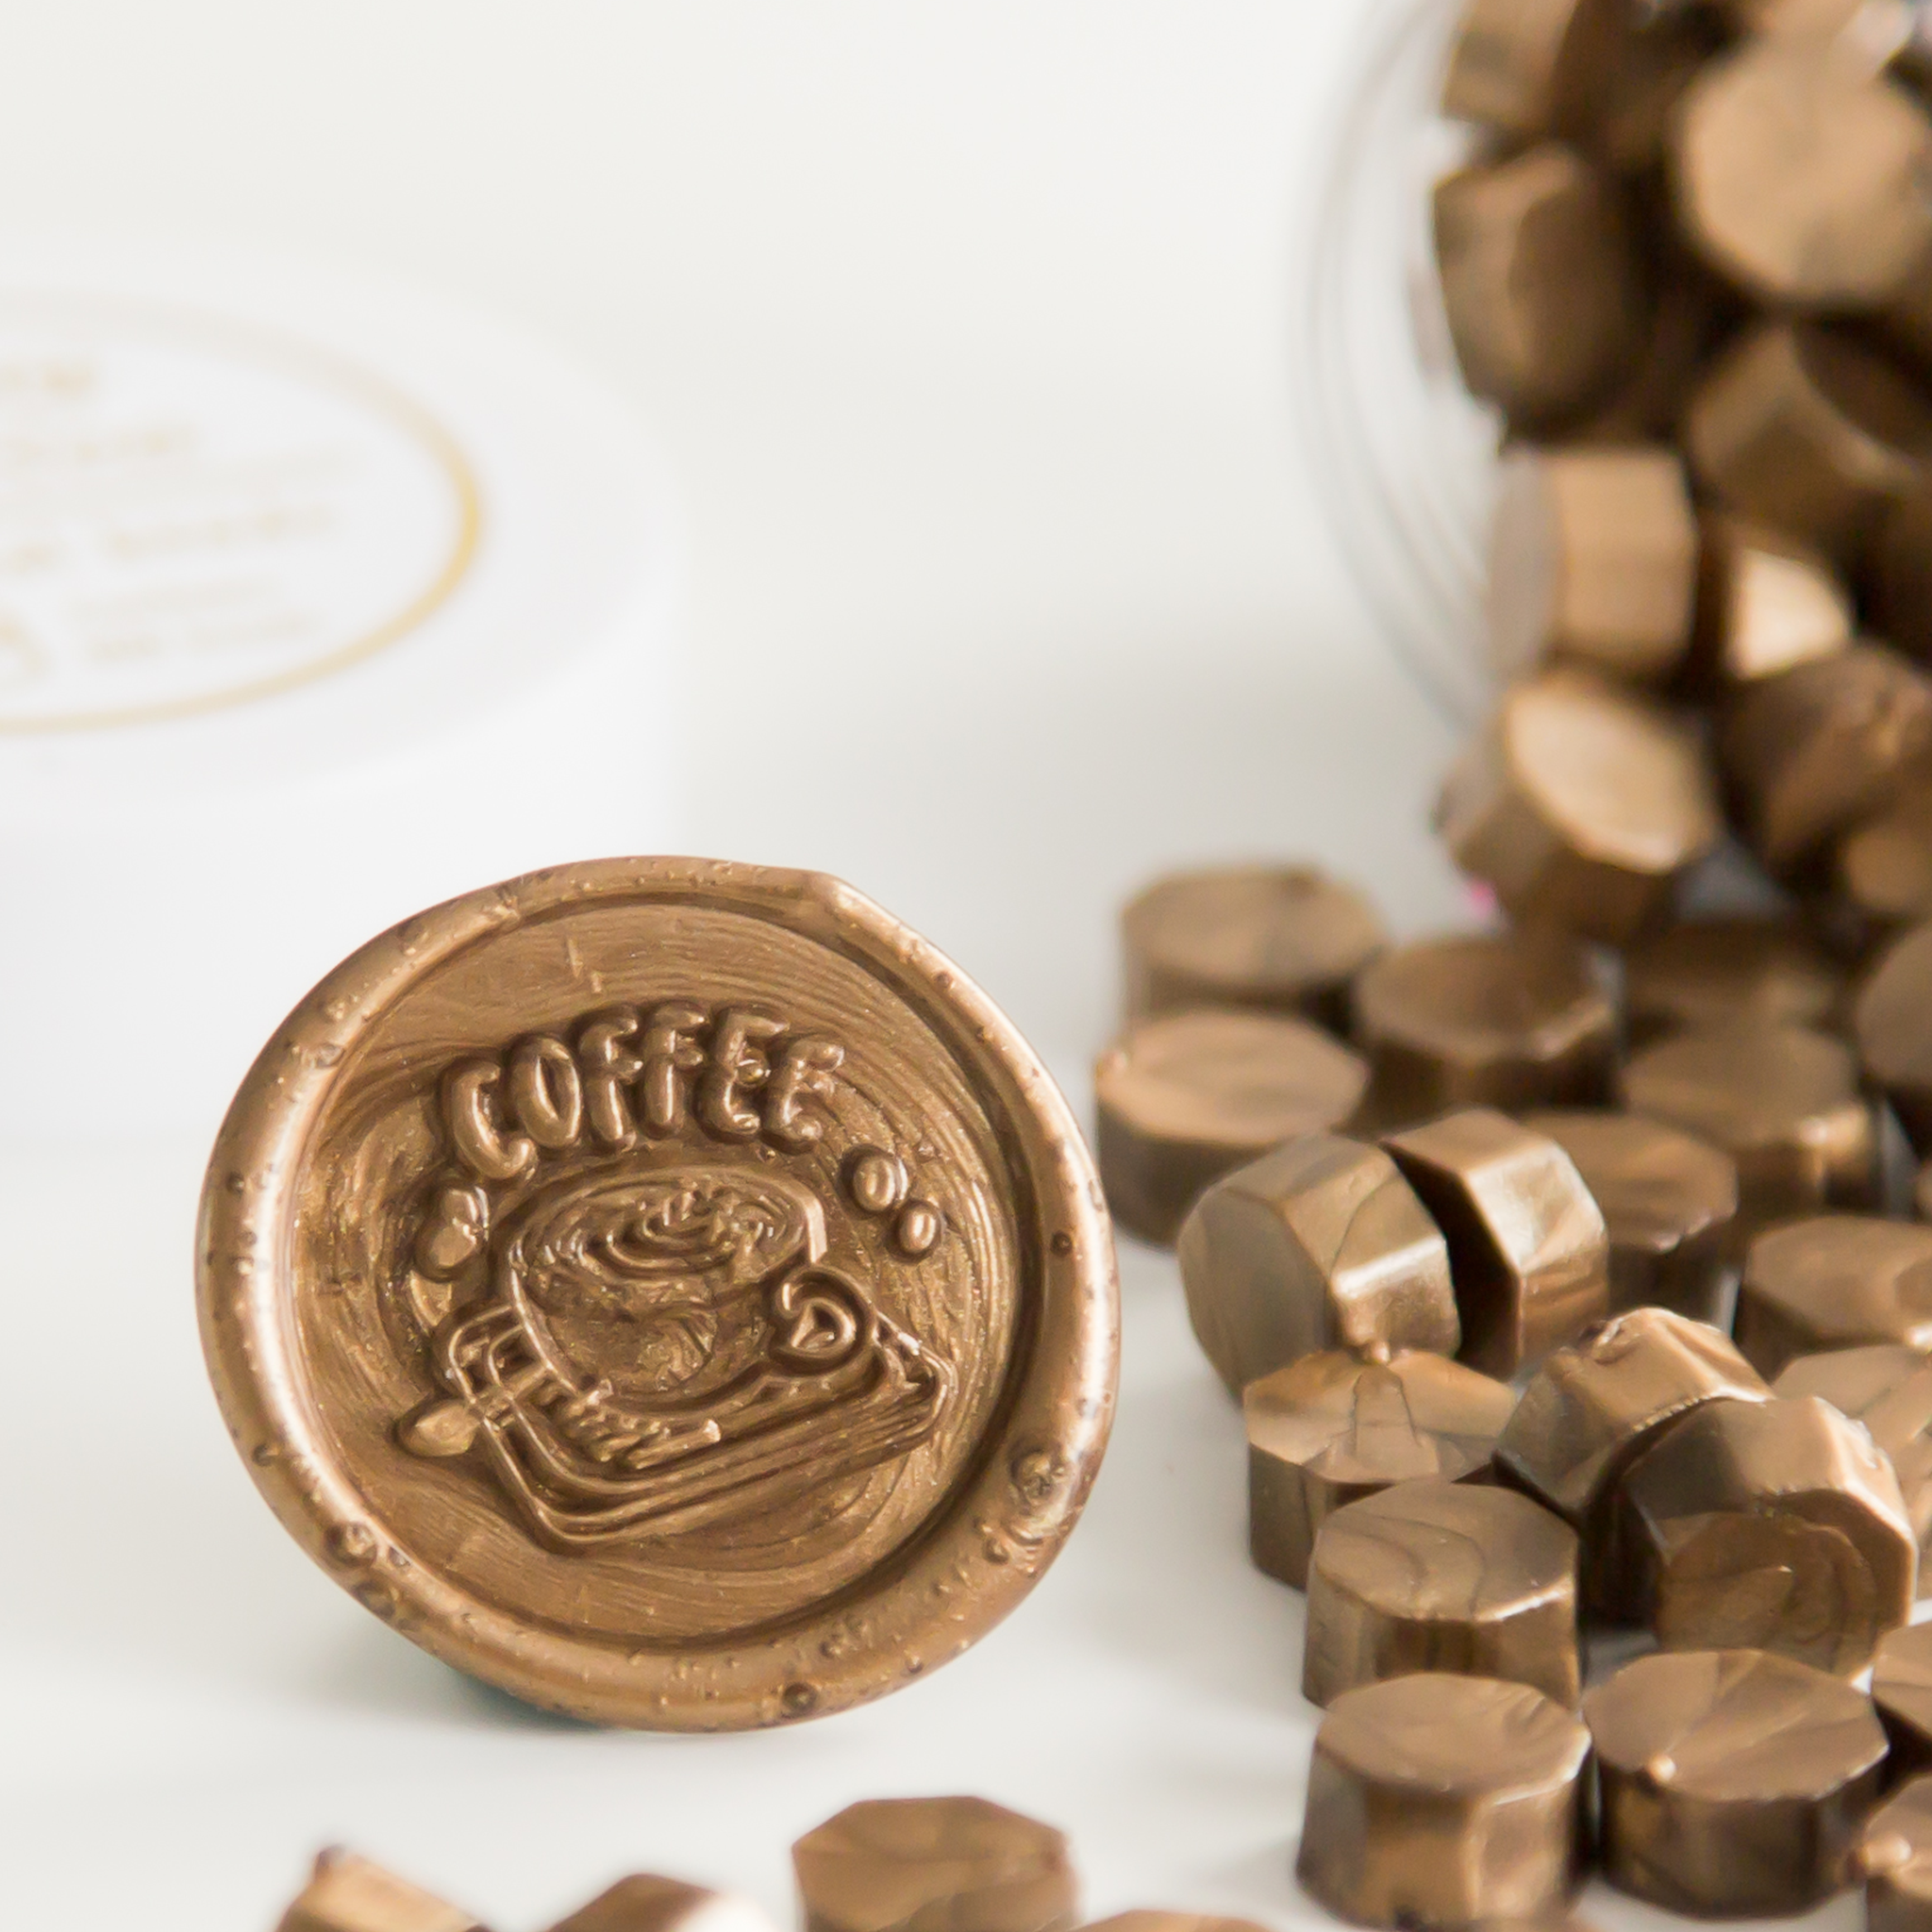
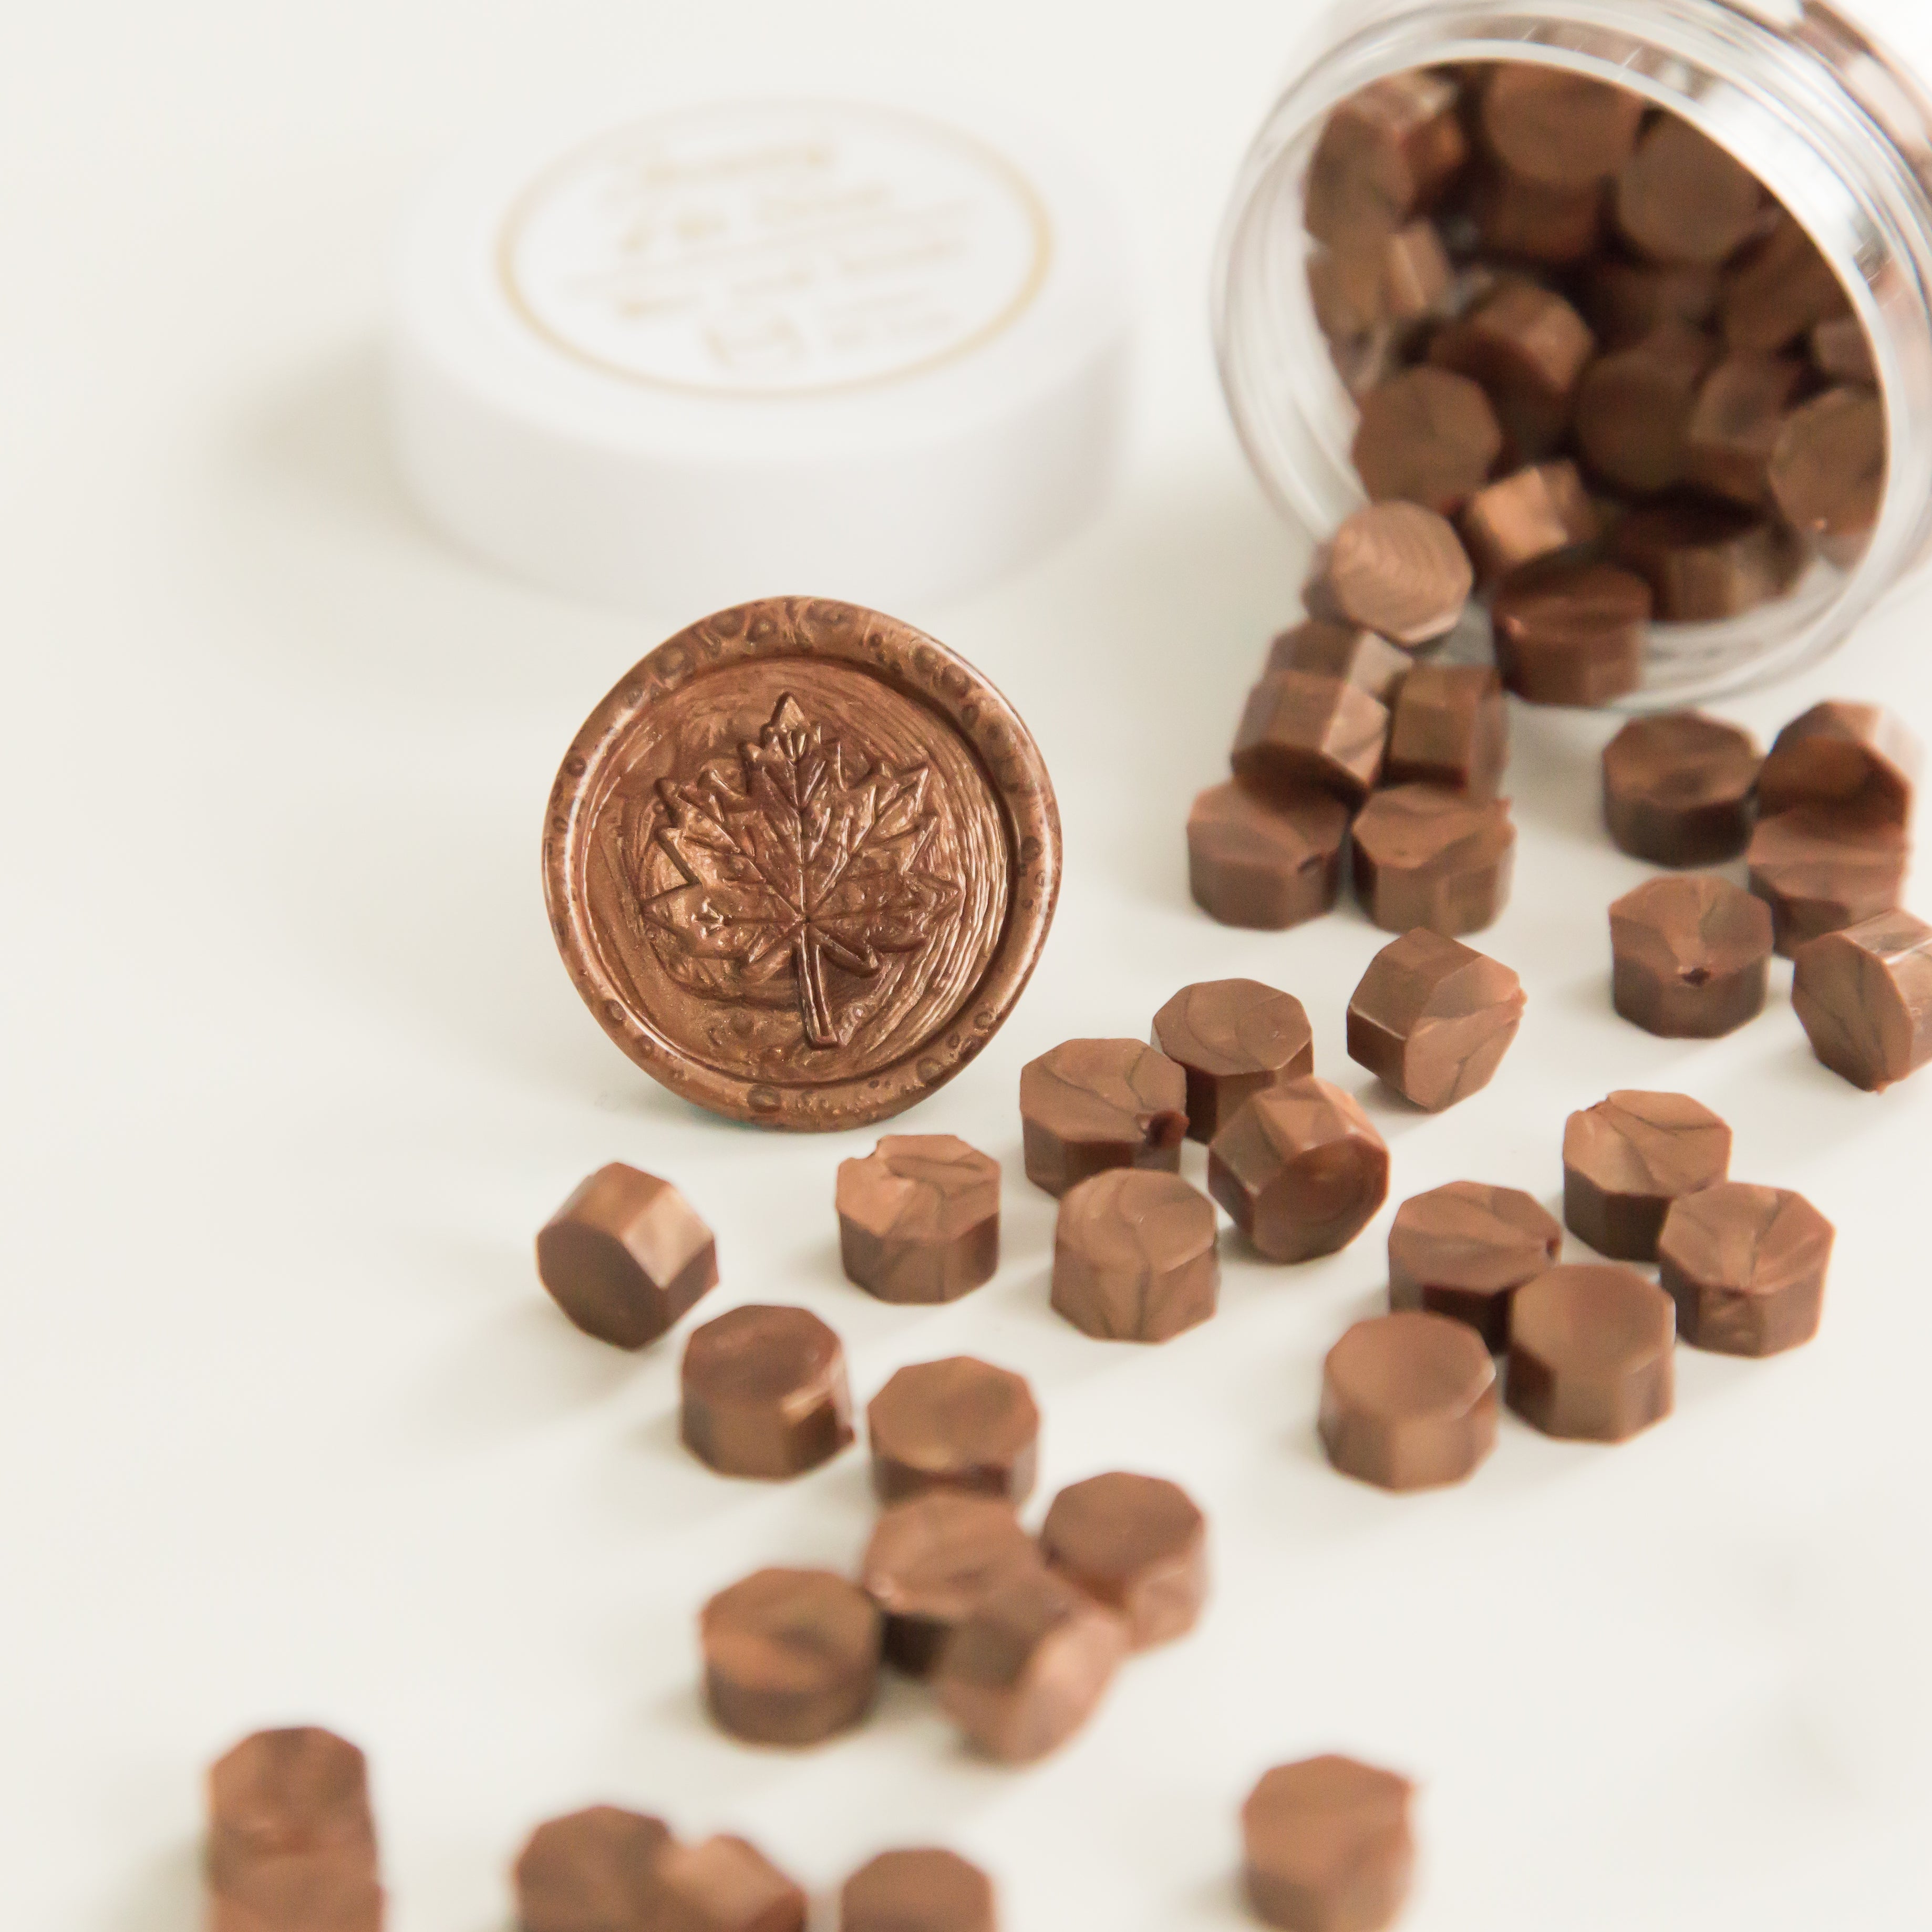
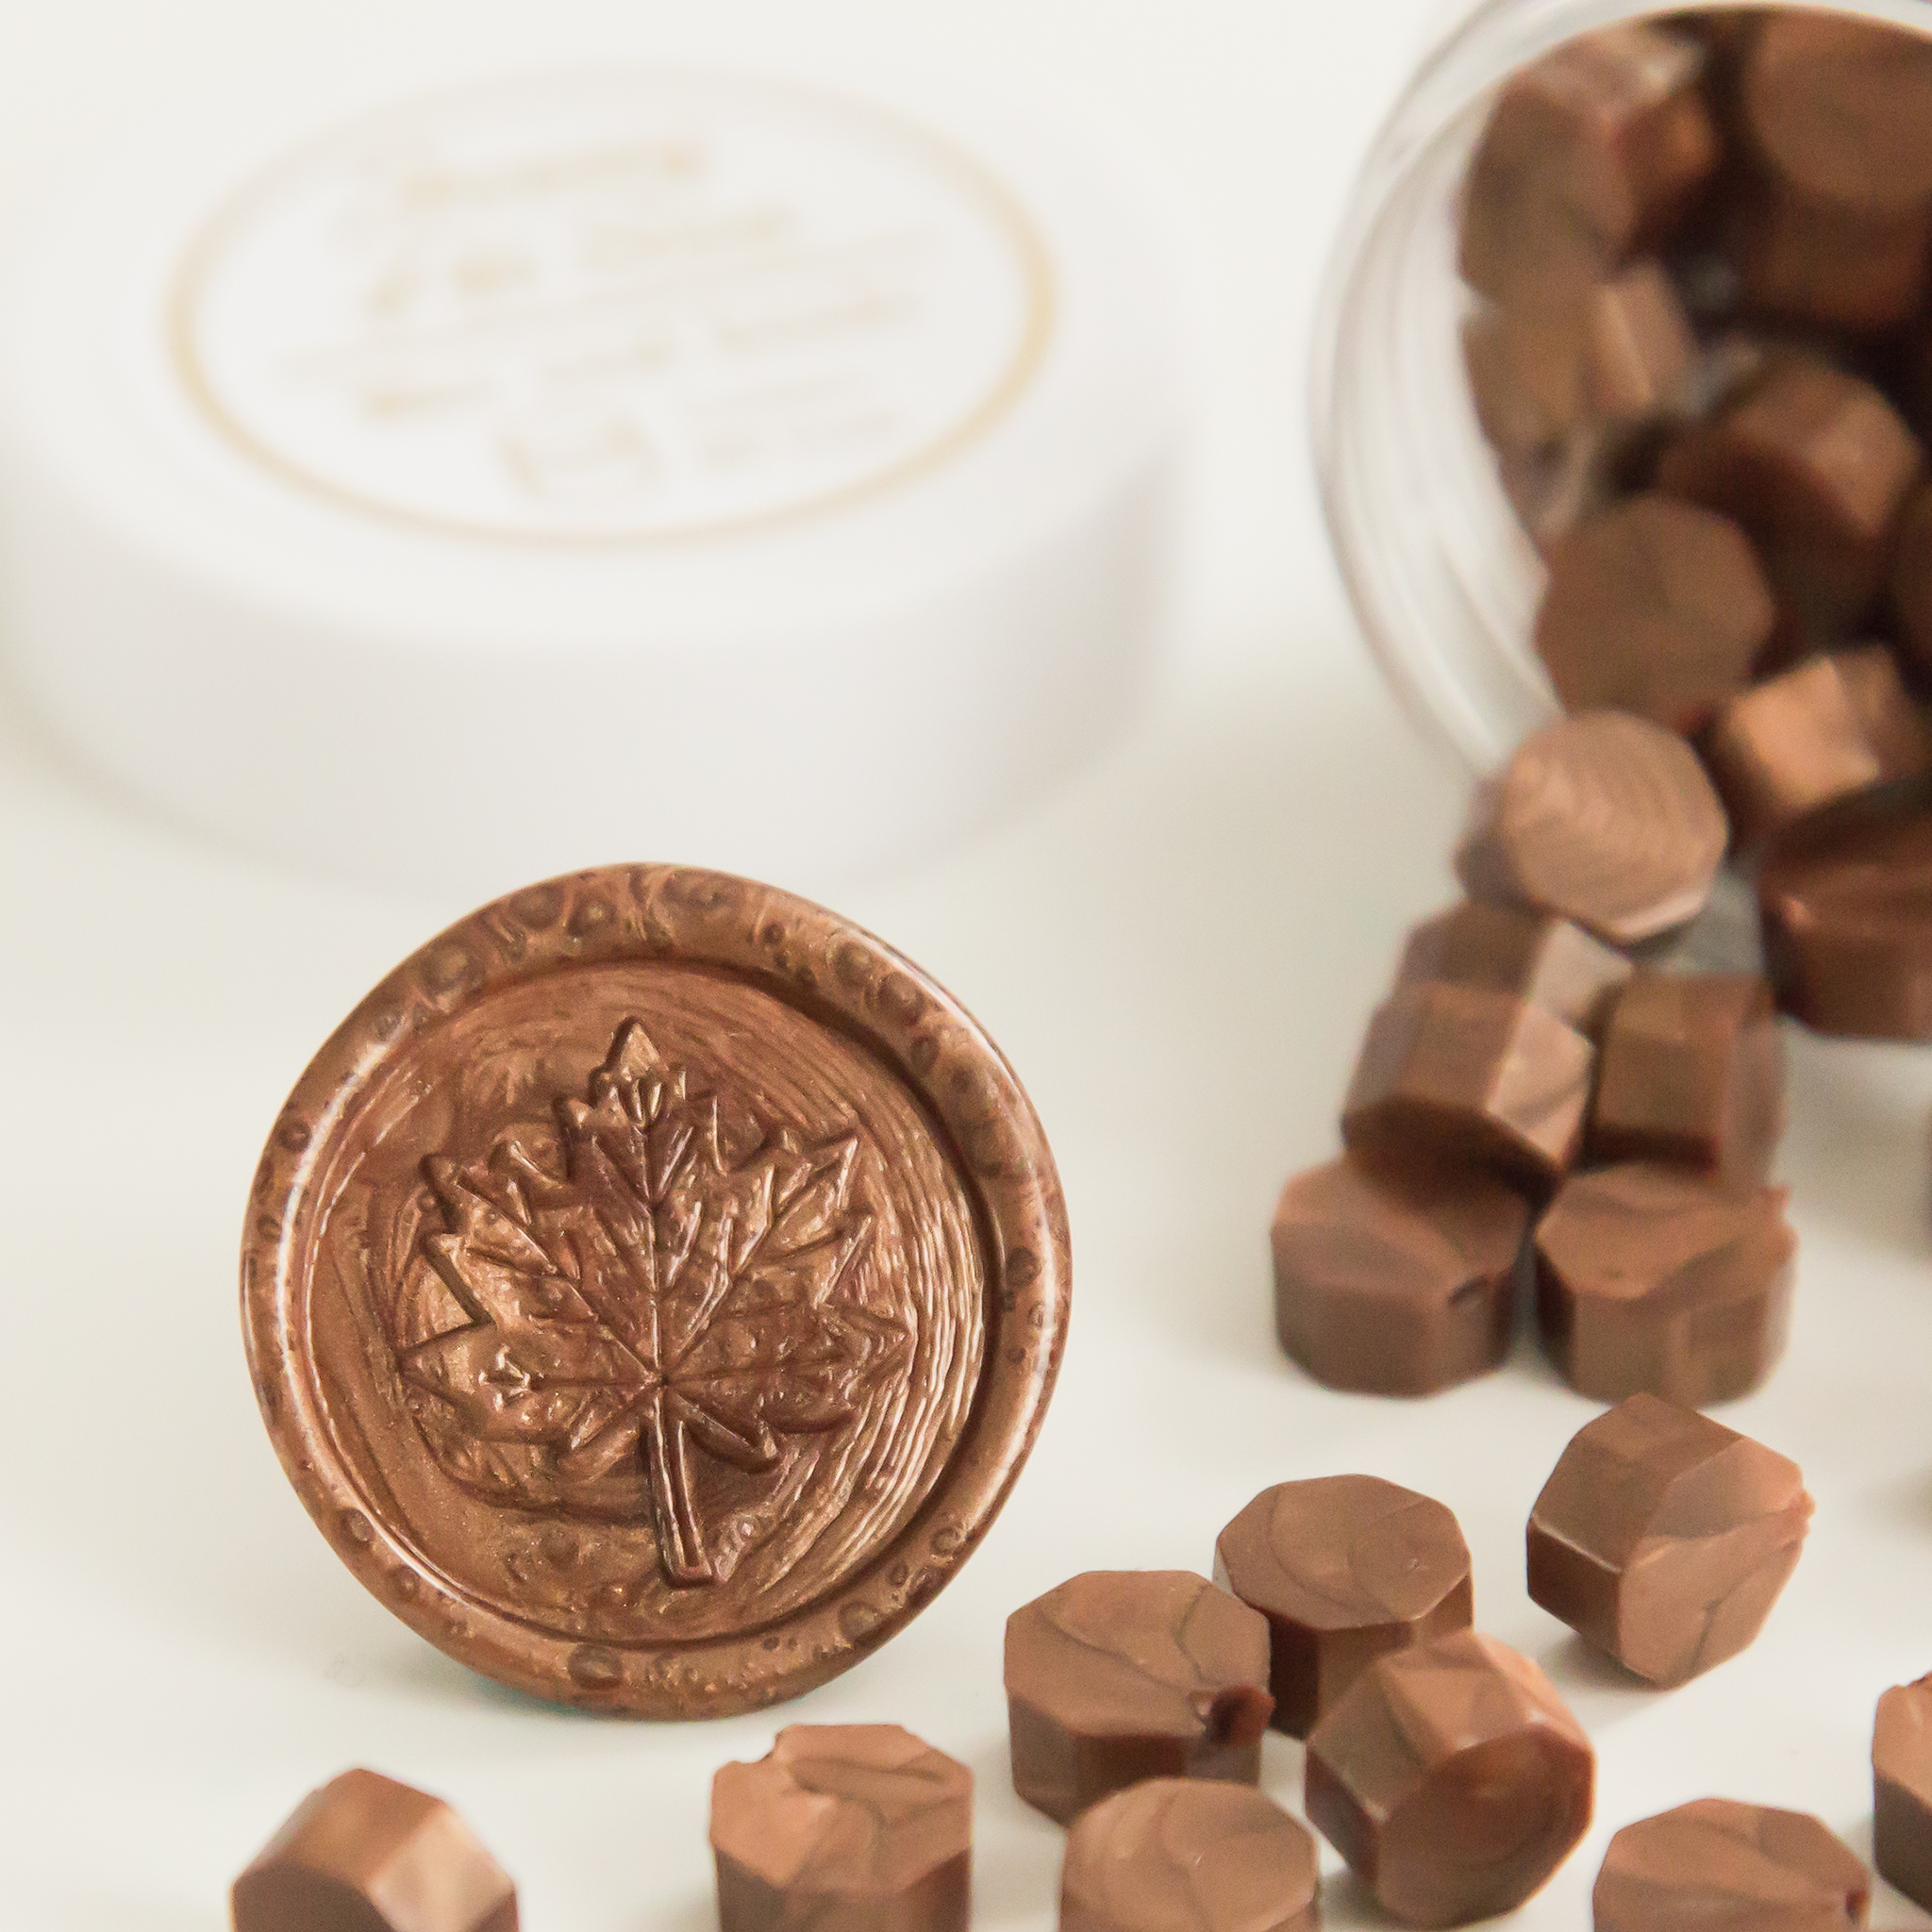
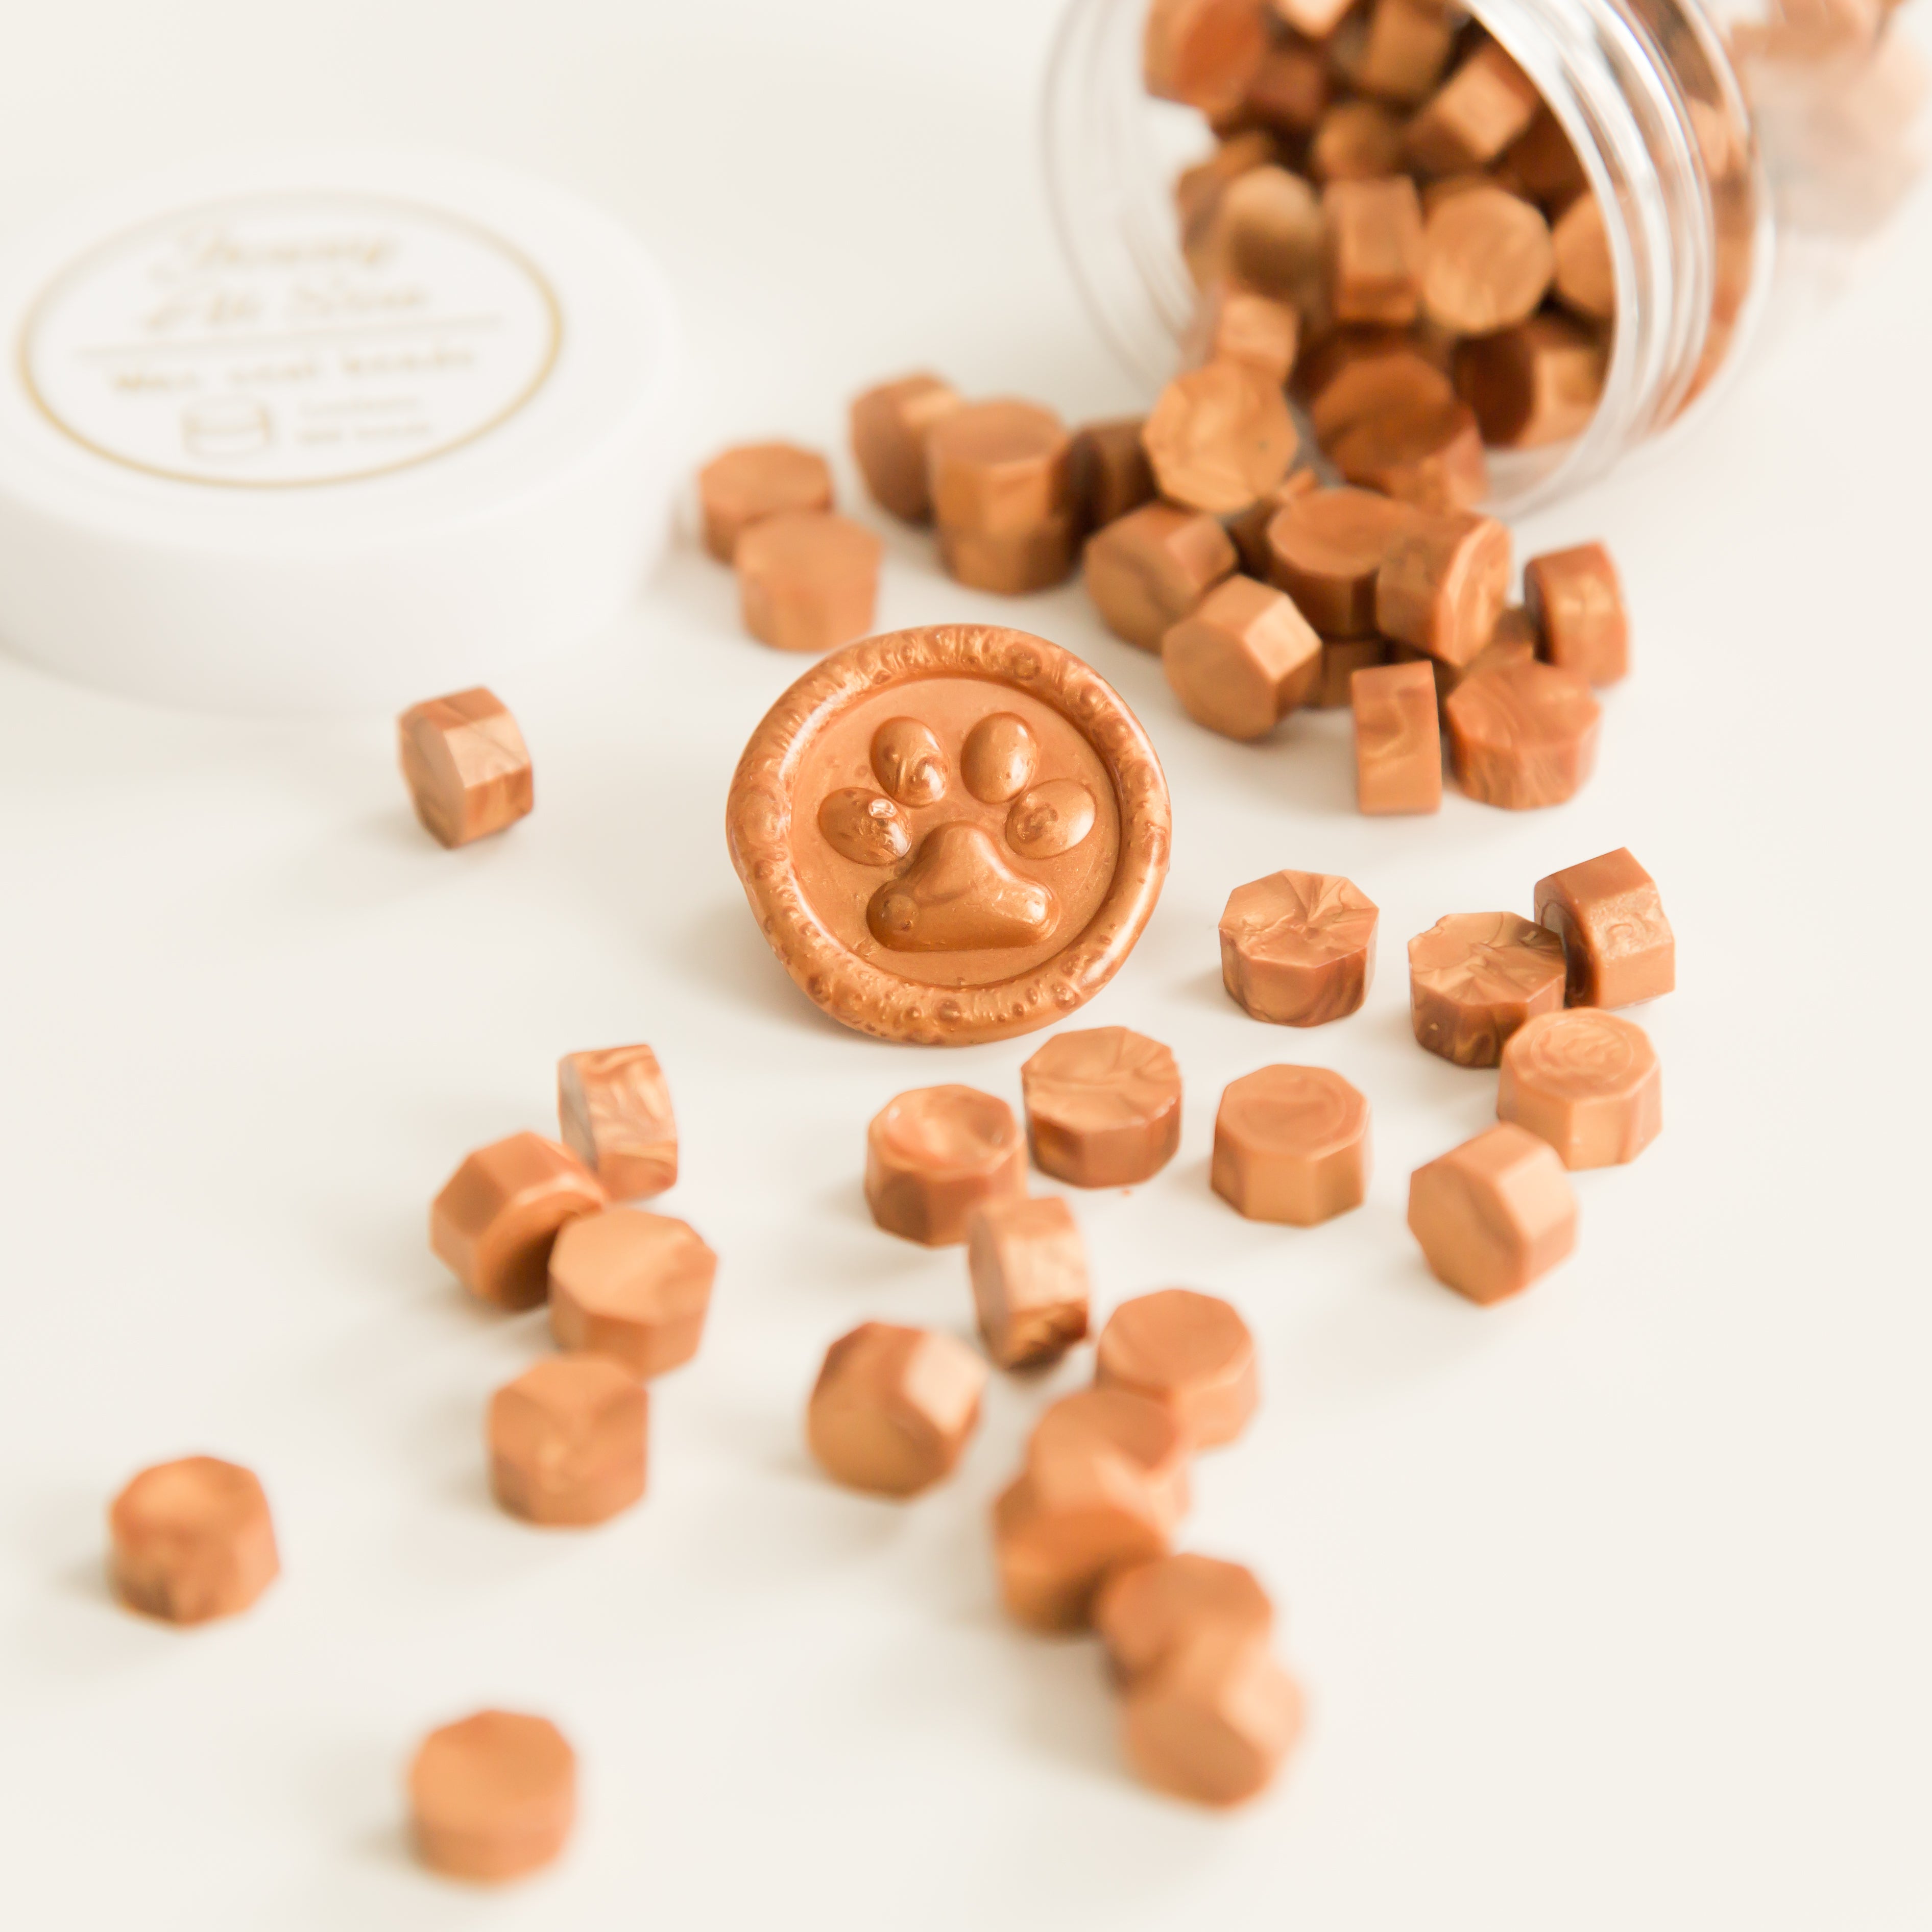
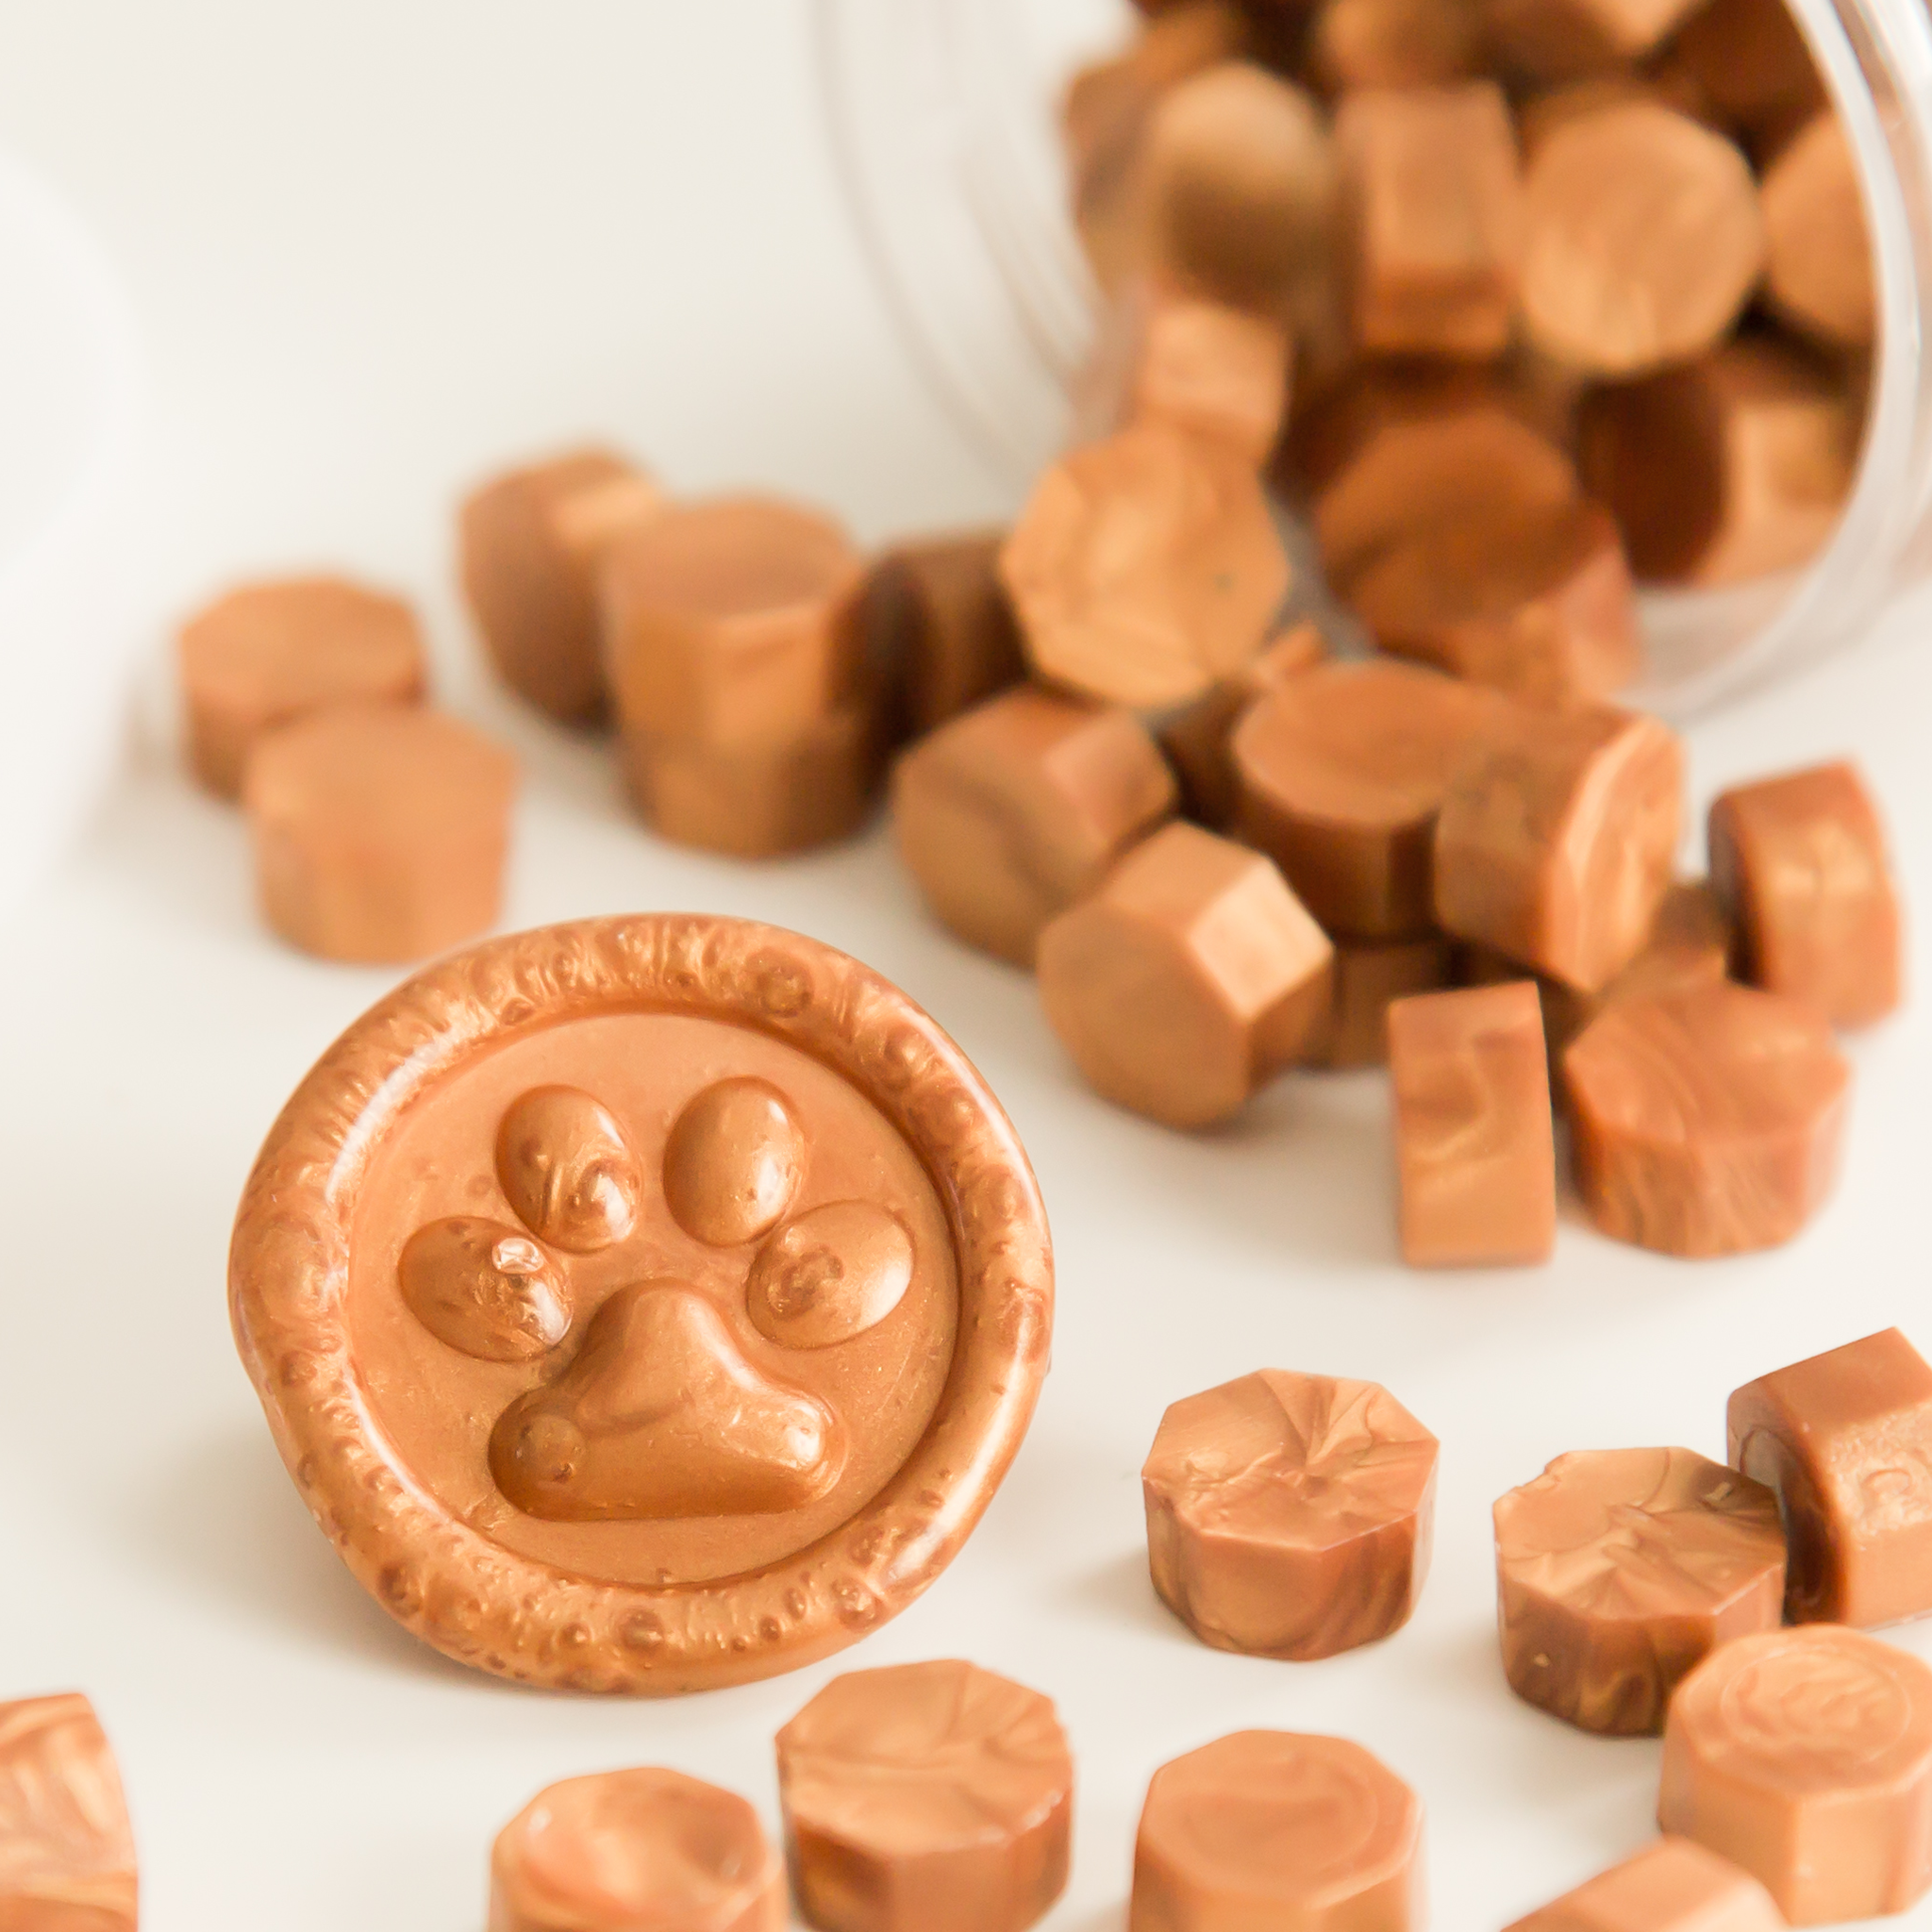
Sealing Wax Brown
Create your own brown wax seals with JessyAtSea
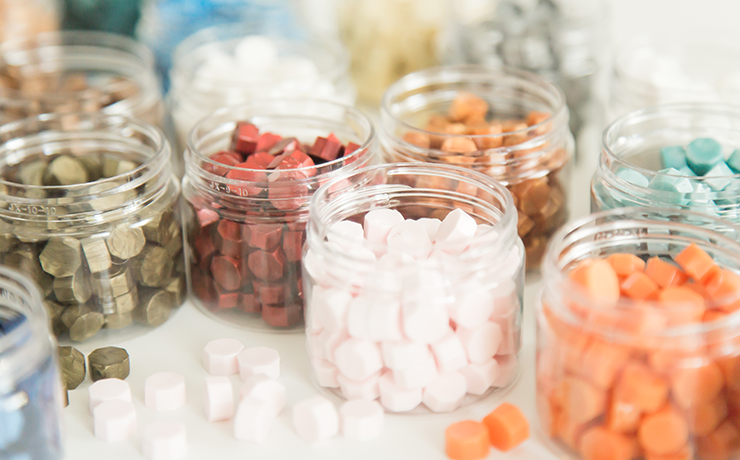
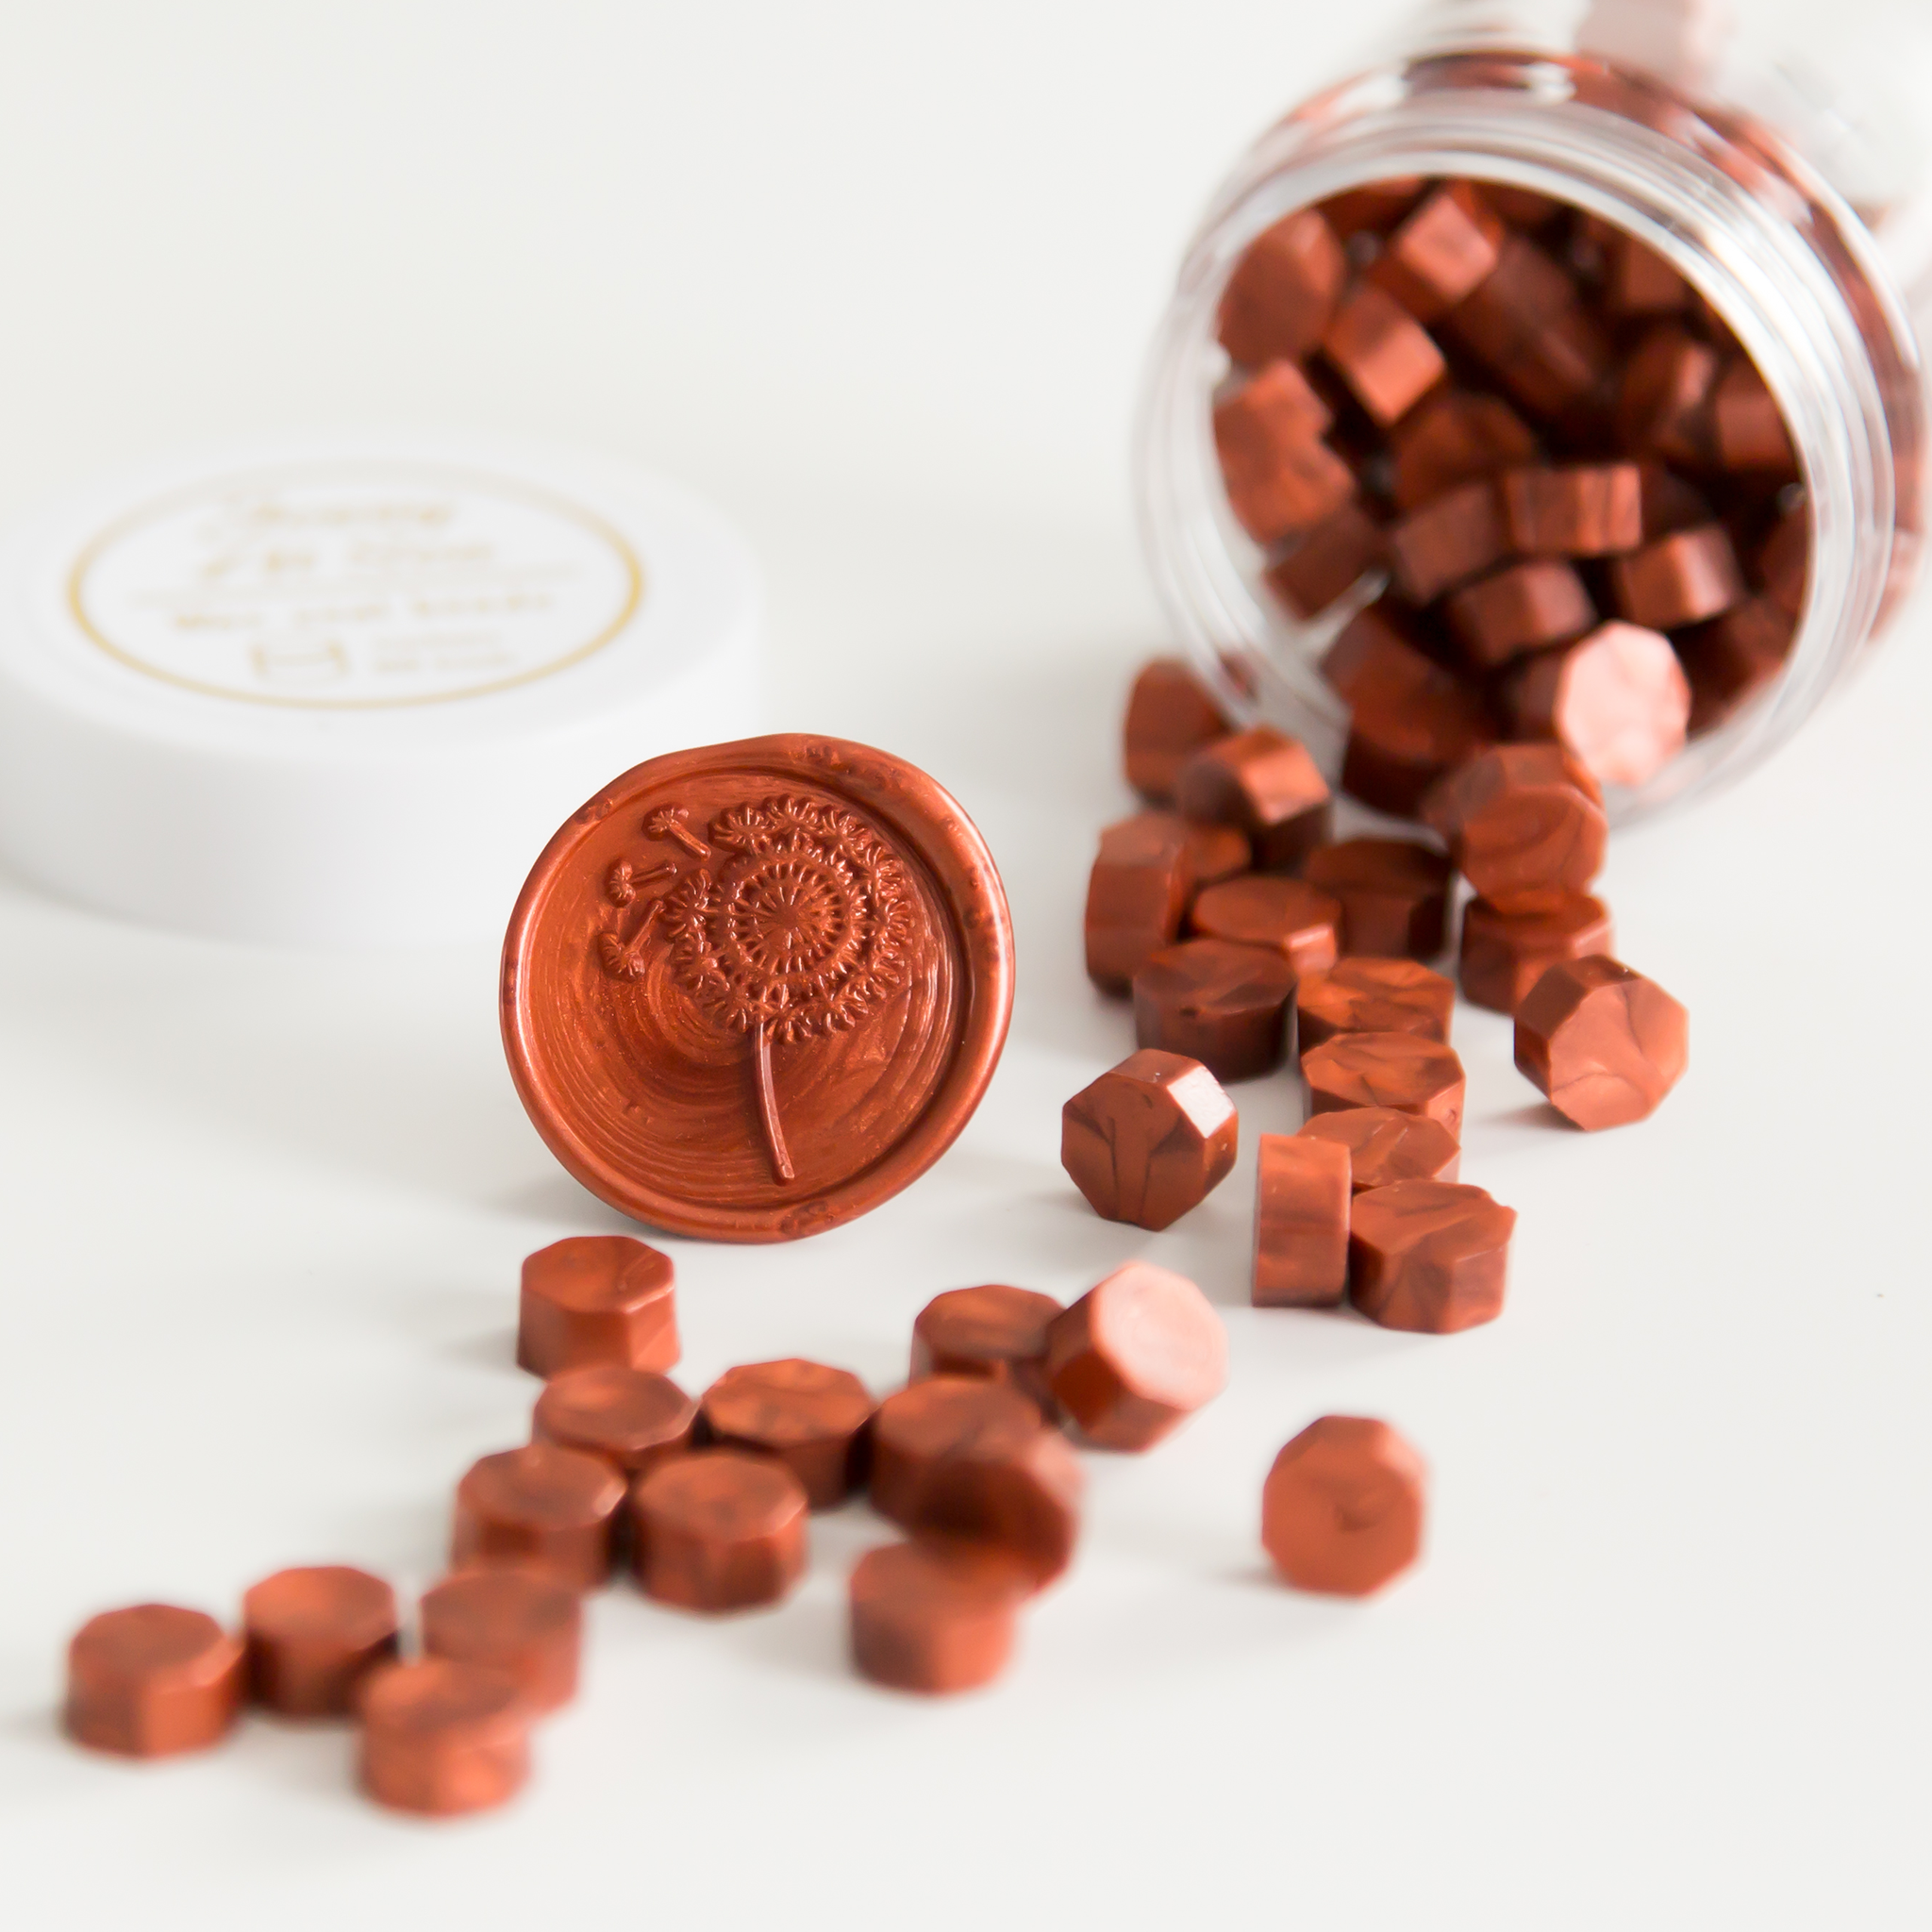
Brown is a true favourite and an essential colour in our collection. Whether you're looking for a warm copper, rich espresso or a glossy bronze, at JessyAtSea you’ll find the perfect sealing wax in the brown shade you’re looking for. Get inspired and discover how you can enhance your wax seal creations with our brown tones.
The look of a brown wax seal
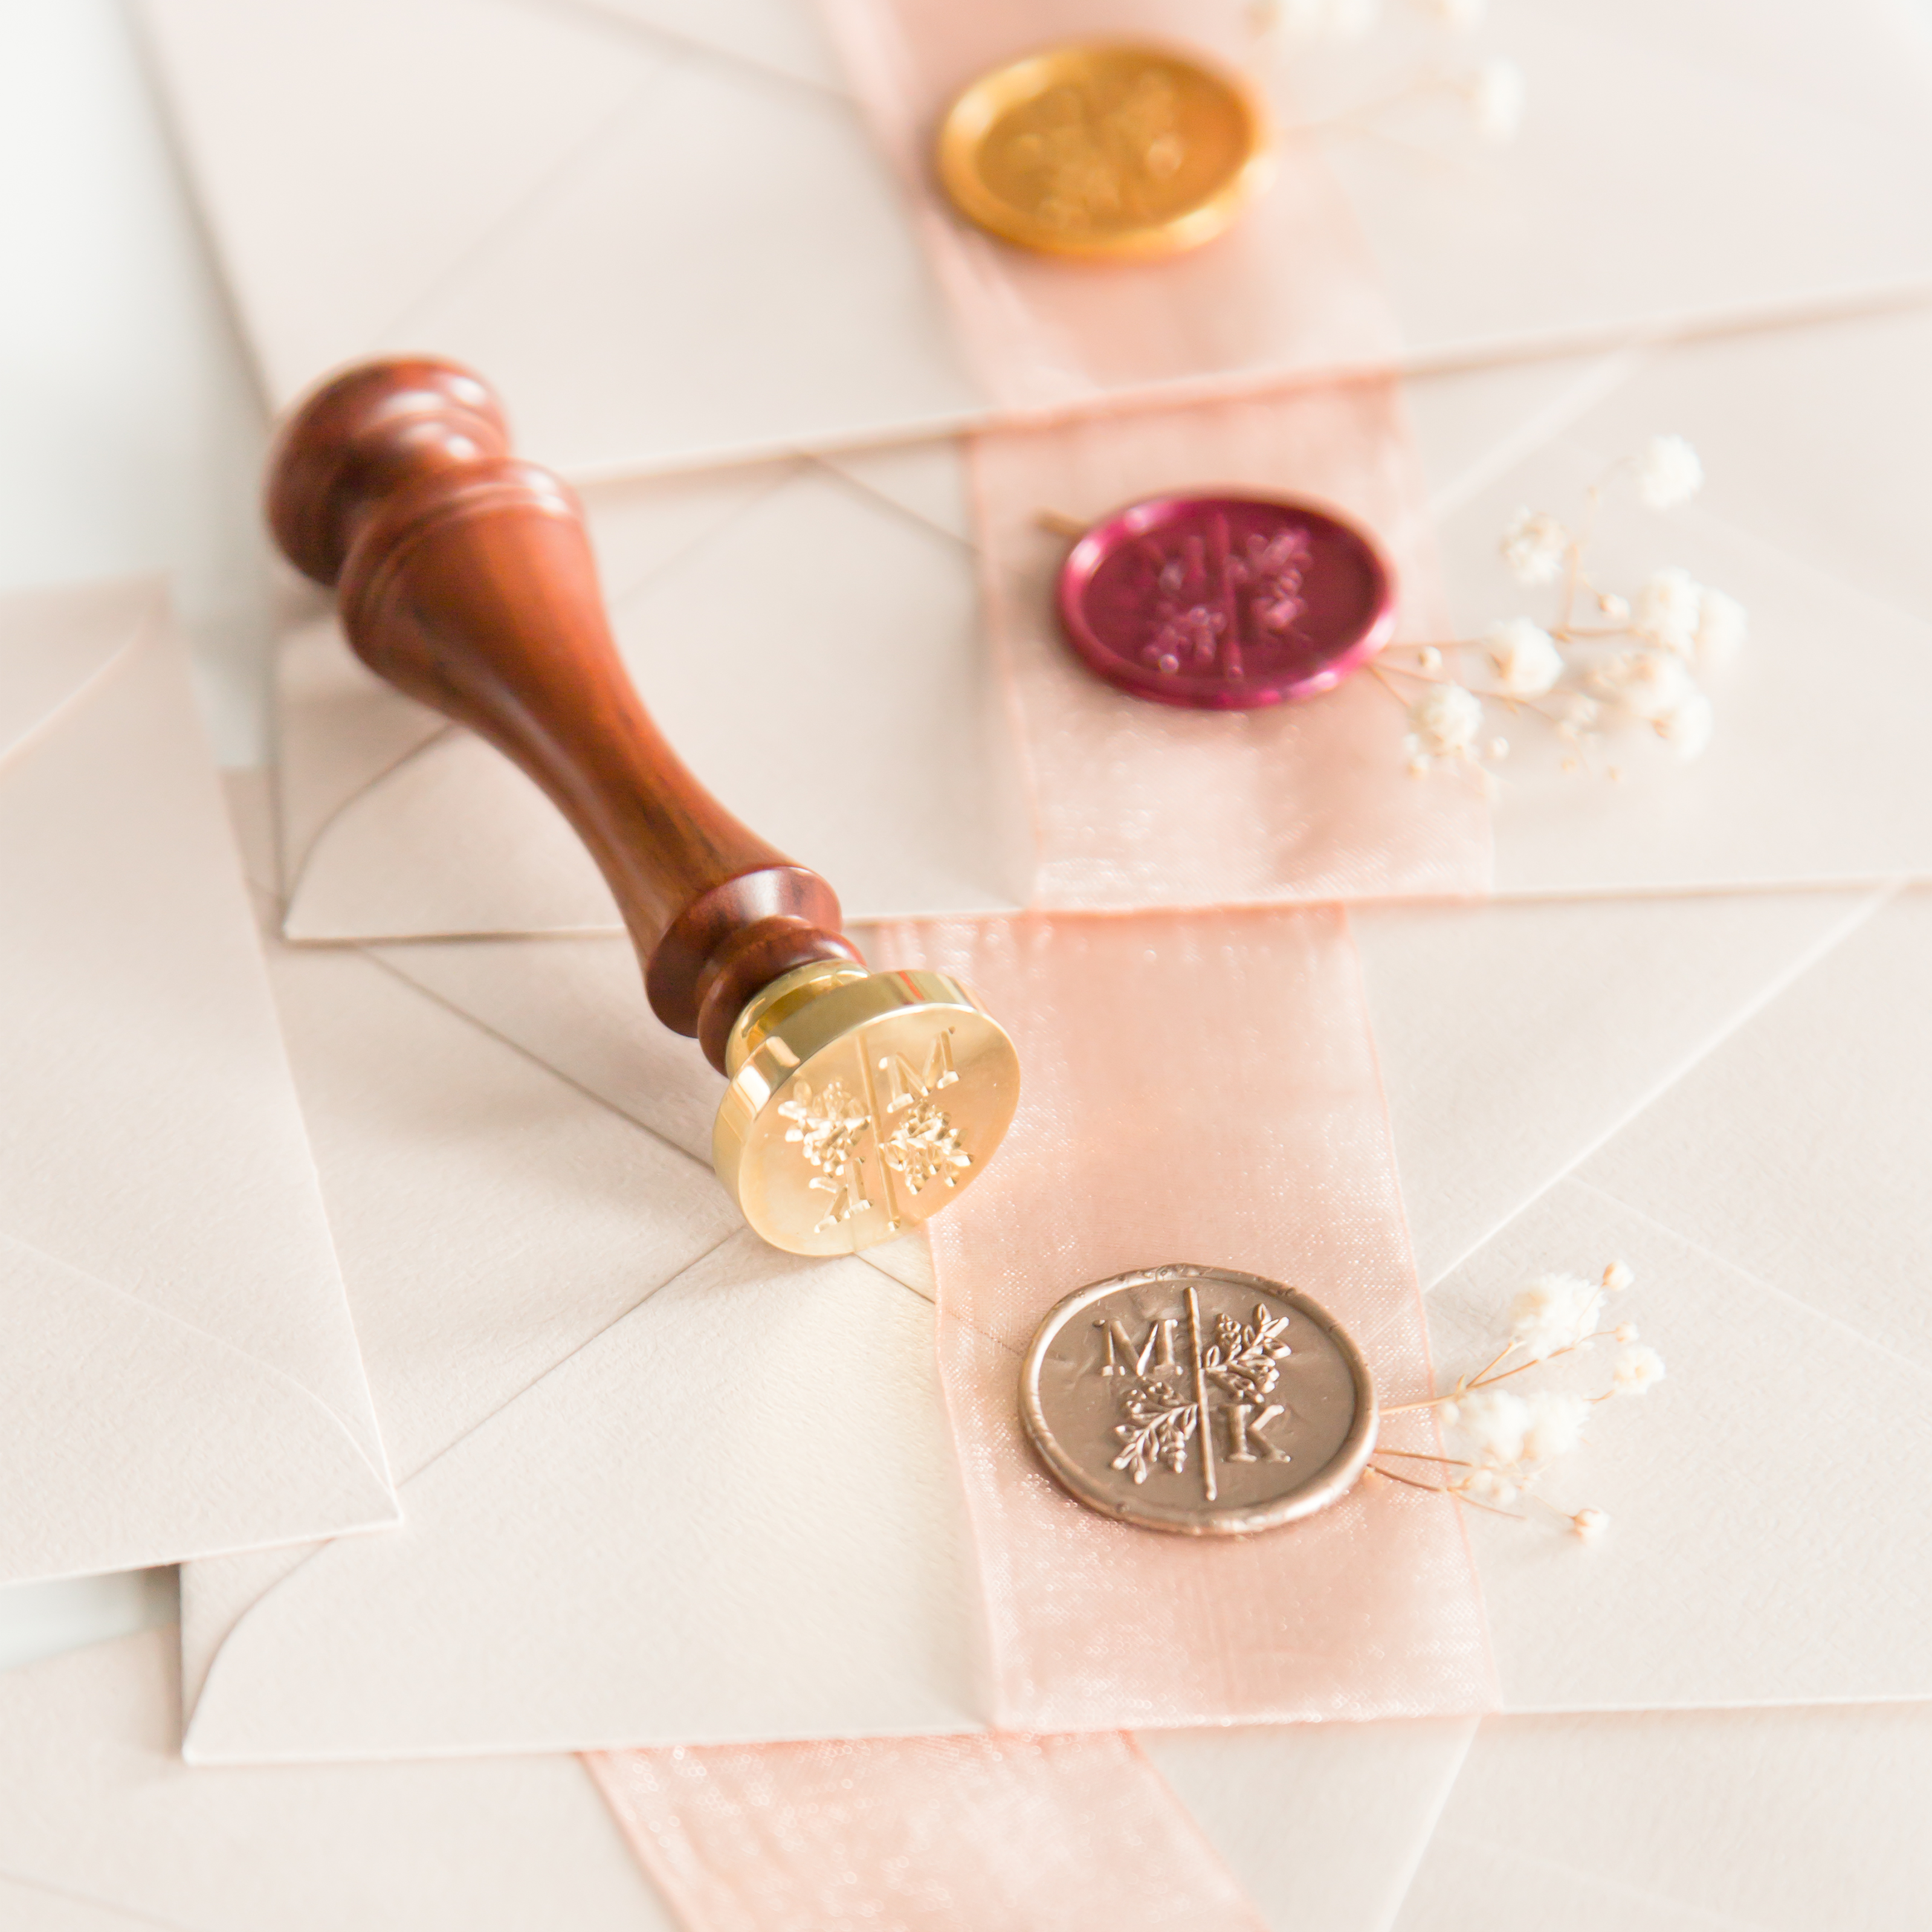
Brown radiates warmth and authenticity, making it perfect for sealing important documents, invitations for special occasions or decorating gift wrapping. Whether you choose a deep chocolate for a luxurious feel or a soft apricot for a more inviting tone, brown wax seals add undeniable charm to your creations.
How to make a brown wax seal
Want to create beautiful brown wax seals yourself? Start by choosing your favourite brown sealing wax and make sure you have a suitable wax seal stamp to give your creation a personal touch. Found the perfect stamp? Follow these simple steps:
- Step 1: Choose your favourite brown sealing wax
Go for the brown sealing wax that matches your style. We offer various shades of brown so you can experiment with the perfect tone.
- Step 2: Melt the brown wax
Place a handful of brown sealing wax in the wax seal oven and wait until it has fully melted. Make sure the wax has a smooth and glossy texture before moving on to the next step.
- Step 3: Pour the brown wax
Use the wax seal spoon to carefully pour the melted brown wax onto your desired surface. Whether it’s an envelope, gift wrapping or another creative project, spread the wax evenly for the best result.
- Step 4: Place the stamp on the brown wax
Press the wax seal stamp into the still warm brown wax and leave it in place for around 30 seconds. Allow the wax to cool and harden before removing the stamp.
- Step 5: Admire your handmade brown wax seal
Once the brown wax has fully cooled, carefully remove the stamp and admire the beautiful result of your own brown wax seal. Enjoy the shine, the details and the unique finish!
Brown sealing wax for the most beautiful creations
Ready to take your creative projects to the next level with brown wax seals? Not quite sure how to use them yet? No worries, here are a few ideas:
- Decorate invitations for special occasions such as weddings, anniversaries and birthday parties with brown wax seals for a warm and inviting look.
- Personalise handwritten letters, cards and notes with brown wax seals to add a personal touch and leave a lasting impression.
- Create unique gift wrapping with brown wax seals on string, kraft paper and natural materials for a rustic and charming presentation.
Jessy’s service
Ready to start experimenting with brown sealing wax? If you have any questions or need help getting started, I’m here for you! Feel free to contact us via the chat in the bottom left corner of your screen for quick assistance. You can also email us at info@jessyatsea.com. I look forward to helping you create beautiful brown wax seals that make your projects shine!
P.S. Want to get started straight away but not sure which products you need? No worries — we have a special Wax Seal Kit that you can customise yourself. It includes everything you need to create stunning brown wax seals, including a wax seal stamp and brown sealing wax of your choice!