

Filters
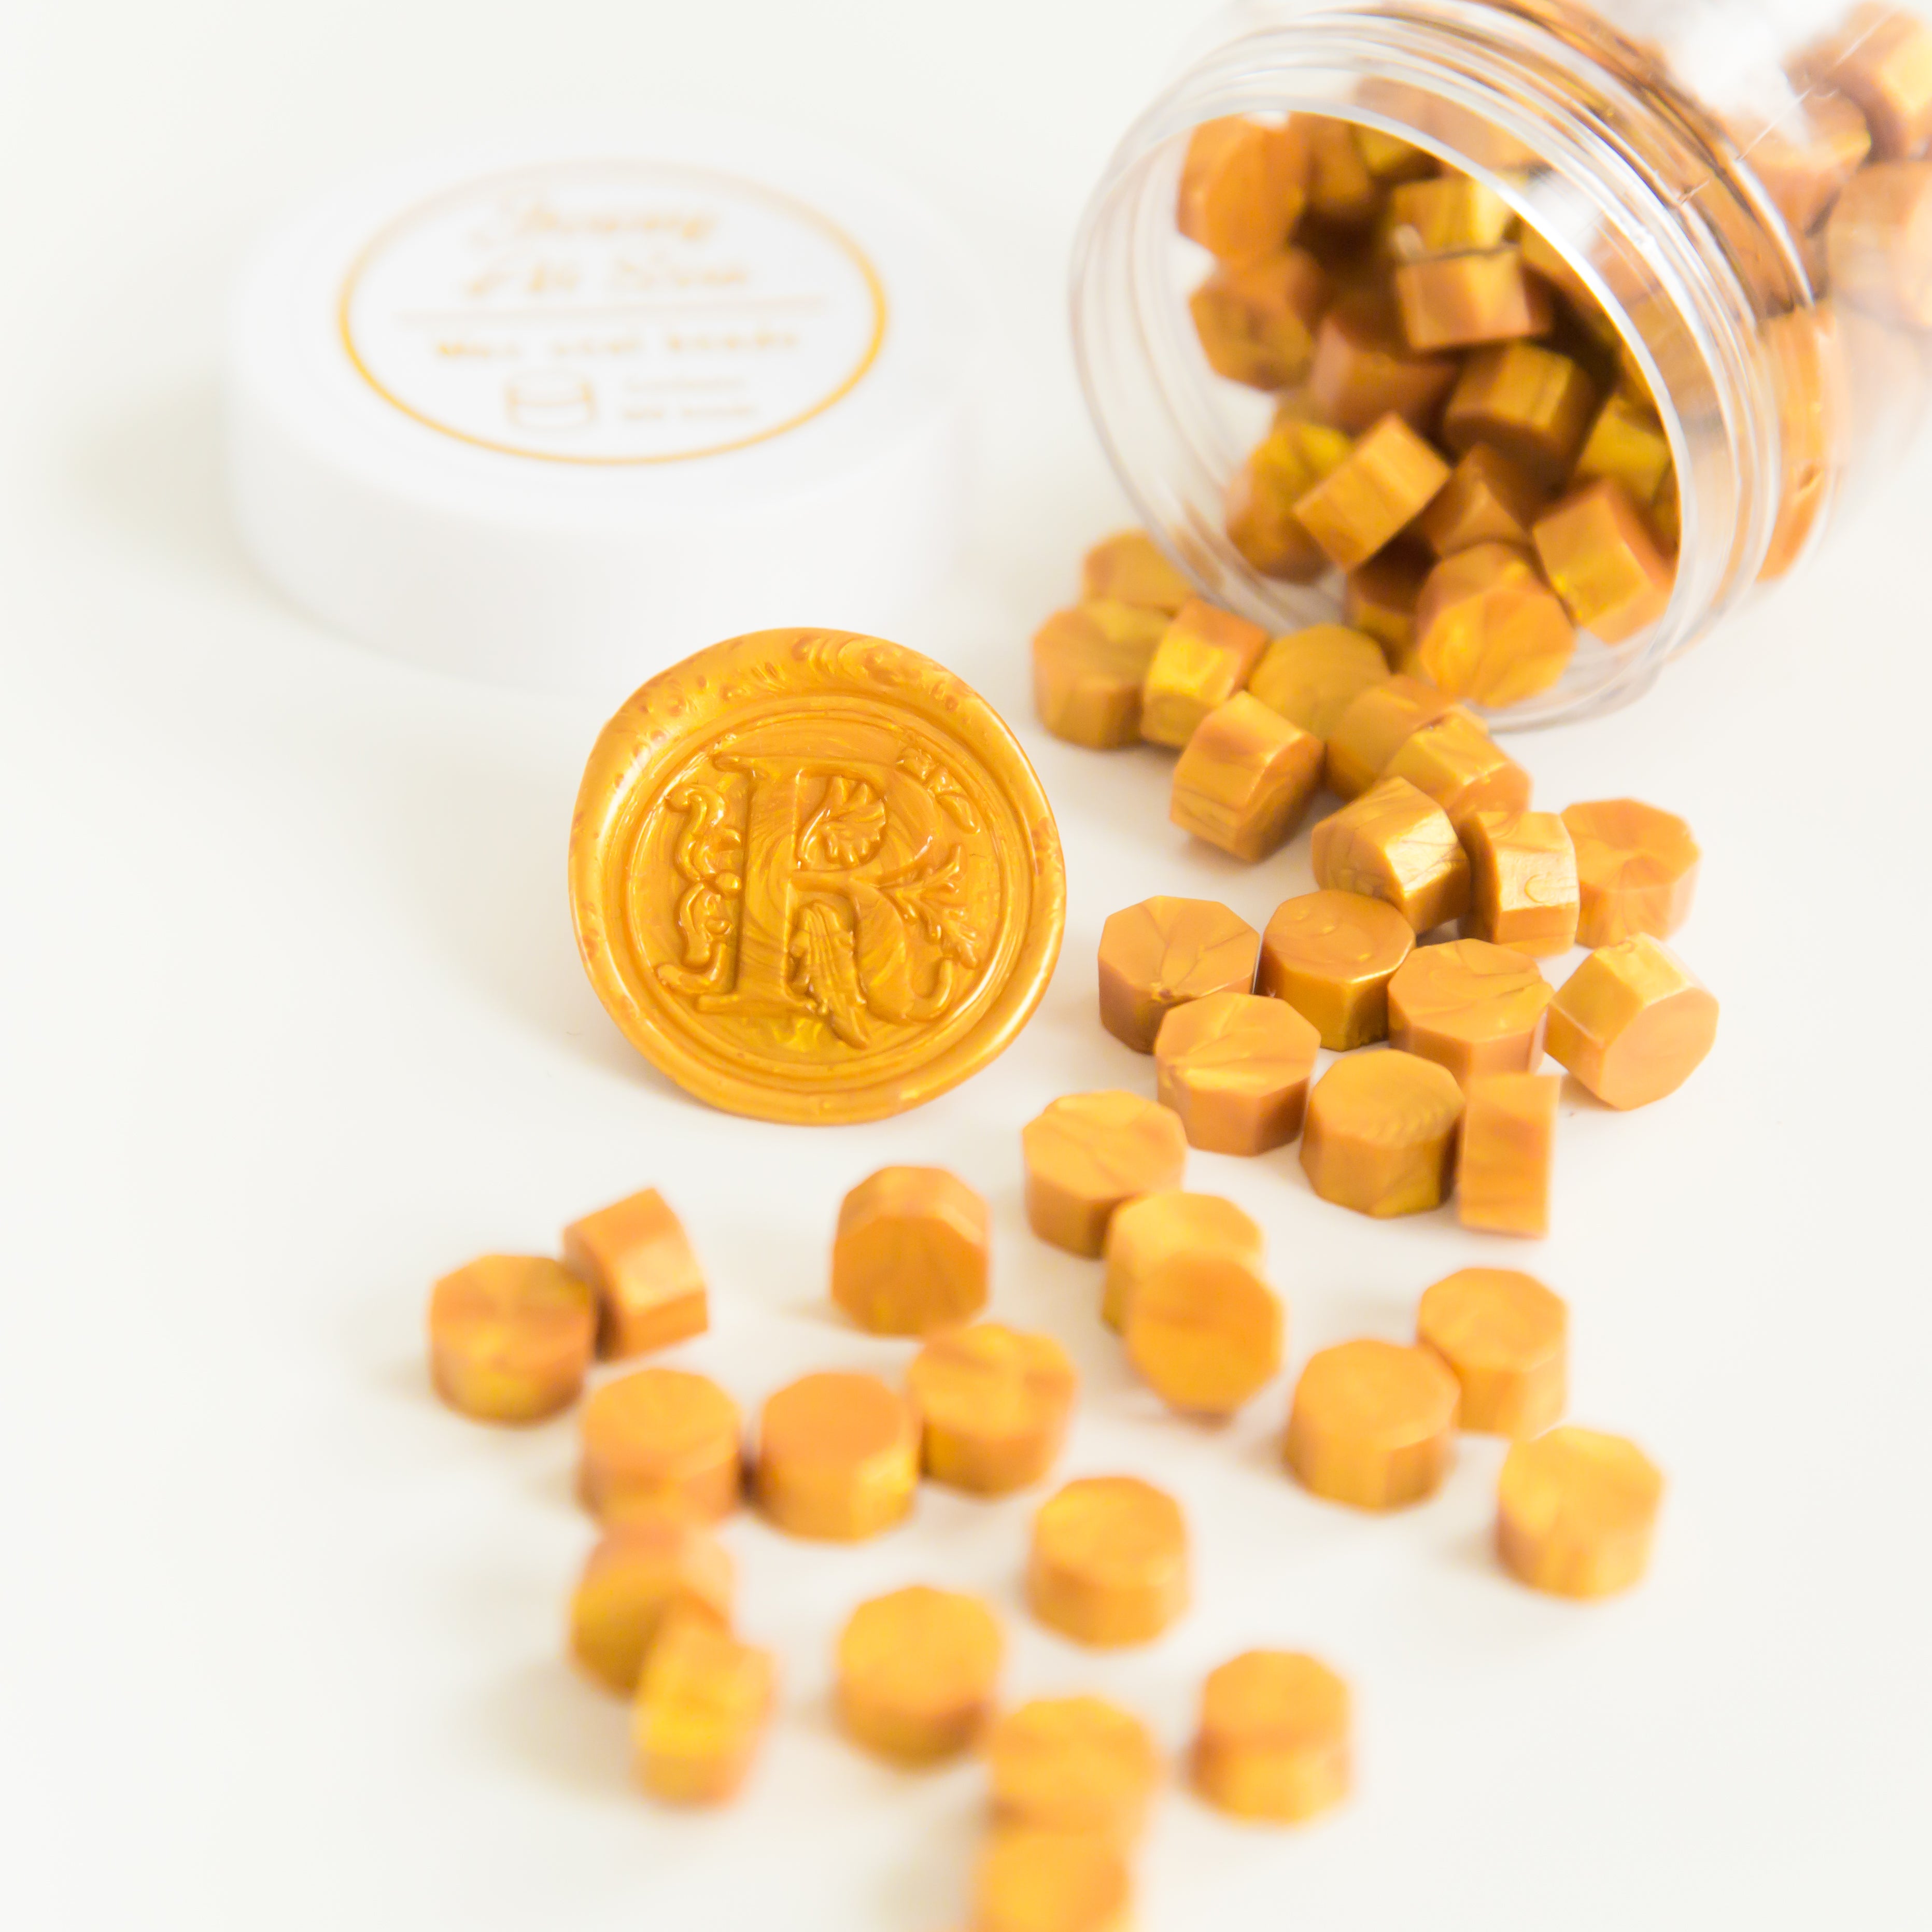
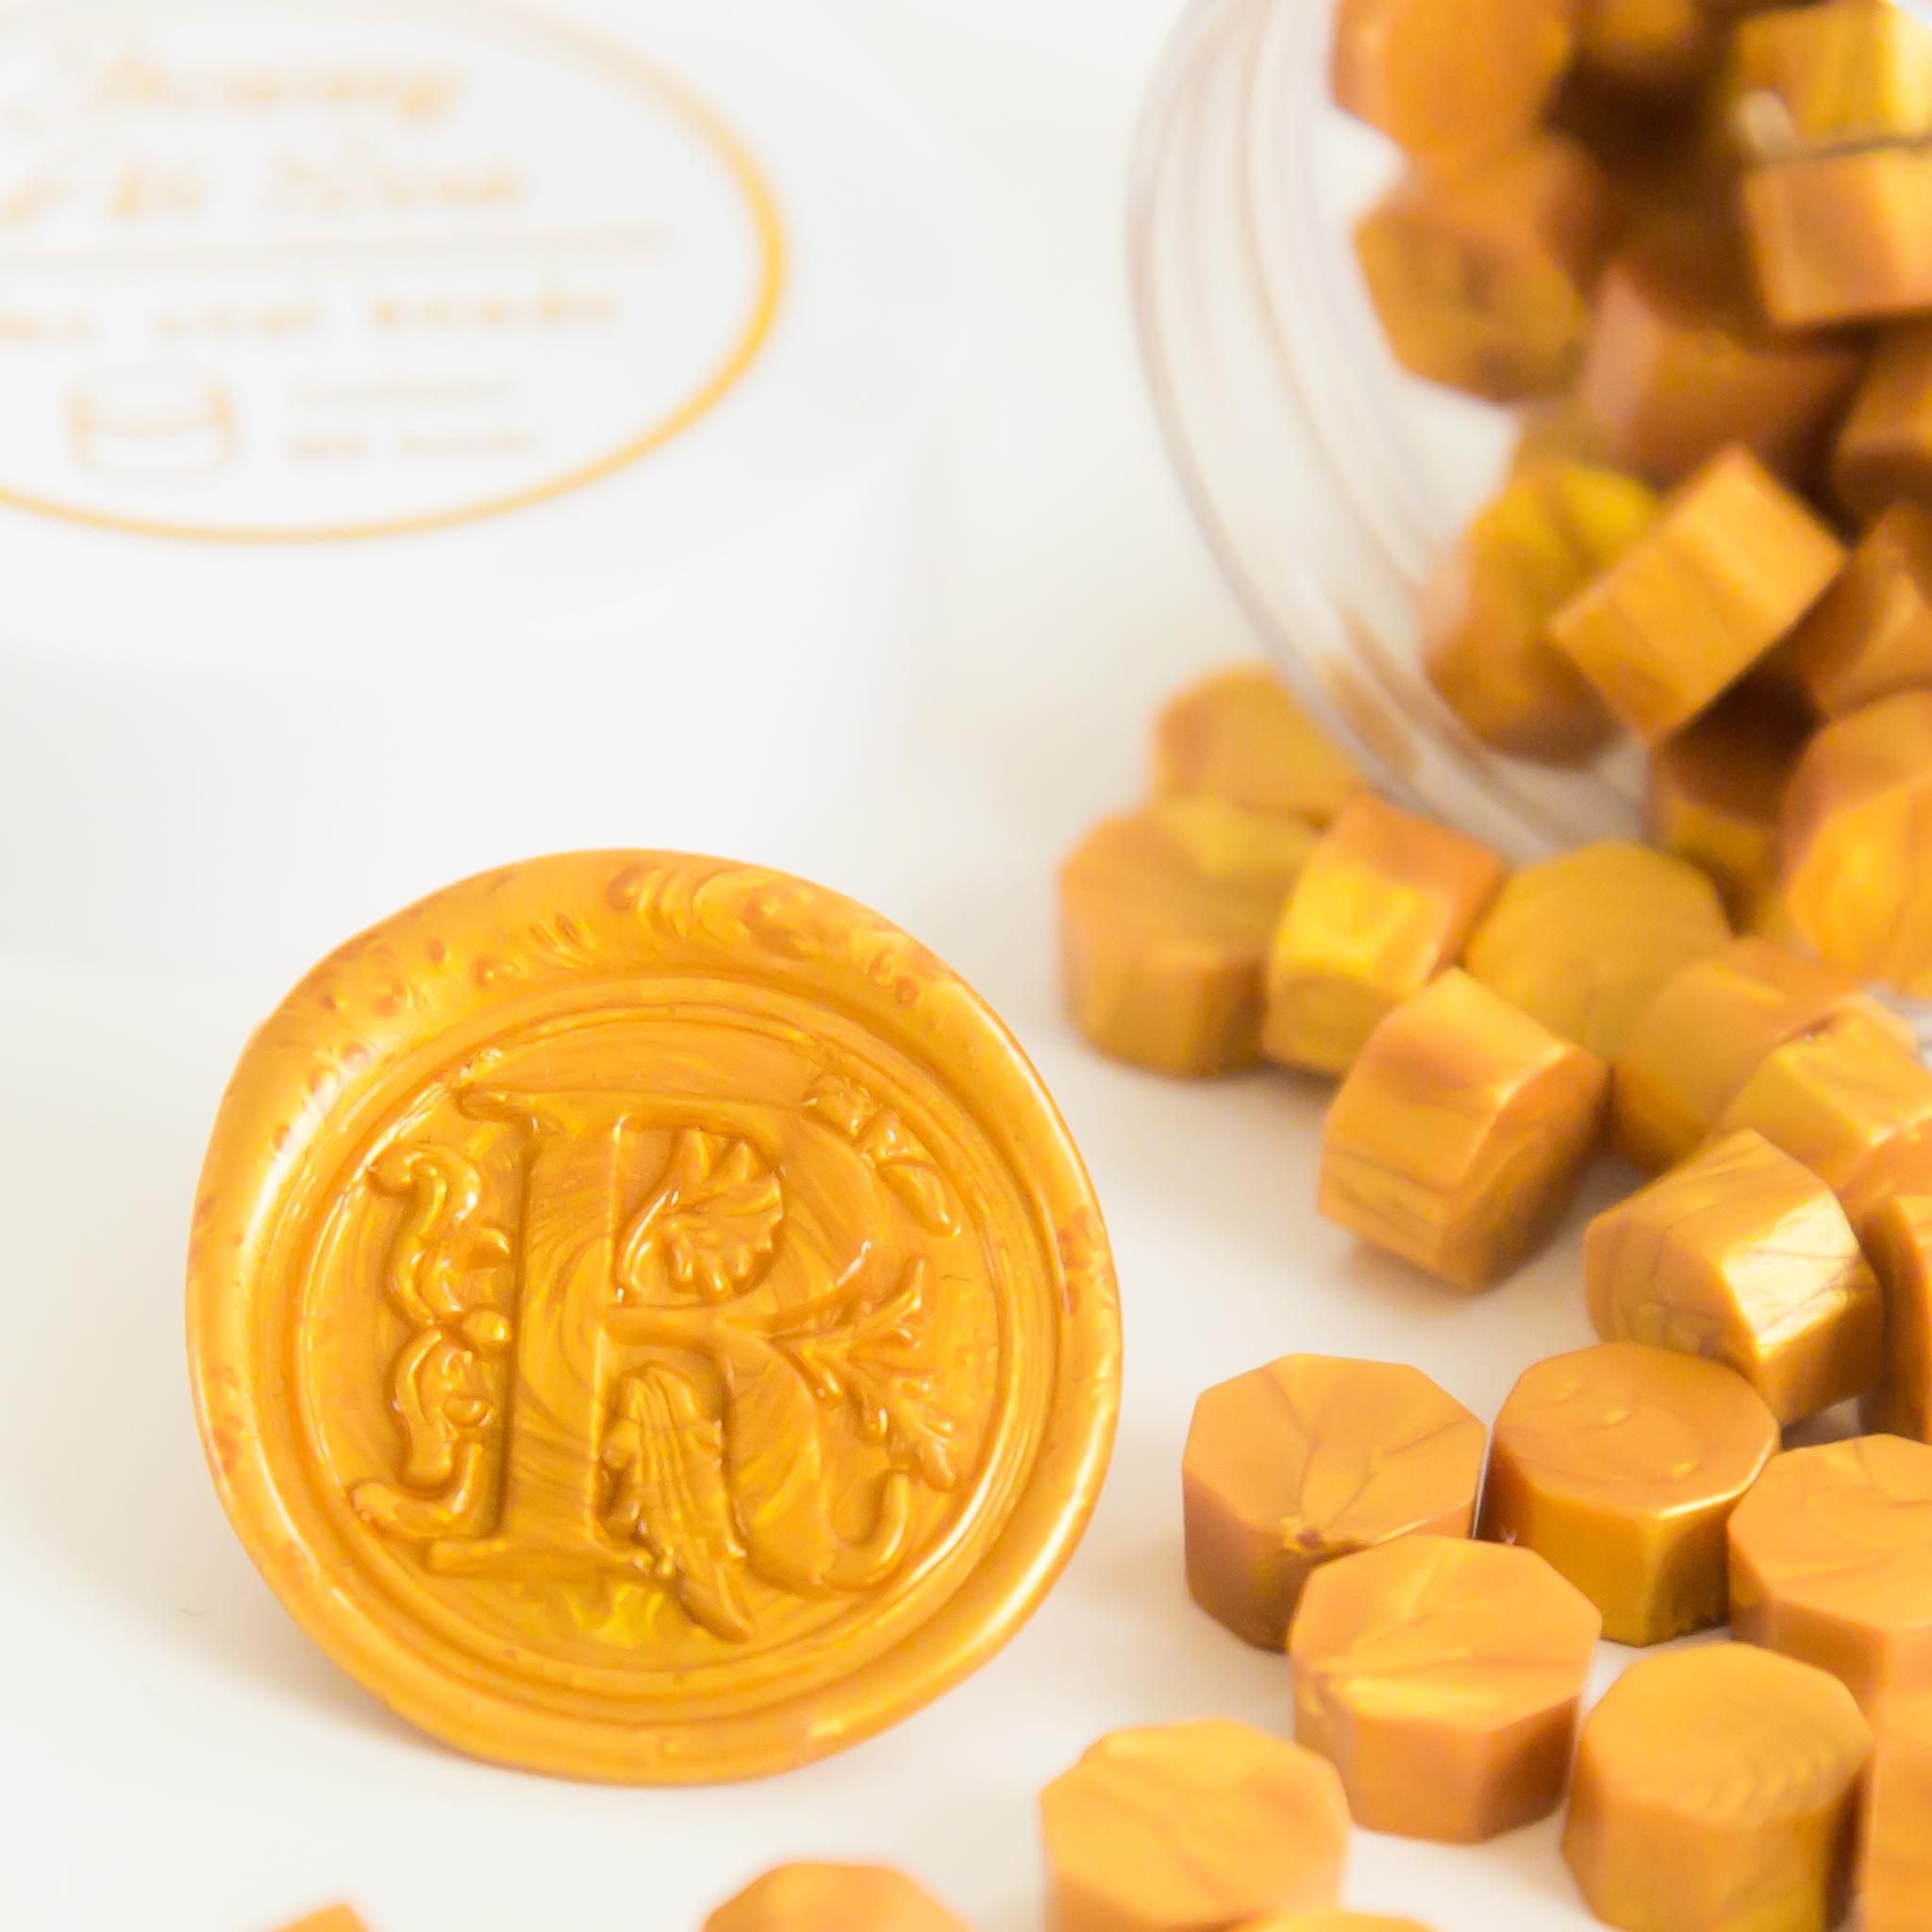
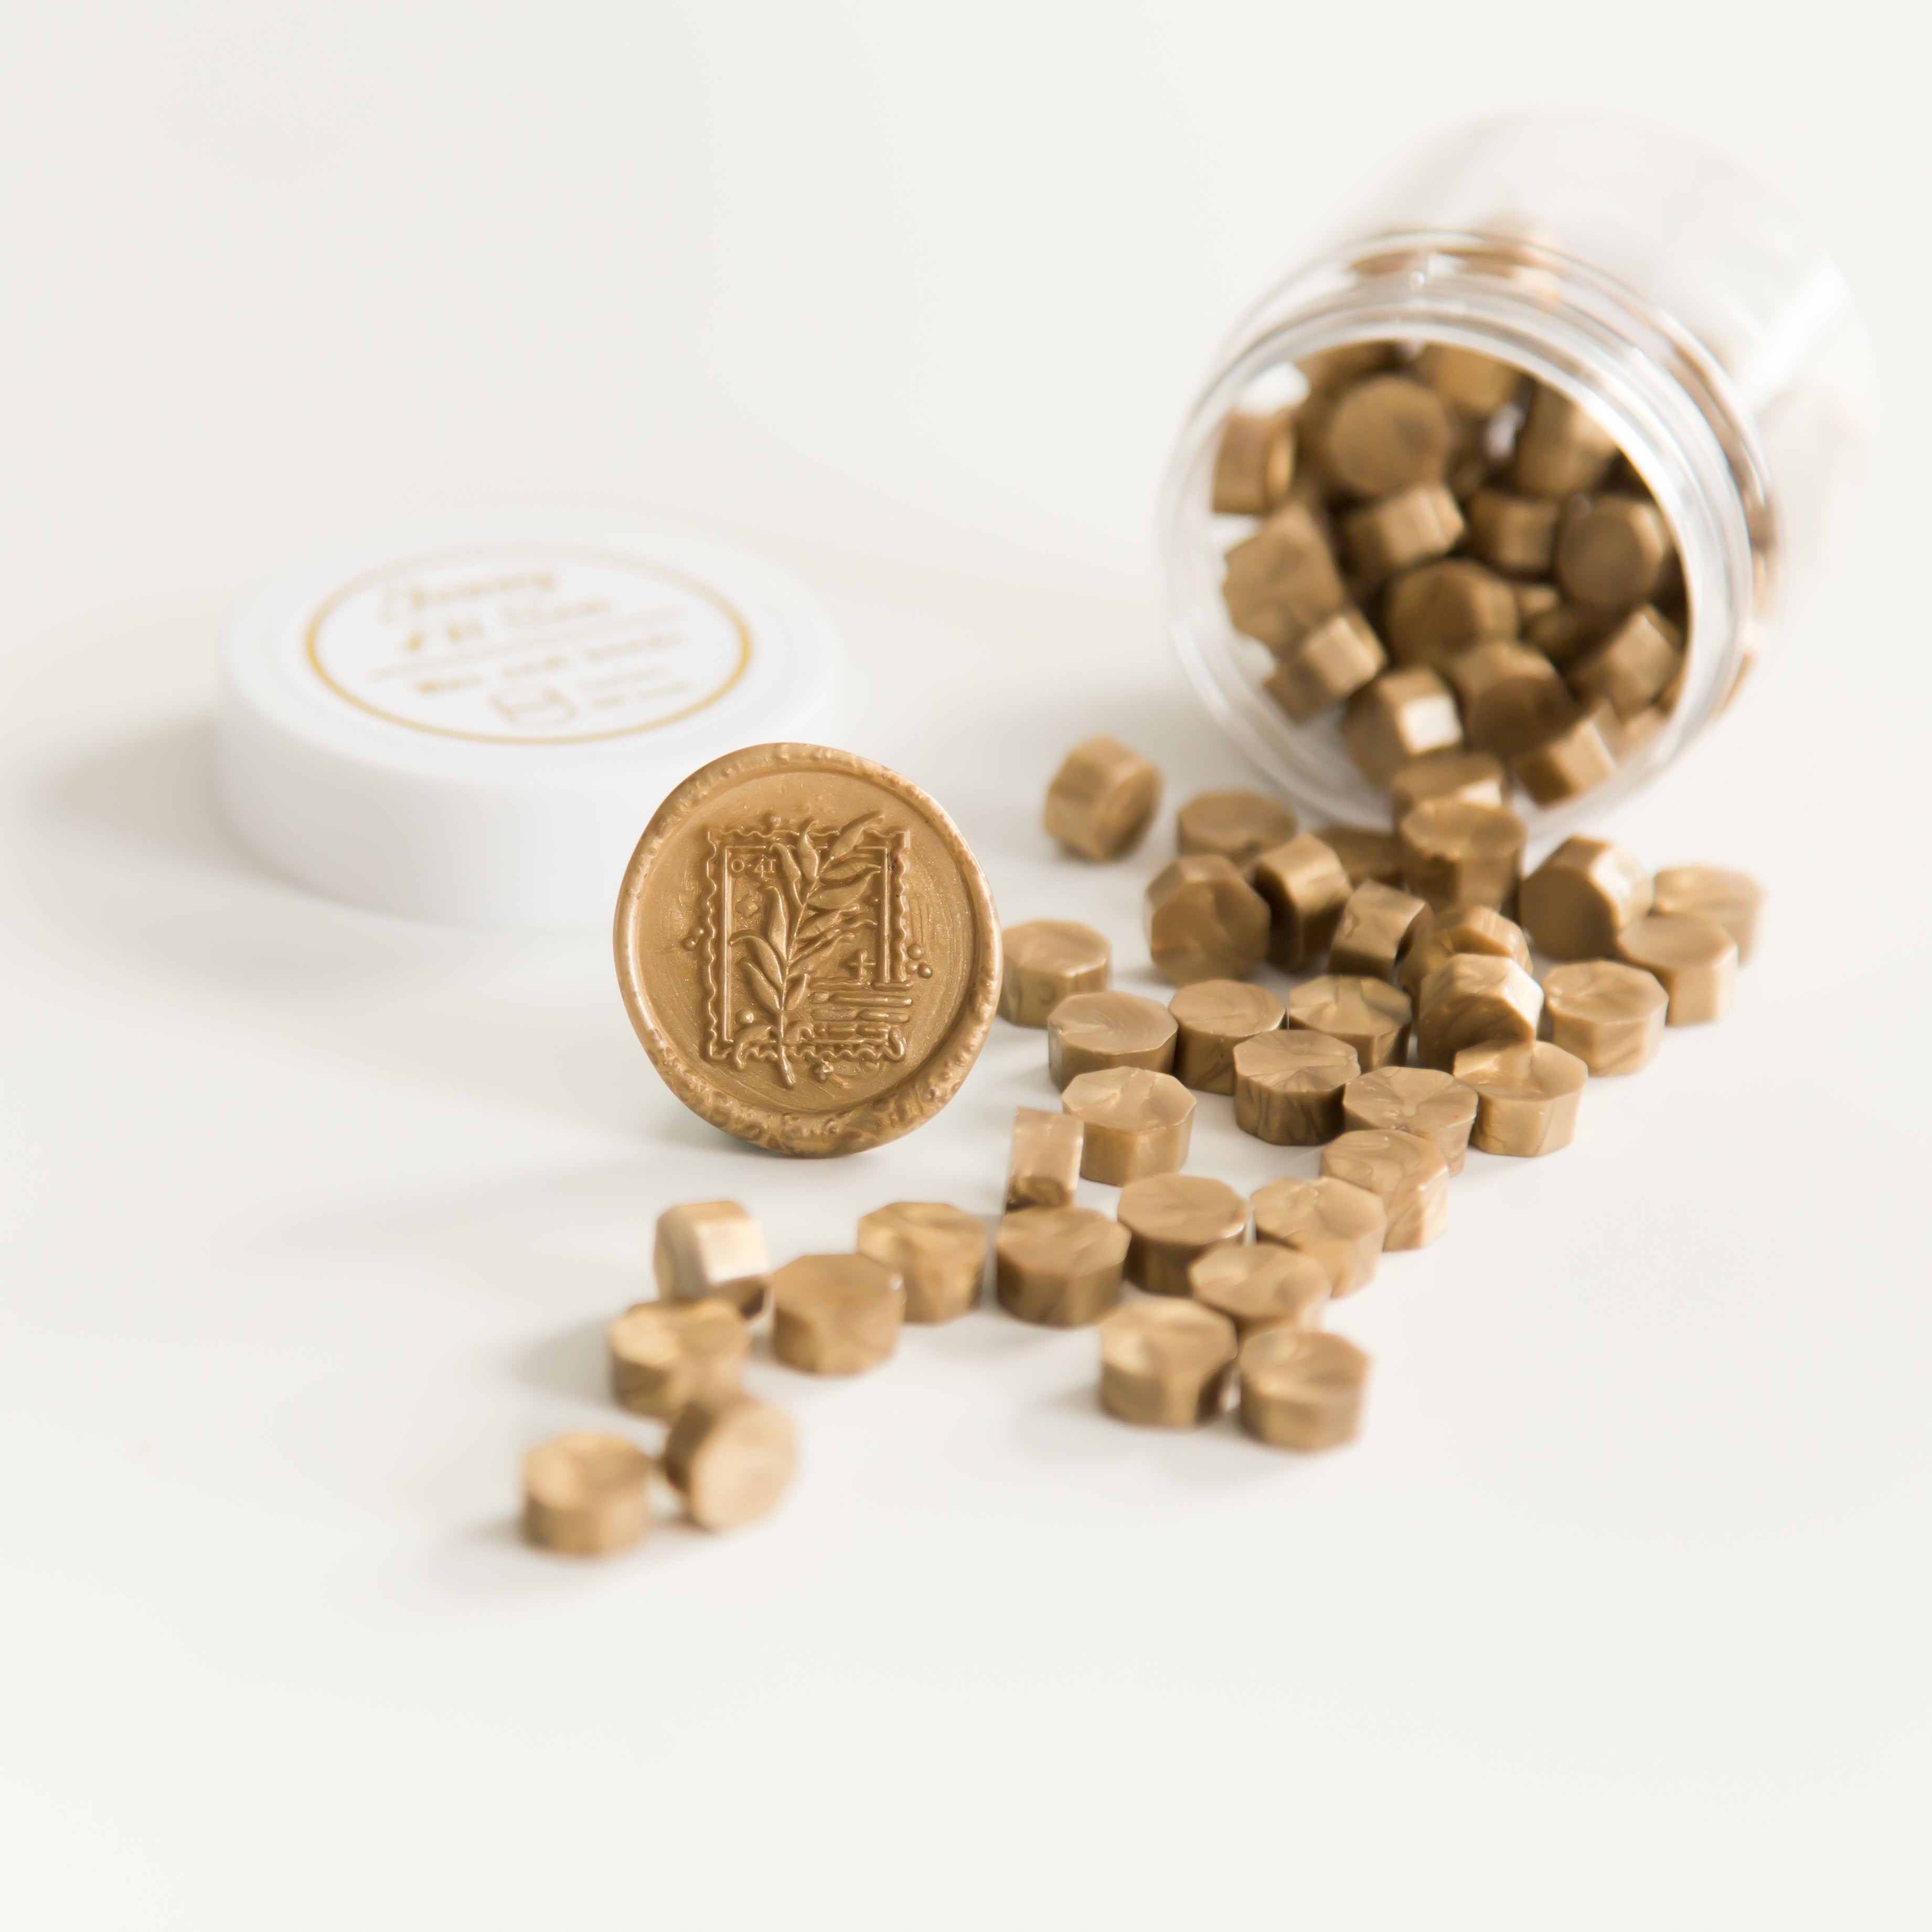
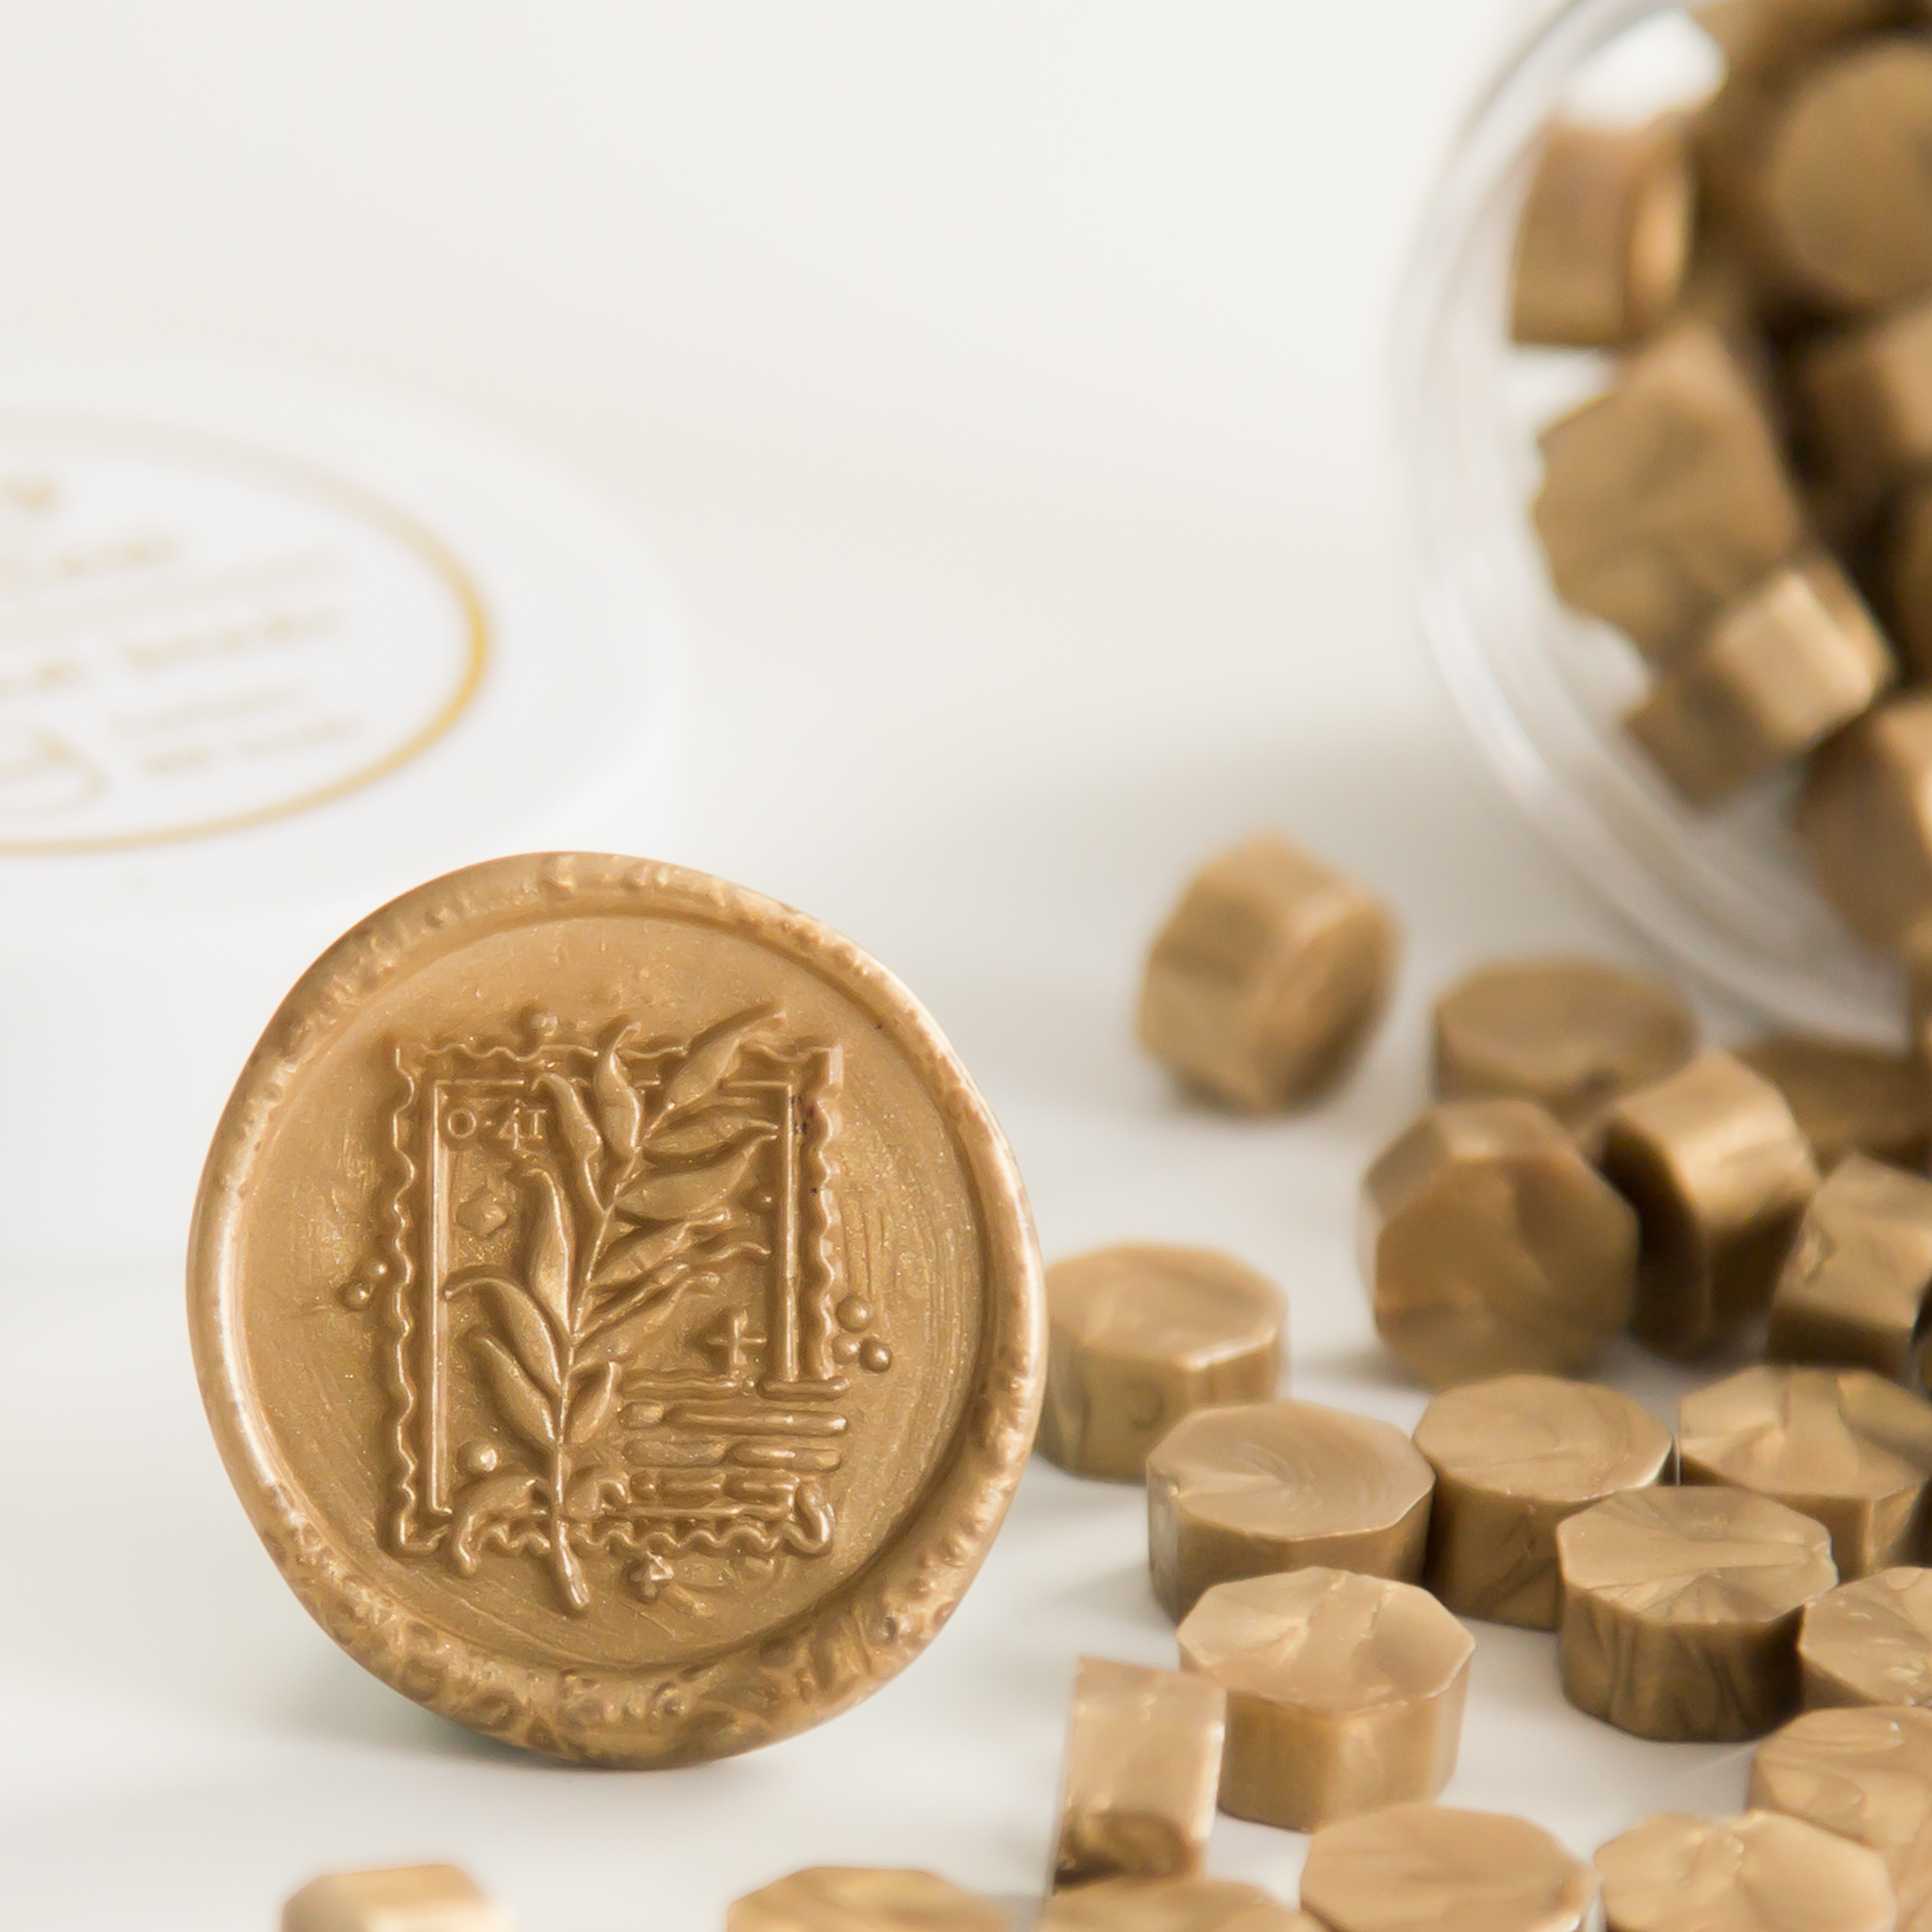
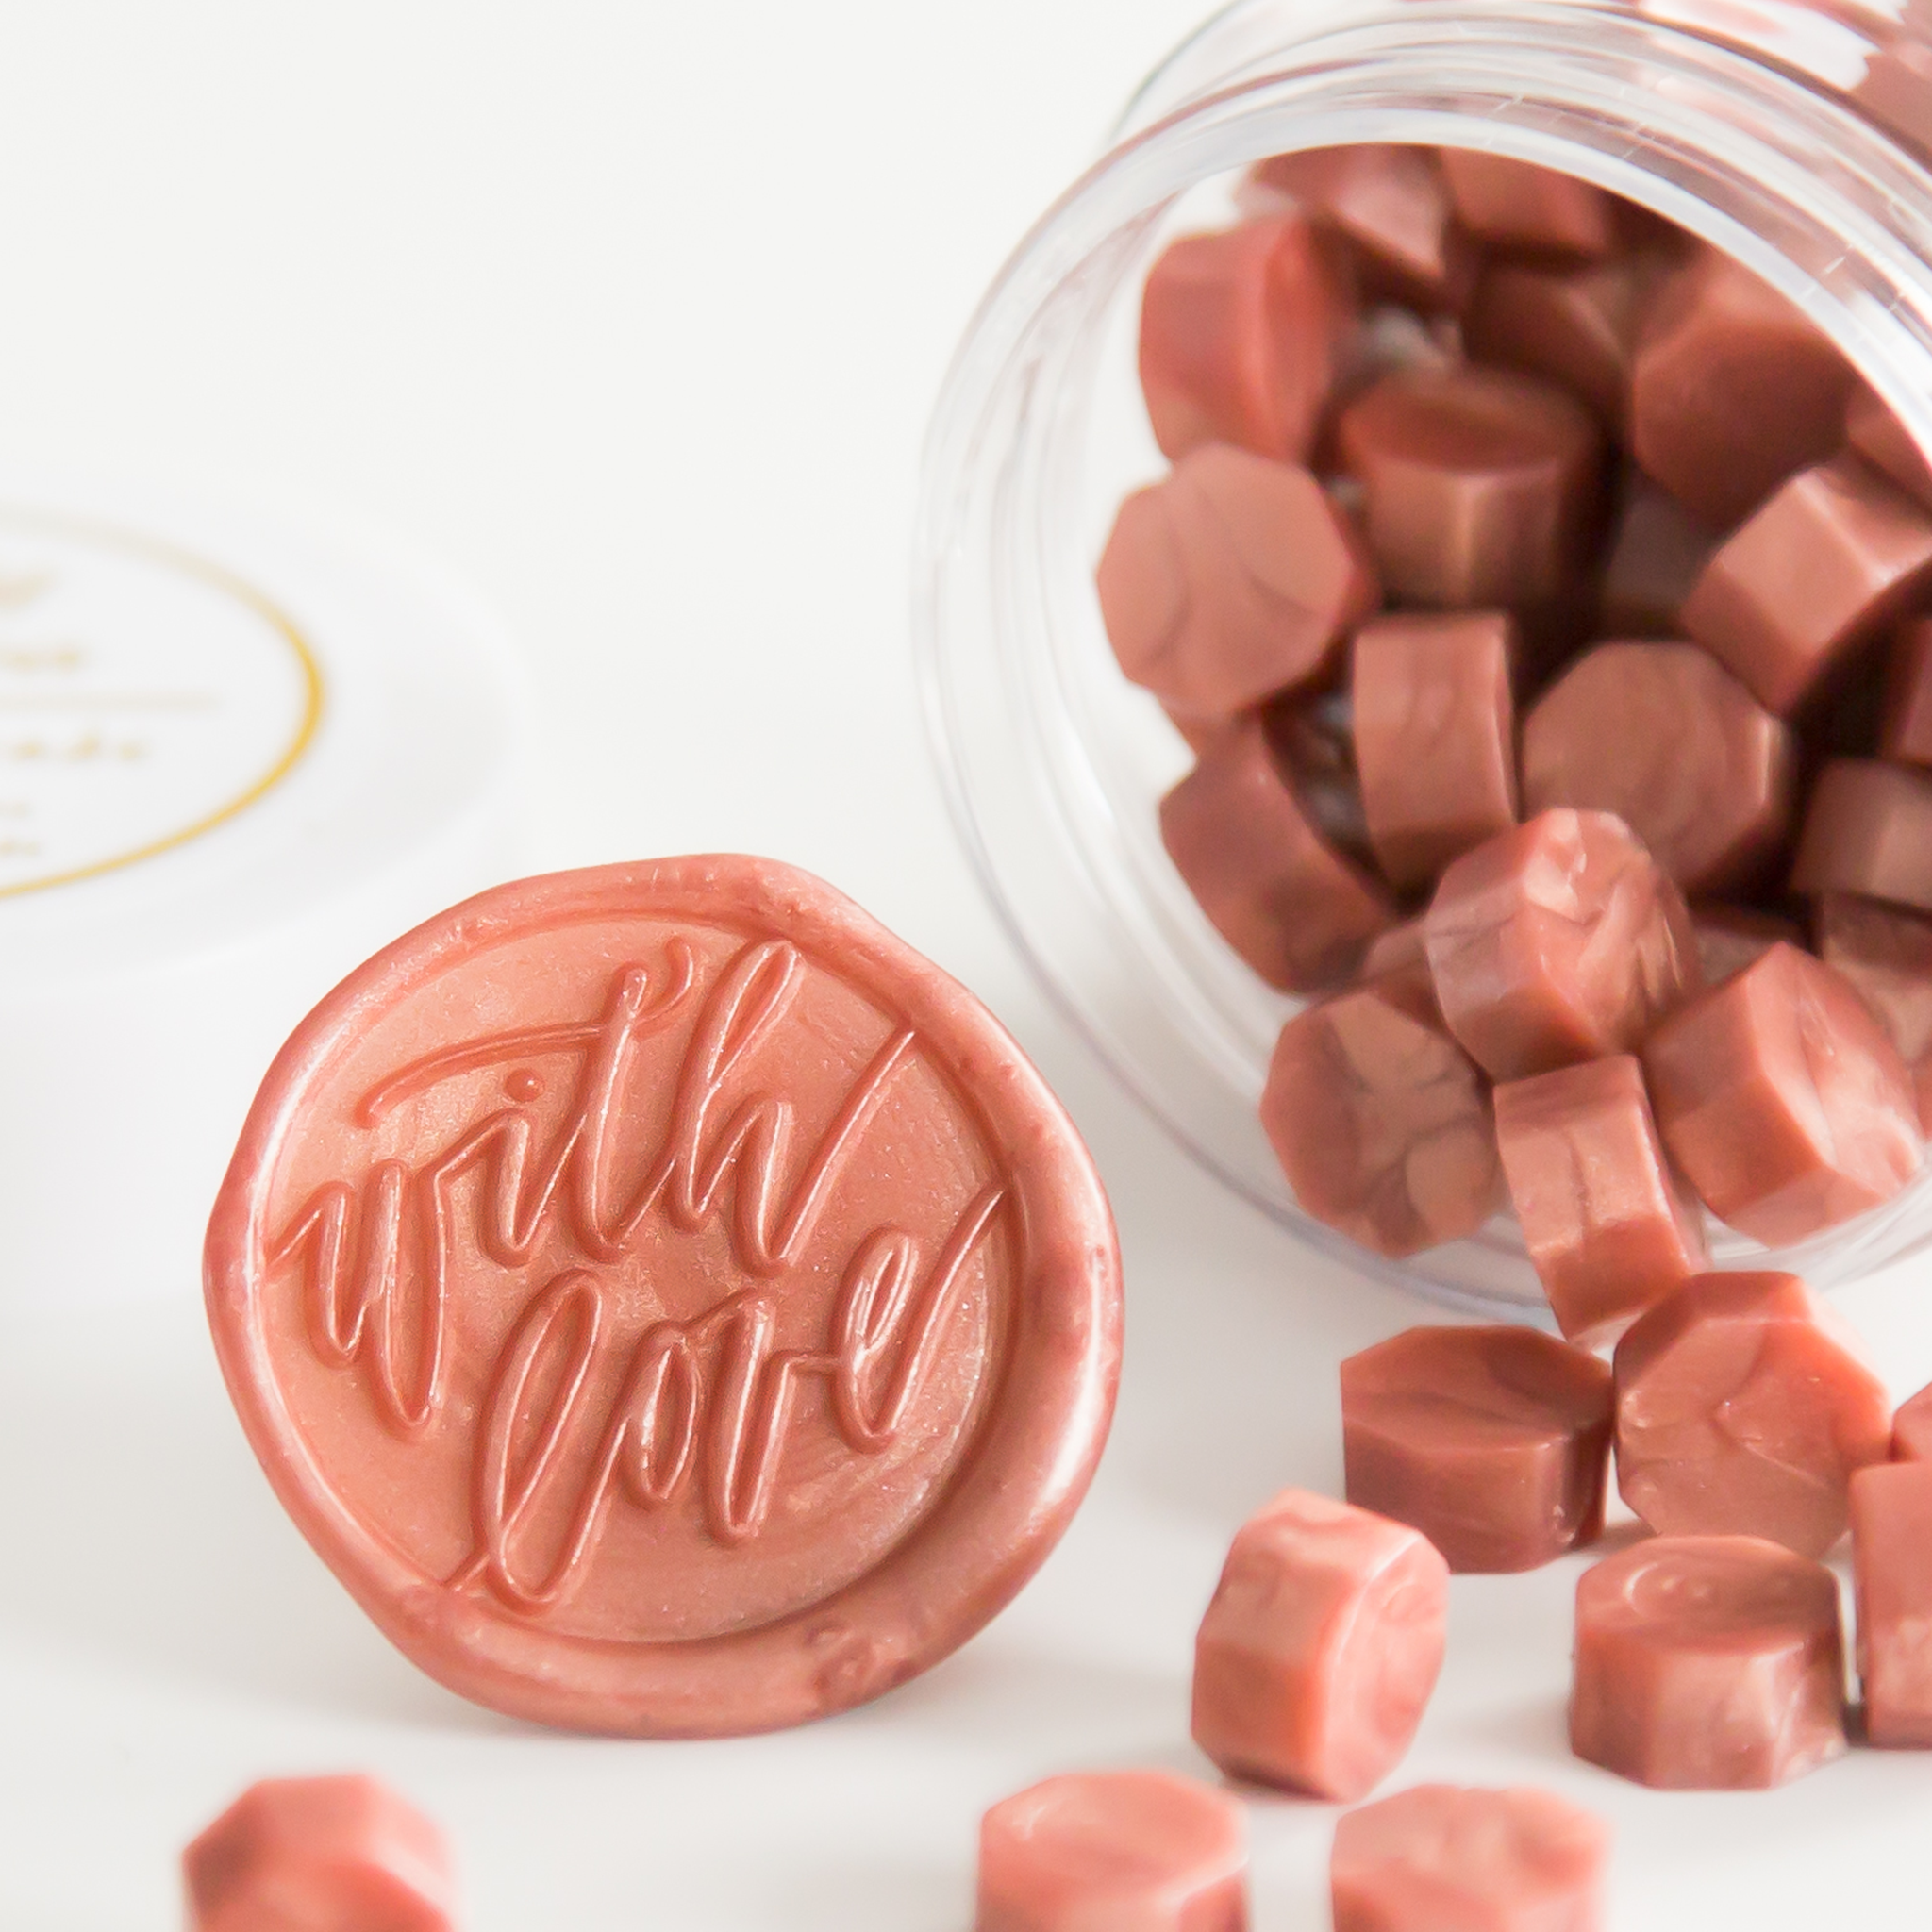
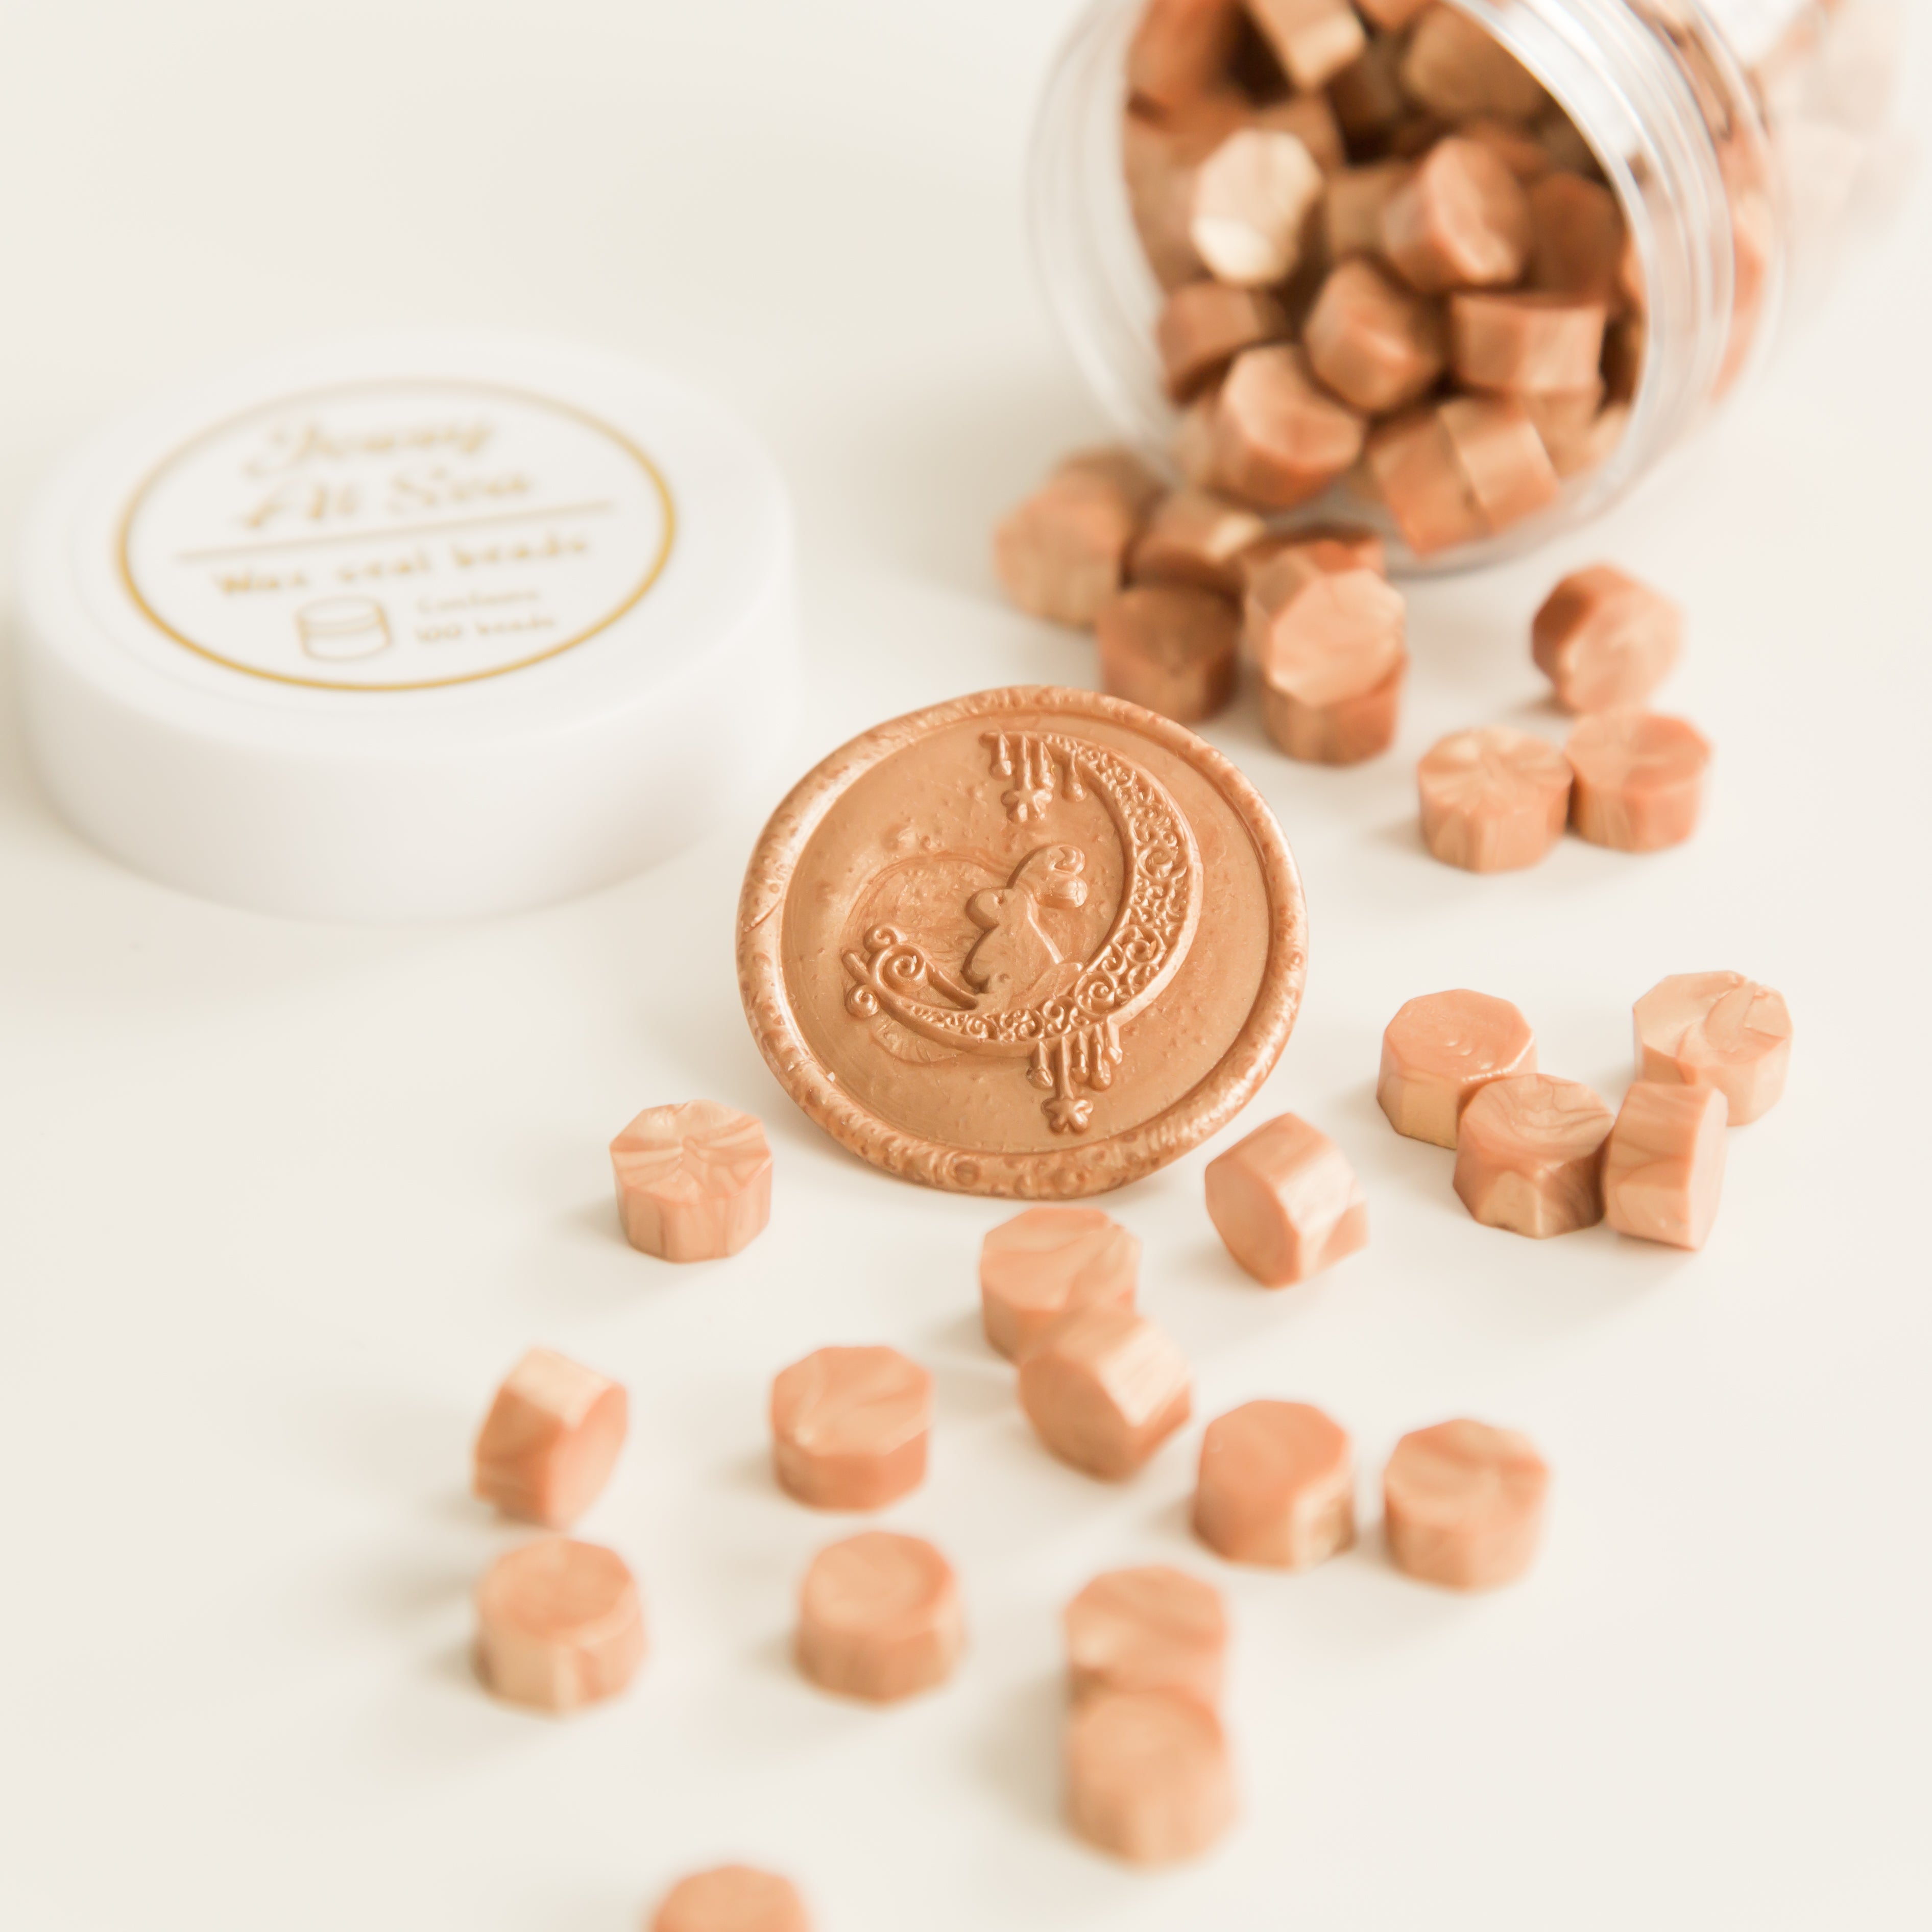
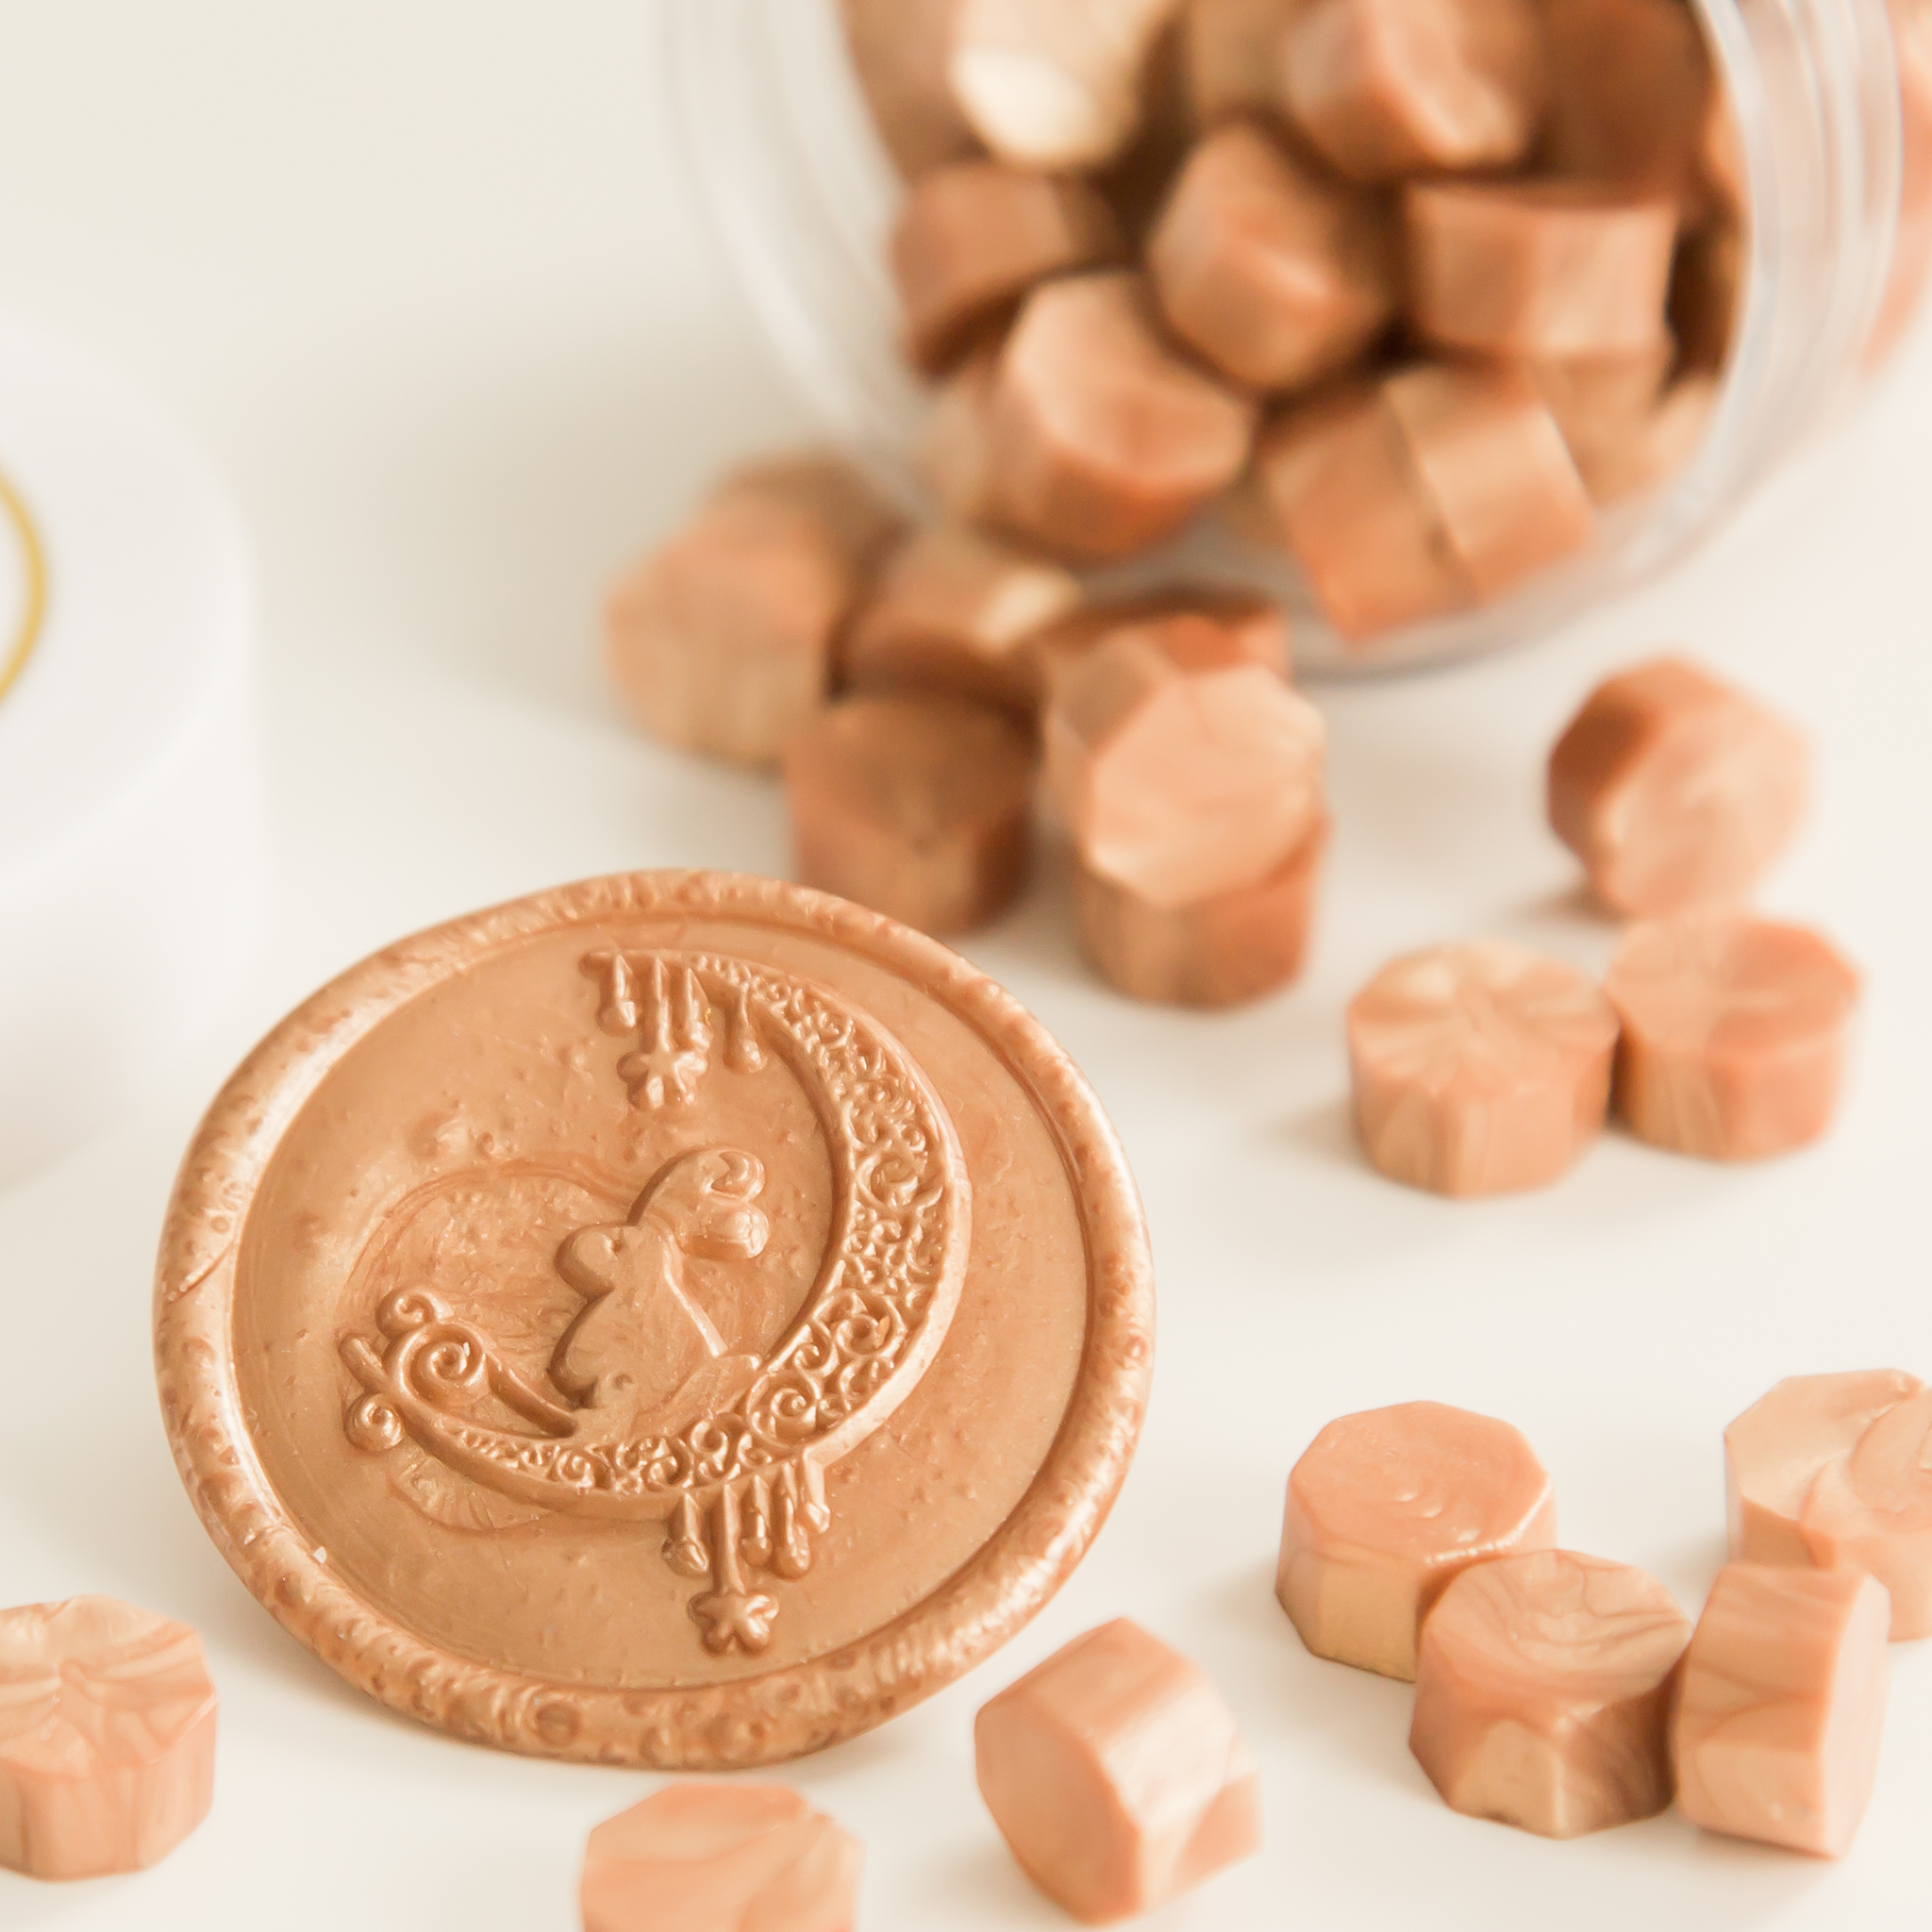
Sealing Wax Gold
Create your own gold wax seals with JessyAtSea
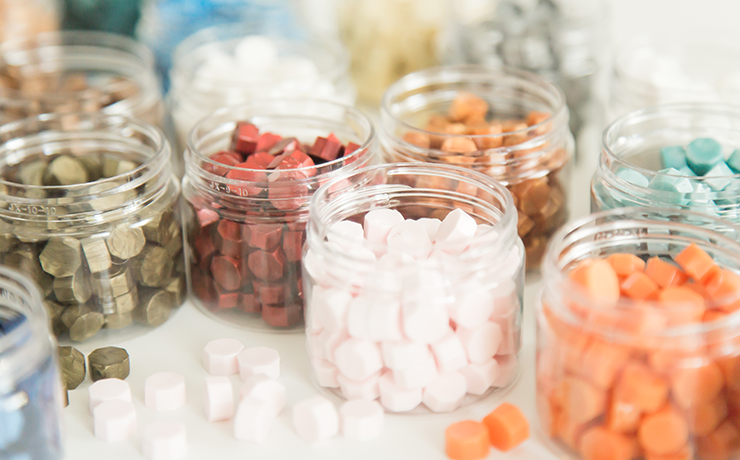
Gold is without a doubt one of the most popular colours in our collection. And honestly, we completely understand why. That subtle shimmer and its unmistakable association with success ensure your handmade wax seal truly stands out. Whether you're looking for an antique gold tone or the shine of fine jewellery, our extensive range of sealing wax almost certainly offers the perfect shade of gold for you. We’d love to share our passion for gold wax seals and hope this page gives you all the inspiration you need to get started!
The look of gold sealing wax
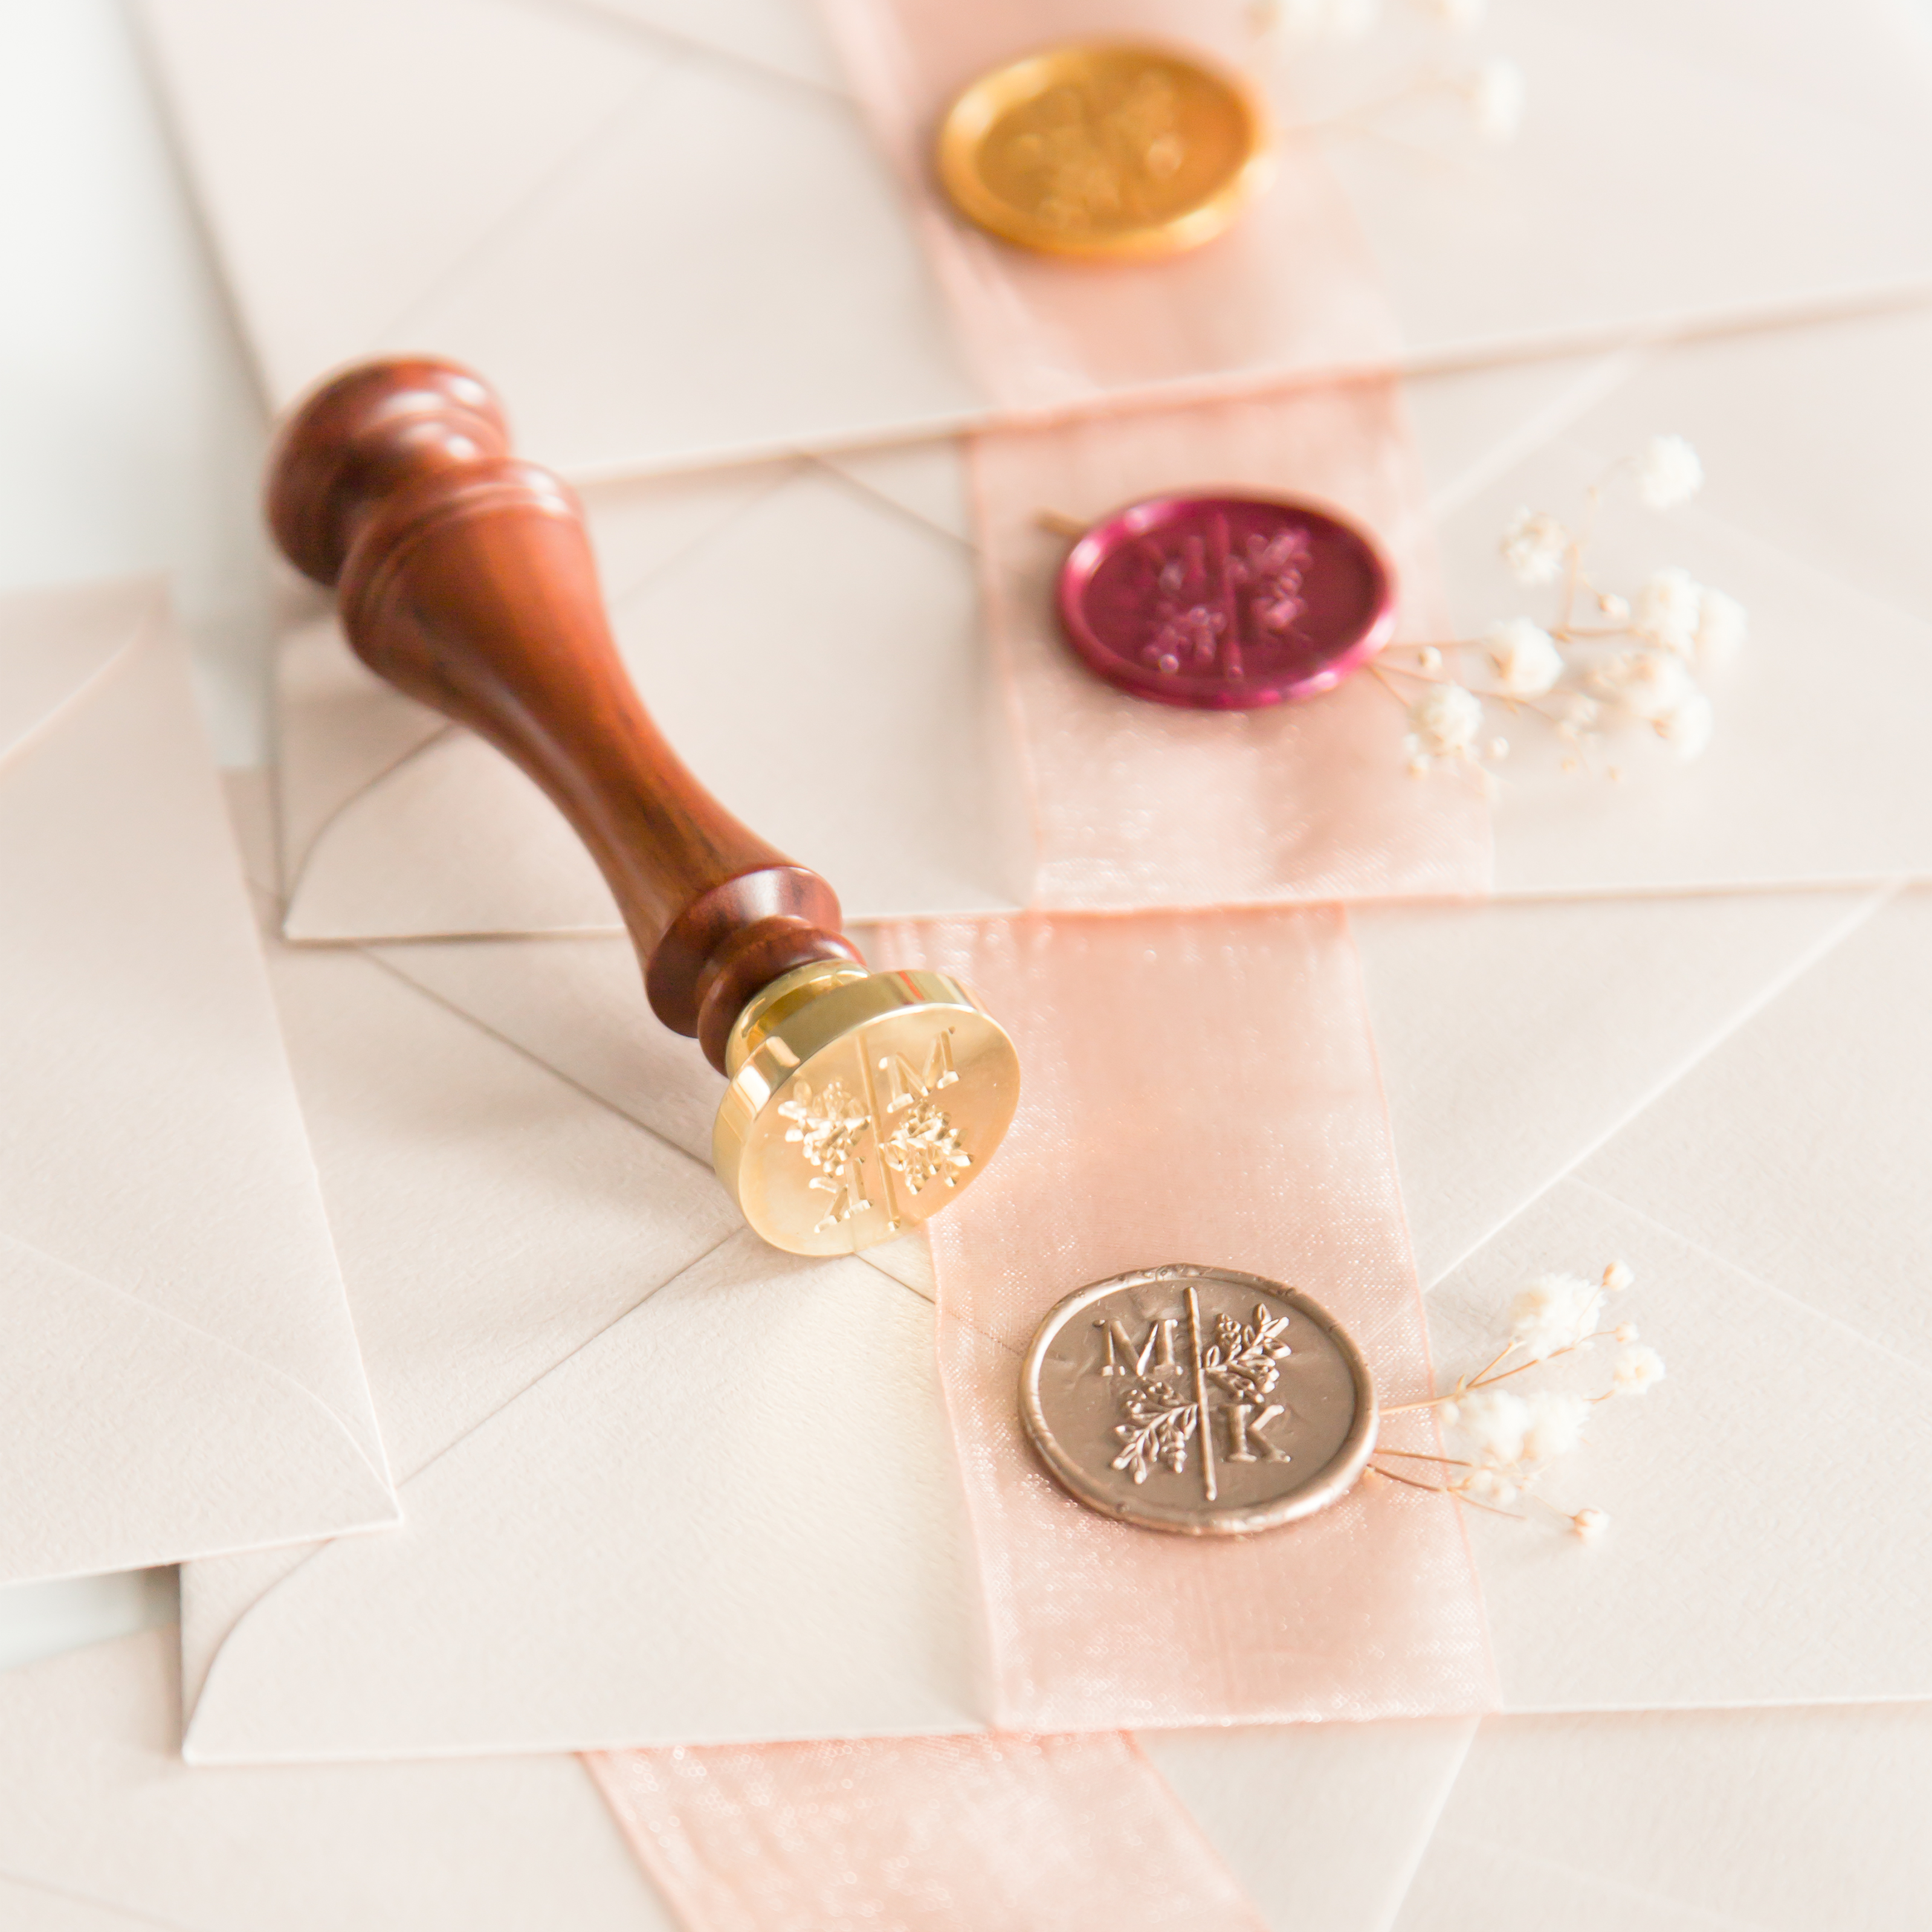
It’s no surprise that gold is such a favourite colour when it comes to wax seals. It radiates a sense of luxury and elegance, instantly giving your creations a refined finish. Whether you’re sealing an important letter, sending an invitation for a special occasion or simply adding a personal touch to your project, a gold wax seal is the perfect finishing touch. Timeless and meaningful – the perfect combination, if you ask us.
How do you make a gold wax seal?
Start by choosing your favourite gold sealing wax and make sure you have a wax seal stamp with a design that adds a personal touch to your creation. Found your stamp? Then follow these steps:
Step 1: Heat the gold wax
Place 3 (for a 25 mm stamp) or 4 (for a 30 mm stamp) pieces of gold sealing wax in the wax seal oven and wait until it has melted into a smooth, glossy texture.
- Step 2: Pour the gold sealing wax
Once the wax has fully melted, use the wax seal spoon to carefully pour the liquid wax onto the wax seal mat or your chosen surface.
Step 3: Press the stamp into the gold wax
Once the wax is poured, place the wax seal stamp into the still warm wax. Do this without applying too much pressure.
Step 4: Let the gold wax cool
Wait 30 seconds until the wax has cooled and hardened. This is when your gold wax seal reveals its shine and fine details.
Be careful though, if the wax is still warm and soft, the design may distort when removing the stamp.
Step 5: Remove the stamp
Finally, carefully lift the wax stamp from the surface and admire your handmade gold wax seal.
Jessy’s love for gold wax seals
Hi there, Jessy here! Have I mentioned how much I love gold wax seals? Our classic gold sealing wax is one of my most used colours. If you’ve ordered from us before, you may have even noticed. I seal all our parcels with a handmade gold wax seal featuring our logo. It’s my personal touch of luxury. Will it be yours soon too?
What can you use gold wax seals for?
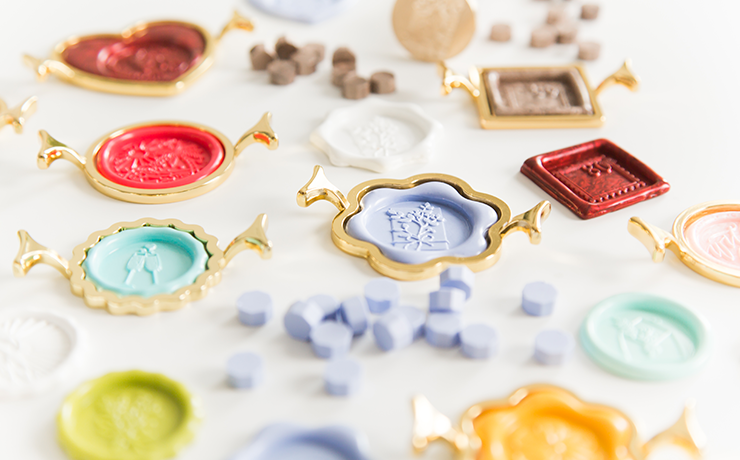
Excited to start creating your own gold wax seals but not quite sure how to use them yet? No worries, the possibilities are endless. Here are a few ideas:
- Use gold wax seals to seal certificates, diplomas and official documents for a more formal finish.
- Add a touch of glamour to your invitations and envelopes or seal your handwritten letters with a gold wax seal for the perfect finishing touch.
- Create unique gift wrapping by using a gold wax seal on ribbons, tags or gift boxes.
- Add a touch of elegance to wedding invitations, menus and table decorations.
Jessy’s service
Hi, Jessy here (again)! Have we inspired you to start creating your own gold wax seals? I really hope so!
If you’re not completely convinced yet, you can always reach out to us. We’re happy to answer any questions you may have. The quickest way is via our chat function in the bottom left of your screen. You can also email us at info@jessyatsea.com and I’ll get back to you as soon as possible.
P.S. Want to start making your own gold wax seals but not sure where to begin? We’ve created a Wax Seal Kit that you can customise. It includes everything you need to get started – including a gold wax stamp and gold sealing wax of your choice!