
Wax Seal Instructions
 |
Wax Seal InstructionsUse a tea light with a burning time of four hours, which has already been burning for half an hour. This keeps the flame low and prevents soot from forming under your spoon. Light the tea light and place your oven over it. |
|
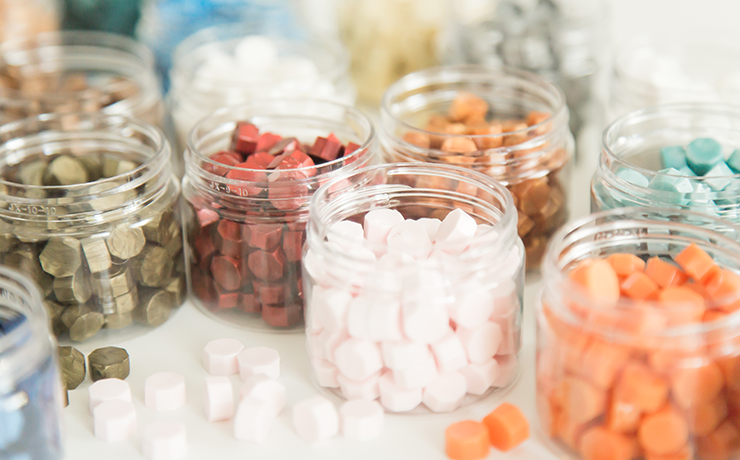
Use three wax beads for a 25mm stamp and four for a 30mm stamp. Wait until the wax has melted, but do not allow it to boil. Wax is at the perfect temperature when the substance is syrupy.
|
 |
|
|
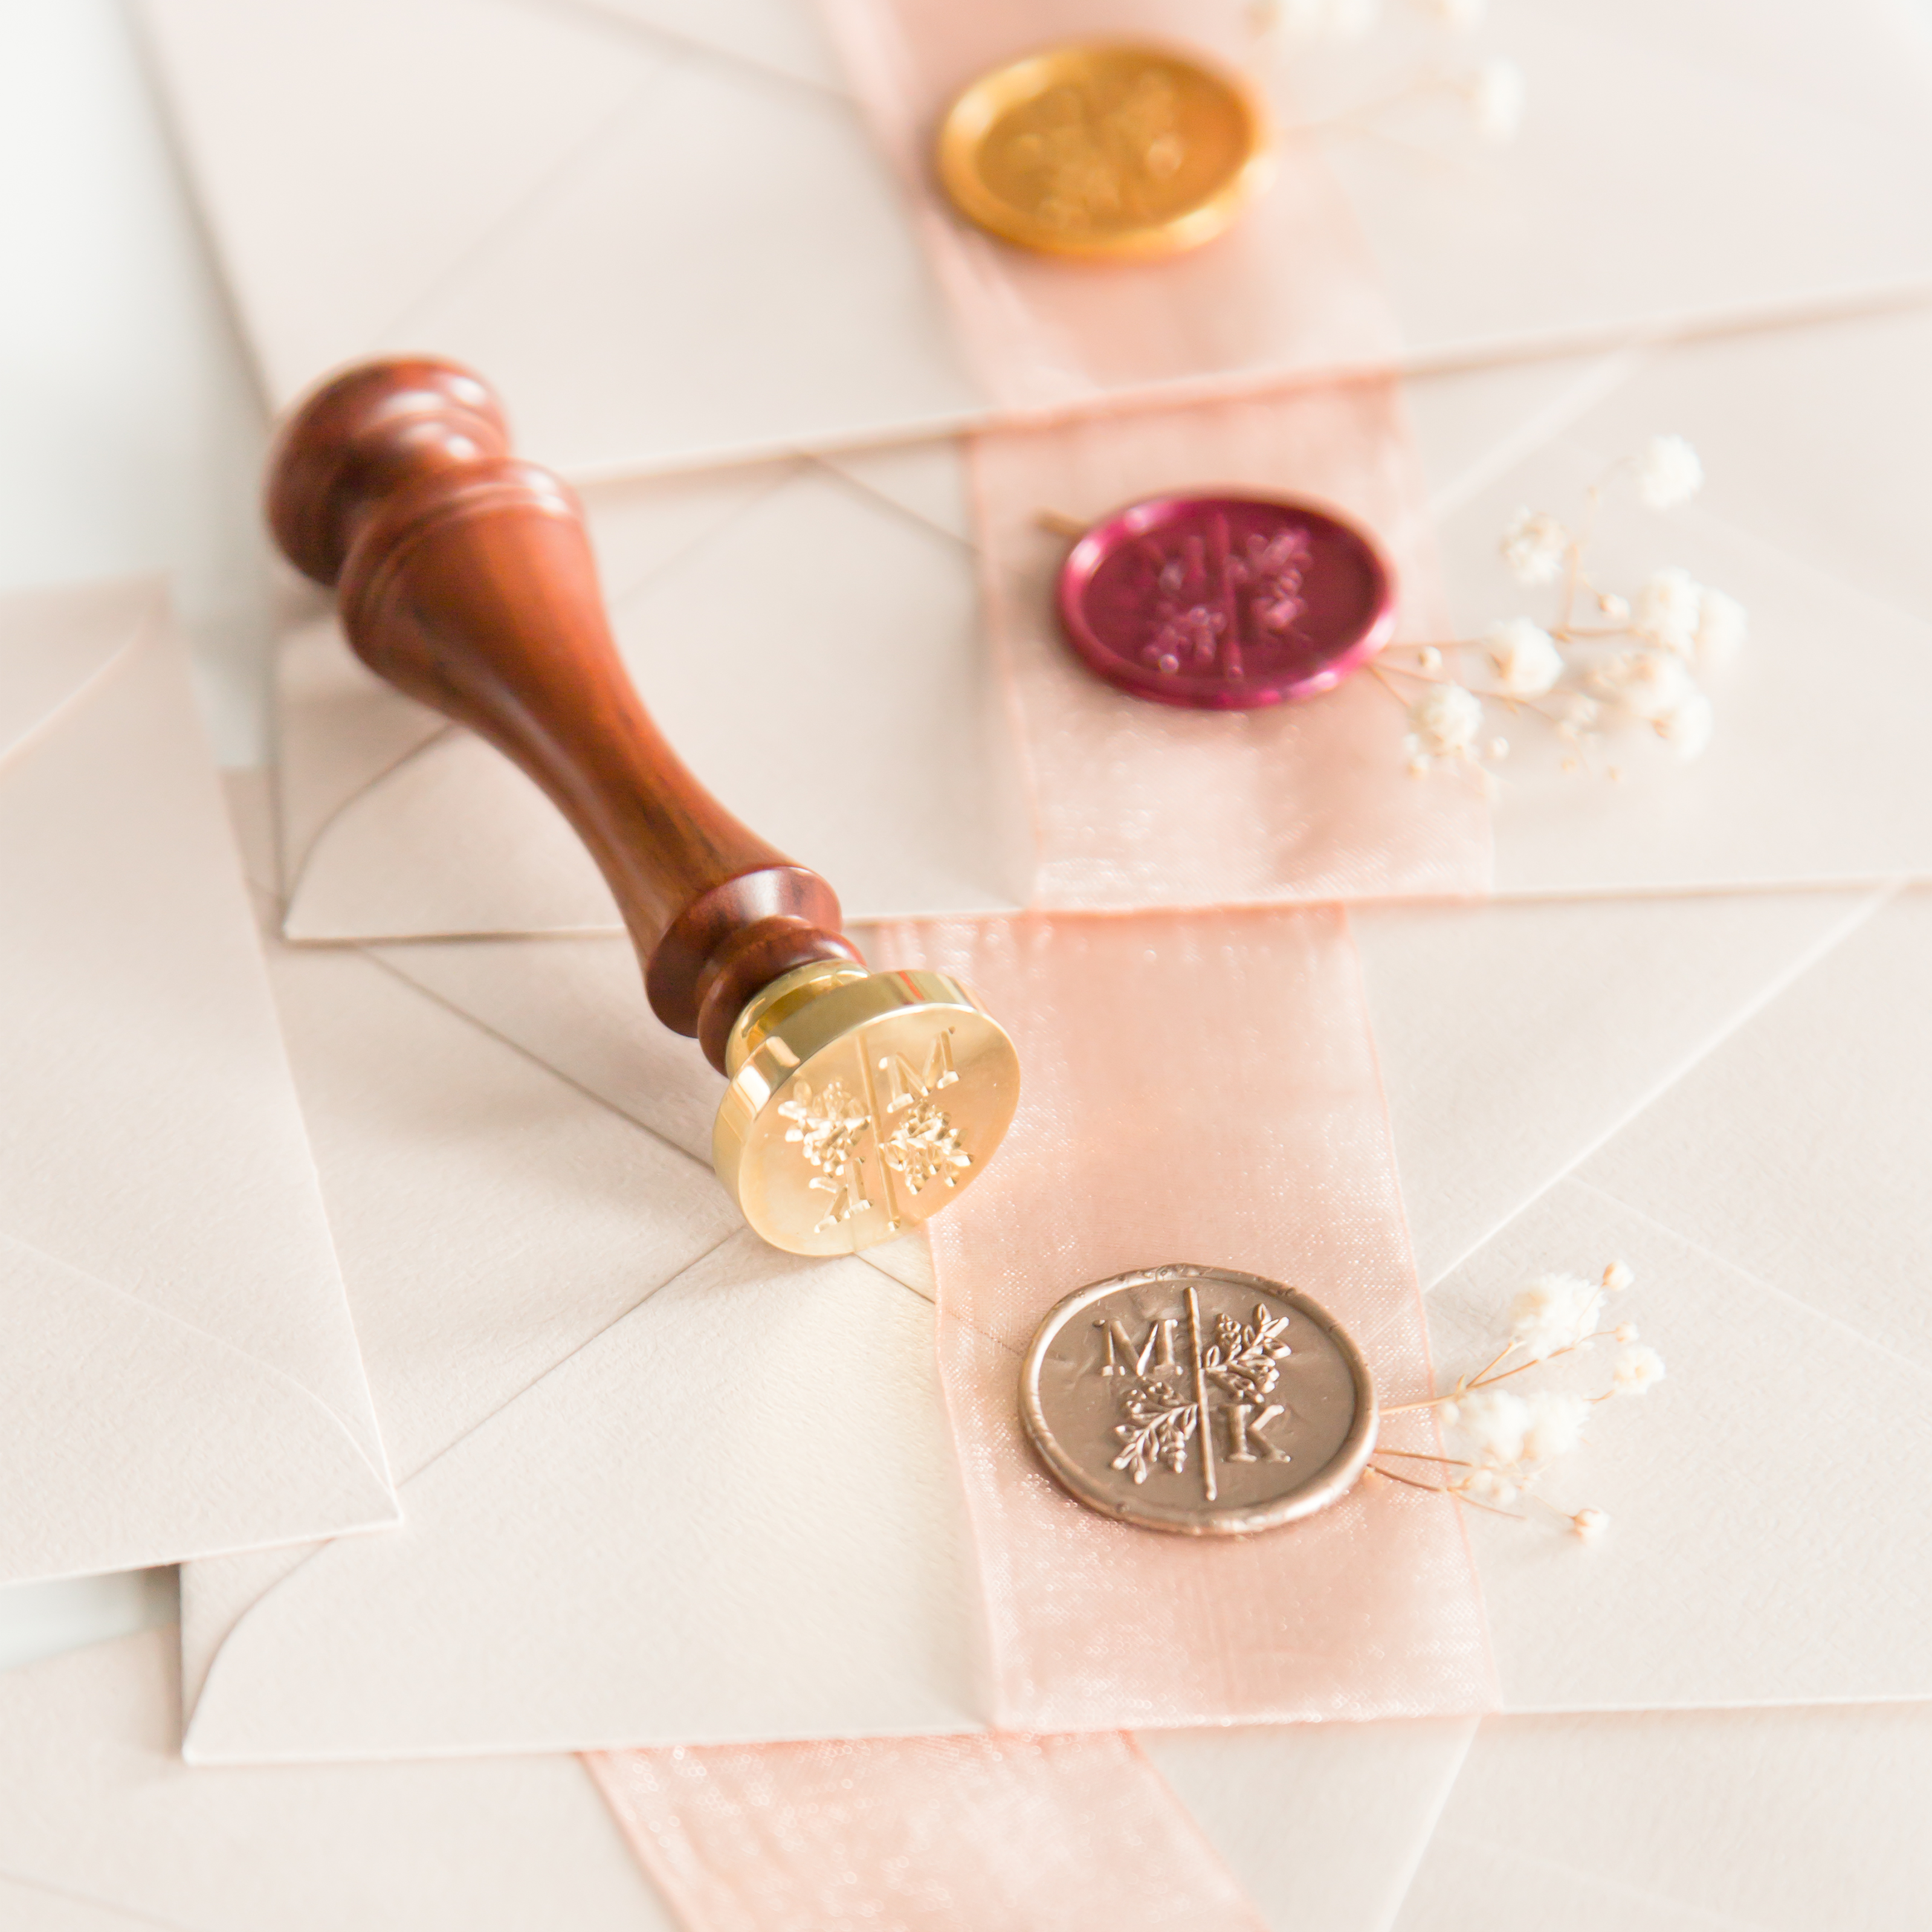
Pour the hot wax onto the smooth side of the Wax Seal Mat or directly onto your project. Pour the spoon slowly, without moving it. Carefully place the stamp in the centre of the wax. You do not need to apply any pressure. Now leave the wax stamp in place for 30 seconds. Remove the stamp from your seal. You now have a perfect wax seal!
|
Please note!Always keep wax seal beads out of the reach of children and animals. The melting spoon and the brass part of the wax oven become very hot. Never touch these parts when they are hot. To clean your melting spoon, use a piece of kitchen paper. Be careful, as the spoon and the leftover wax may still be hot! |
|
|
|
In this video, Jessy teaches you how to make the most beautiful wax seals! 🤩 |


Looking for more tips and tricks?
read them all
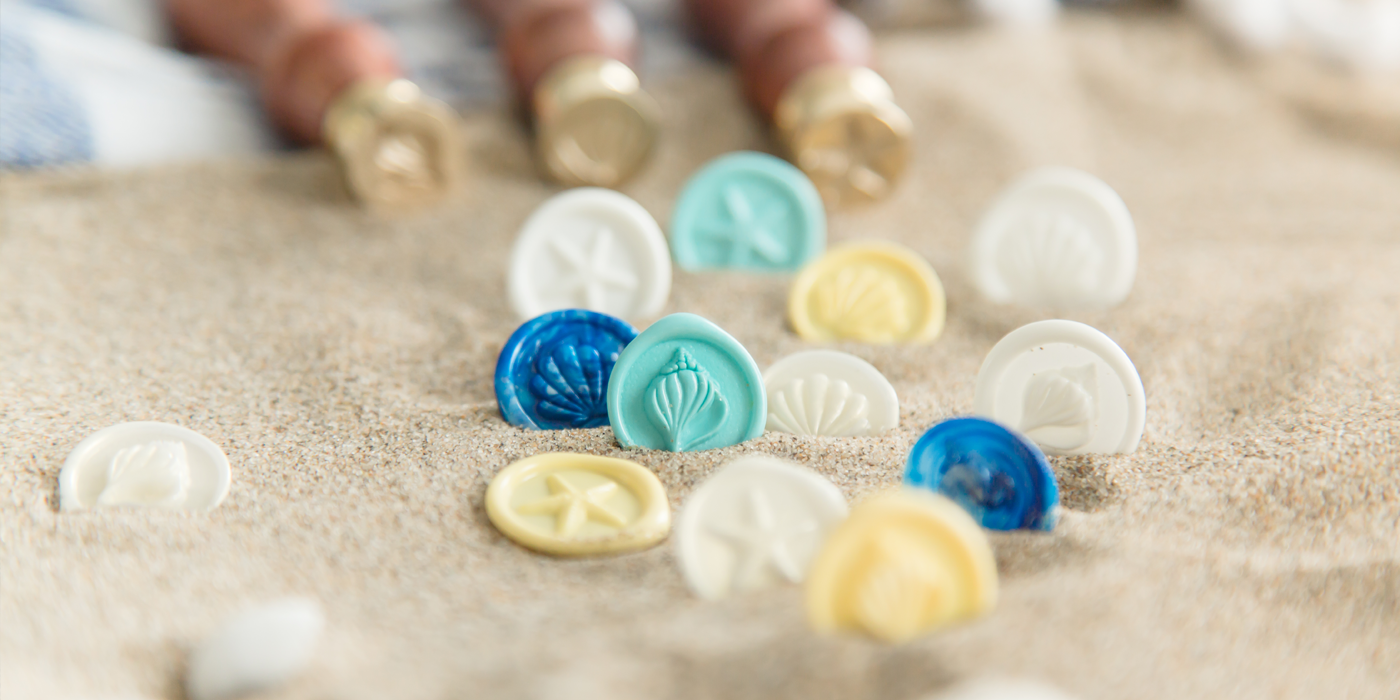
In this new tips & tricks blog, I’ll show you how to seal a small bottle filled with sand from your favourite holiday destination. 🍾
Read more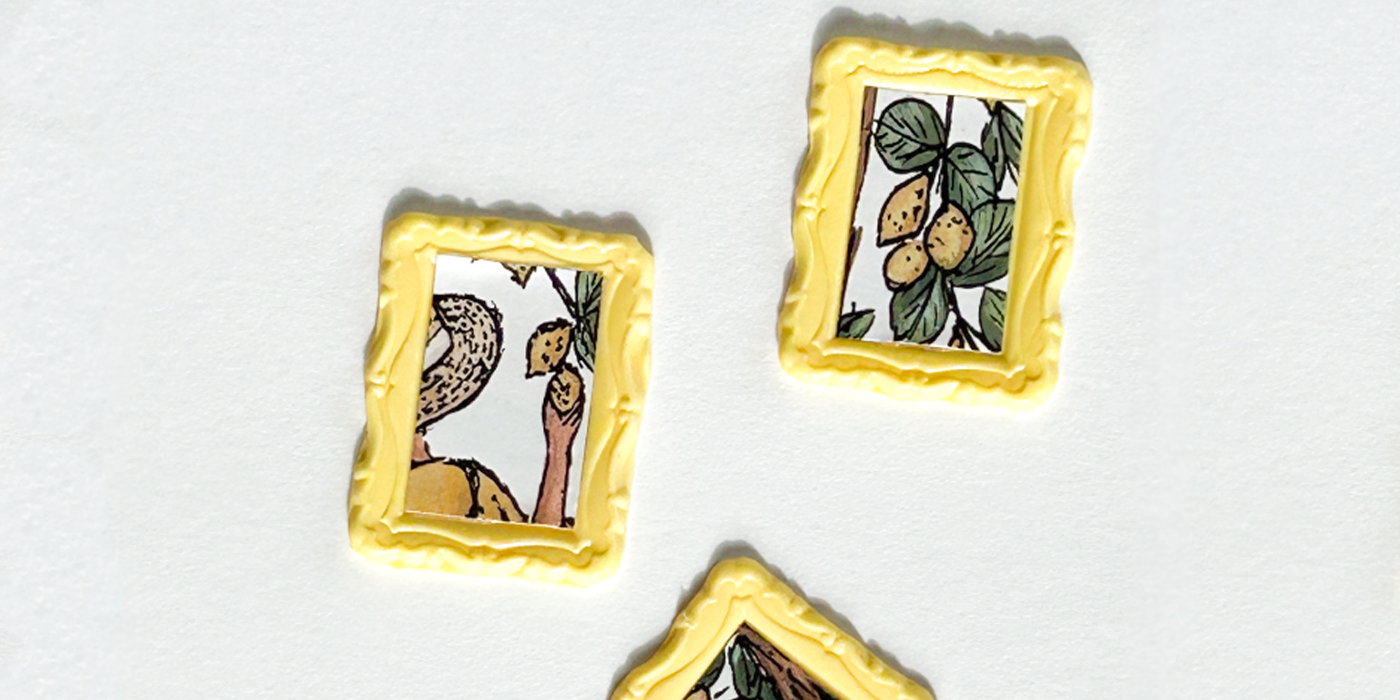
#6 - Create a photo frame seal
In this blog, I will teach you how to make beautiful photo frames with wax seals using our frame stamps. 🖼
Read more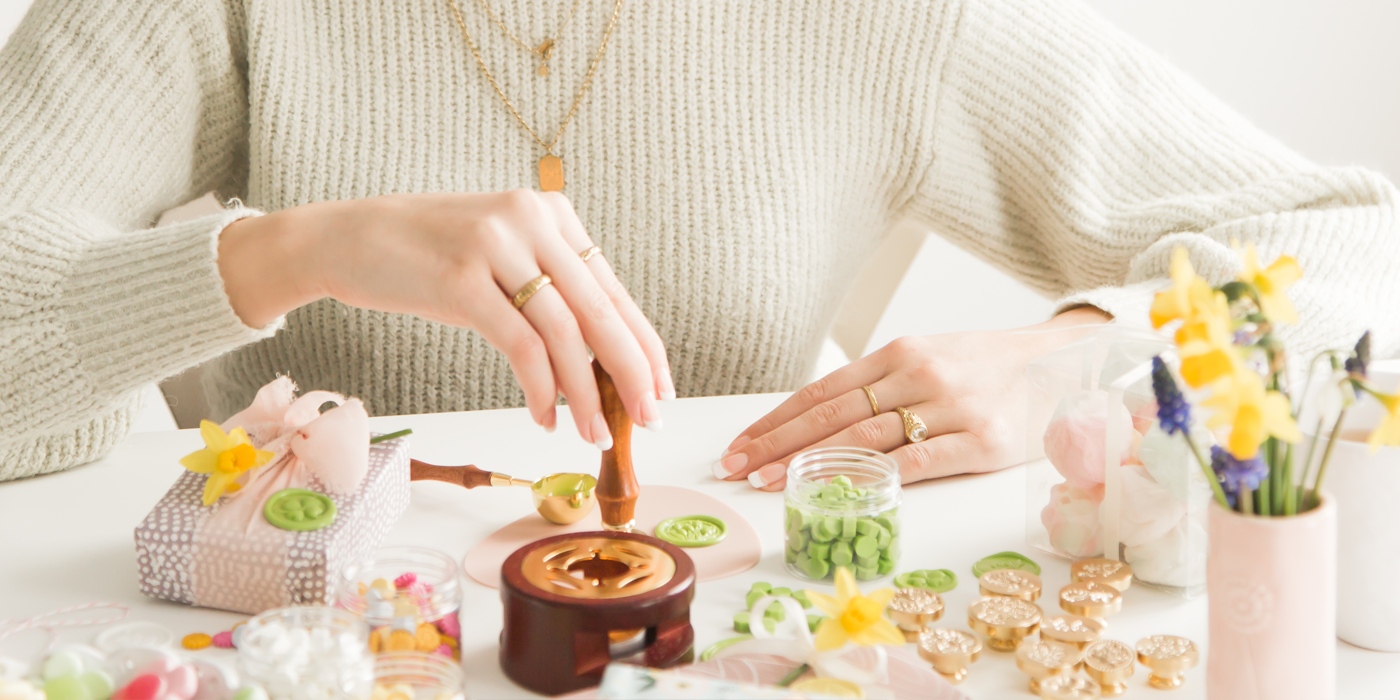
In this blog, I'll give you tips on how to get your wax seal products spick and span again – and as good as new! 🧼🫧
Read more