


Embosser instructions
An embosser creates a luxurious embossed finish on paper (or other materials) without the use of ink or foil. In just a few seconds, you can create an elegant impression on envelopes, cards, certificates, letterhead, gift tags, and more. Below, we’ll guide you step by step through how to use your embosser and how to easily change the design.
How to use an embosser?
 |
Remove your embosser from the storage boxOpen the included storage box and remove the embosser using both hands. |
Remove the design clipHold the silver design clip with your left hand and squeeze it gently. You can now carefully slide the clip out of the handle. |
 |
 |
Position the design clipTurn the handle upside down so that the lever is at the top. Rotate the design clip 90 degrees, then click it securely into the handle. |
Make sure the design clip is properly installedBefore embossing, make sure the design clip is fully seated in the handle. When it is installed correctly, the two embossing plates will meet evenly, ensuring a clean, crisp embossed impression. |
 |
 |
Create the embossed impressionSqueeze the handle all the way closed using a smooth, steady motion. Hold the pressure for about two seconds, then release. Your embossed impression will be visible immediately. |
Admire your embossed impressionYour material now features a beautiful embossed impression. You can feel the depth of the embossing with your fingertips. After use, store your embossing seal neatly in the included storage box. |
 |
Tips for the best results
- For a crisp, well-defined embossed impression, we recommend using paper up to 270 gsm.
- Always use your embosser on a flat, sturdy surface to ensure even pressure.
- Make a test impression on a spare sheet of paper before embossing your final envelope, card, certificate or other project.
- For the sharpest results, use smooth or lightly textured paper. Heavily textured paper may reduce the clarity of the embossed impression.
- Squeeze the handle in one smooth, steady motion and hold it closed for about two seconds to achieve the best possible result.
Looking for more tips and tricks?
read them all
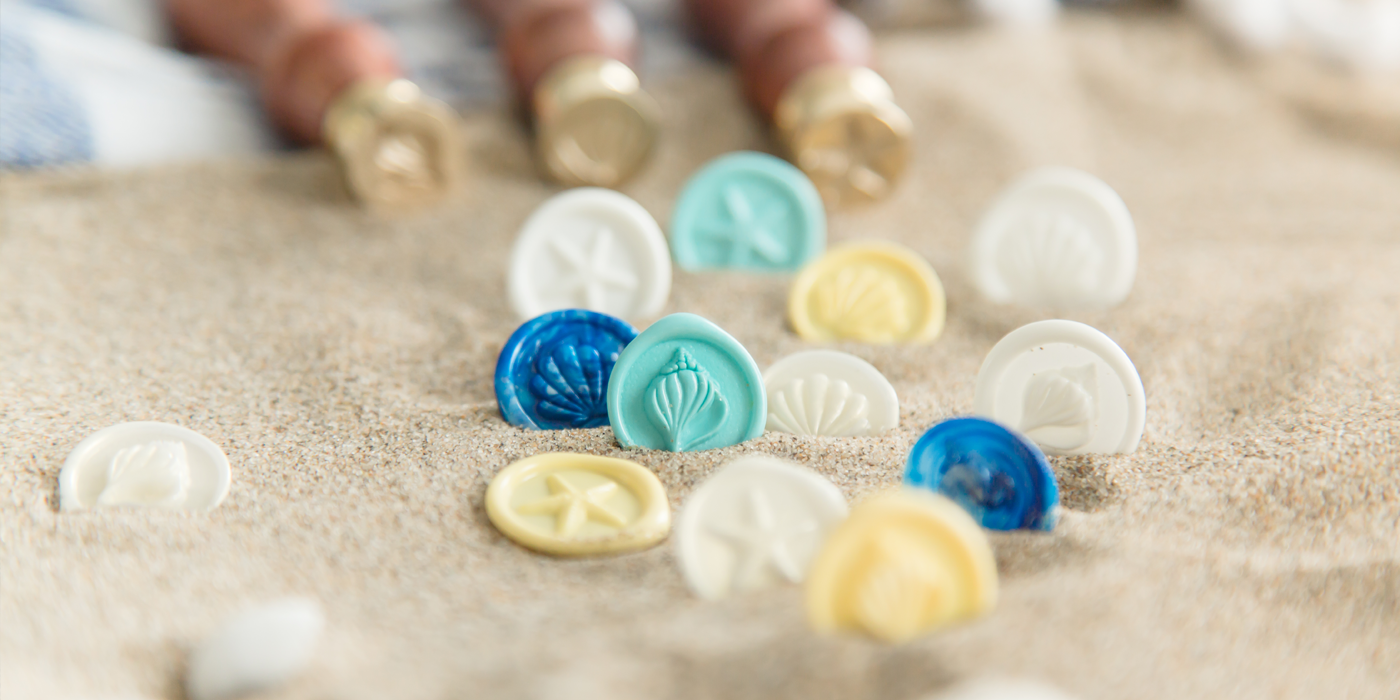
In this new tips & tricks blog, I’ll show you how to seal a small bottle filled with sand from your favourite holiday destination. 🍾
Read more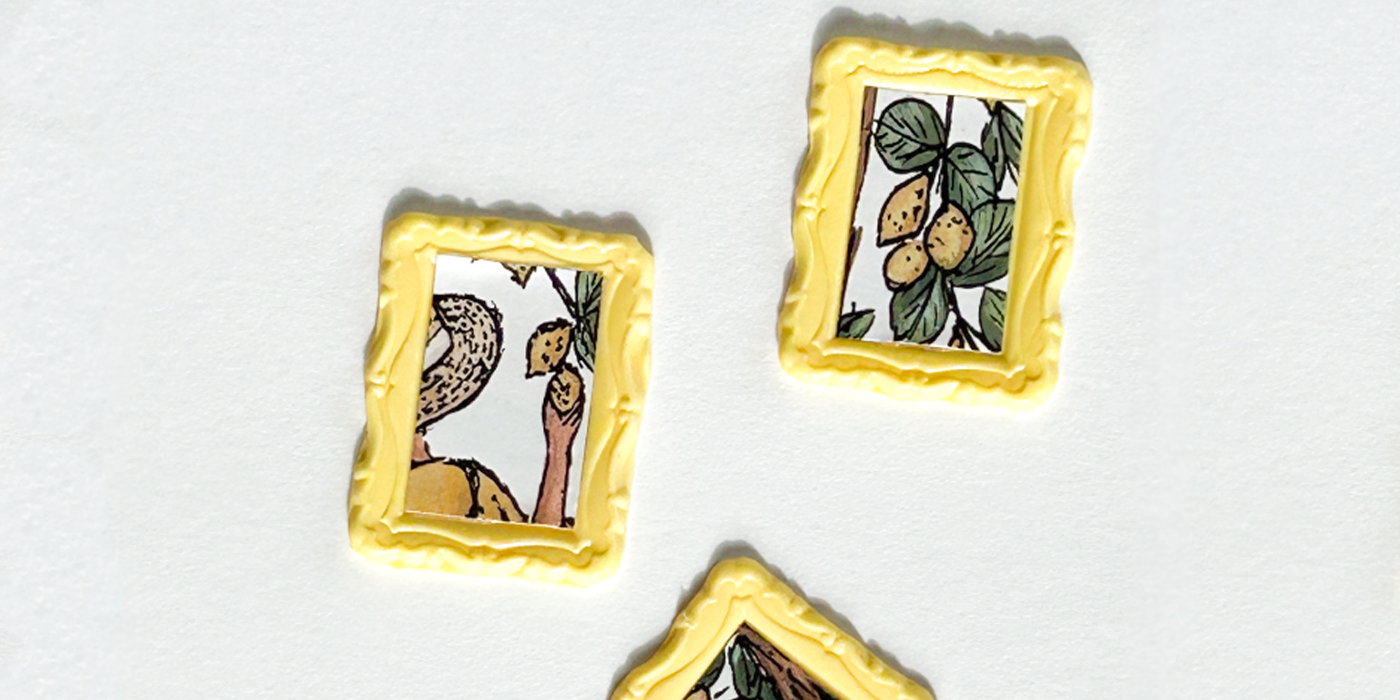
#6 - Create a photo frame seal
In this blog, I will teach you how to make beautiful photo frames with wax seals using our frame stamps. 🖼
Read more
In this blog, I'll give you tips on how to get your wax seal products spick and span again – and as good as new! 🧼🫧
Read more