

What's in a Wax Seal Starter Kit and Why You Need One 💌
You've probably spotted a beautiful wax seal on a wedding invitation, a carefully wrapped gift or a handwritten letter. That small, glossy detail makes an impression straight away. The good news is that I'll show you in this guide how to make it yourself, at home, with just a few simple basics. You don't need any experience, no special skills, and you don't have to invest in dozens of separate items either. A starter kit is made for exactly that: everything you need in one go, so you can make your first wax seal today.

What exactly is a wax seal starter kit?
Wax seals date back to centuries of letter writing, when a seal proved that an envelope hadn't been opened before. These days it's become a creative and relaxing pastime instead. More and more people use wax seals to give invitations, cards and gifts a personal touch. A starter kit bundles everything you need to make that first seal, without you having to work out which separate products actually go together. That saves time, and it also prevents a common beginner mistake: ending up with parts that don't quite match.
The basic components explained
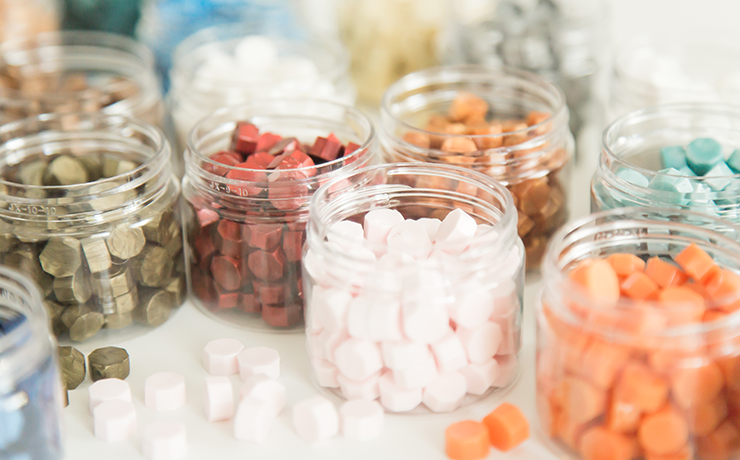
Wax: beads versus sticks
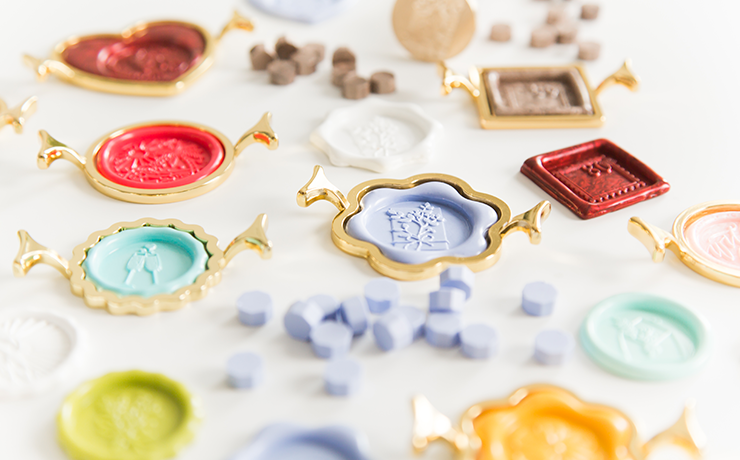
Wax seal beads are small pellets of wax that you melt into a liquid seal. Compared with traditional wax sticks, beads are much more flexible to work with. You decide exactly how much to melt, you can mix colours with ease, and the finished seal is less brittle. That last point matters if you're planning to post your seals, since a classic, brittle seal doesn't always survive a sorting machine. I personally prefer working with beads, precisely for that flexibility. Browse the full colour range, more than 60 shades, in my Sealing Wax collection.
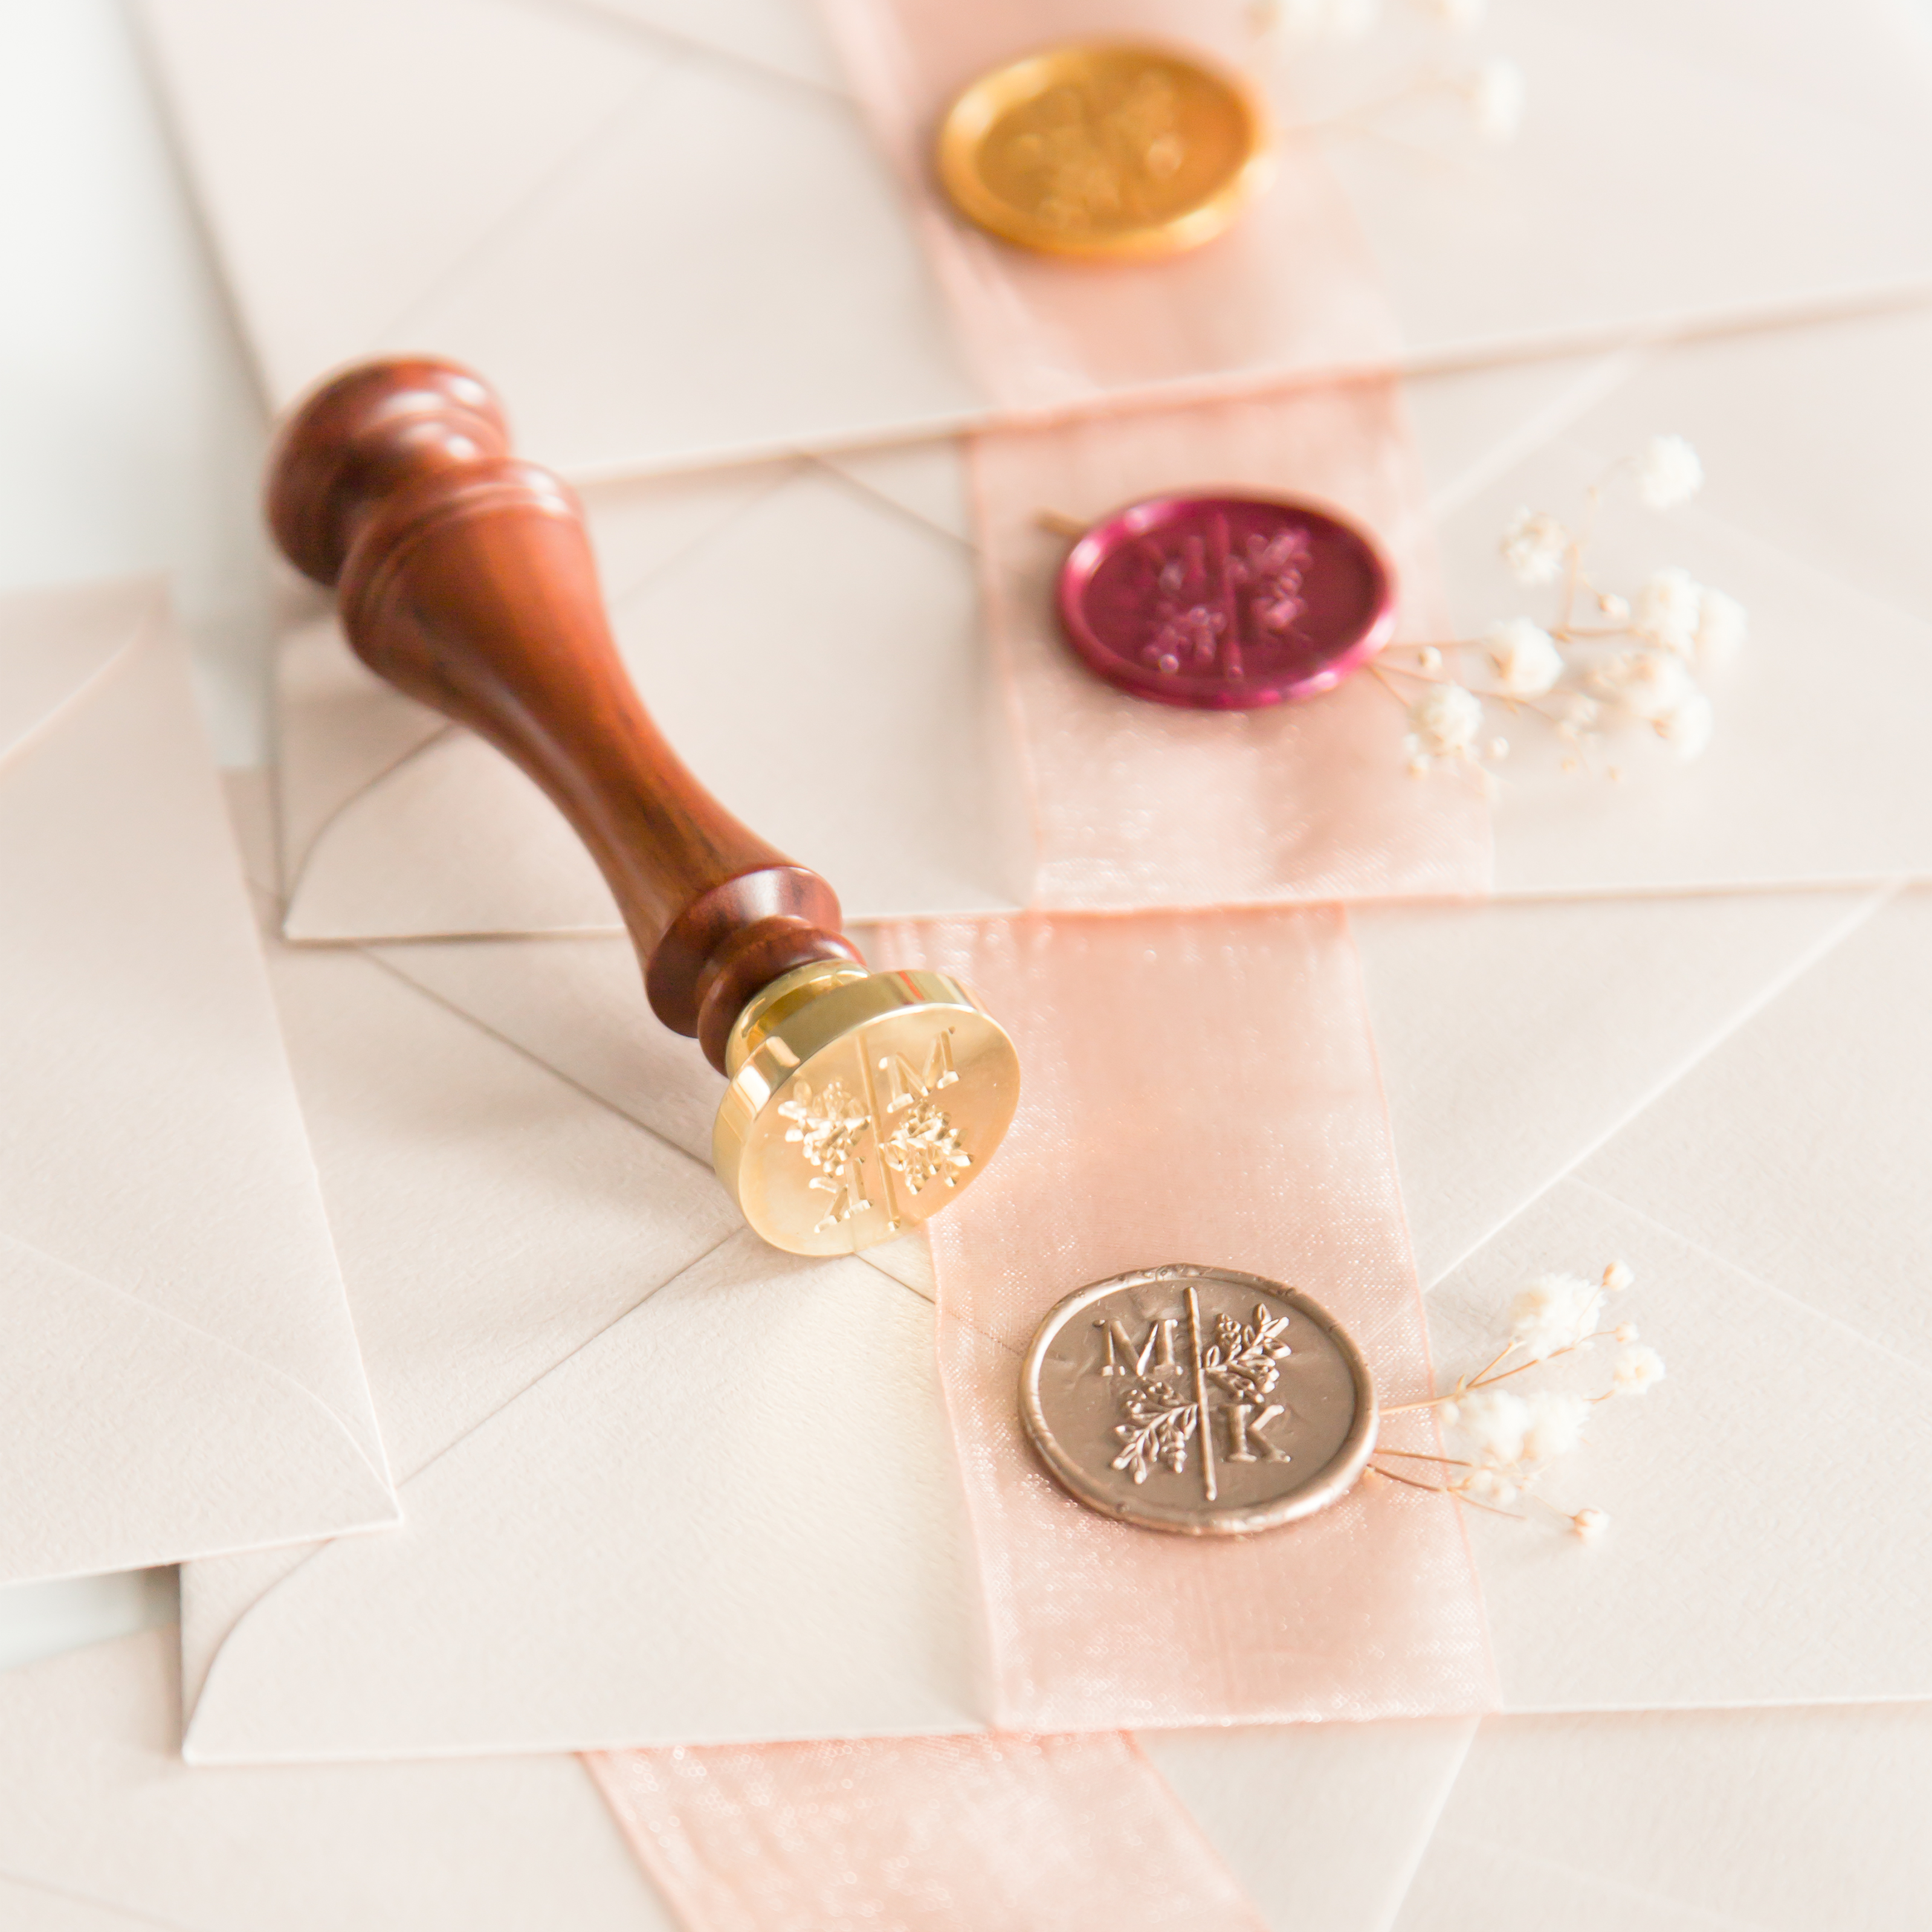
The stamp
The stamp head sets the motif of your seal: a letter, a heart, a flower or a fully personalised design with your own initials or logo. Most stamps have a wooden handle, which gives you grip and even, comfortable pressure while stamping. For your first kit, I'd recommend a motif that suits plenty of occasions, such as a letter, a gift symbol or a classic design, so you can use it again and again. In my Wax Seal Stamps collection you'll find more than 300 designs, from minimalist to wonderfully decorative.
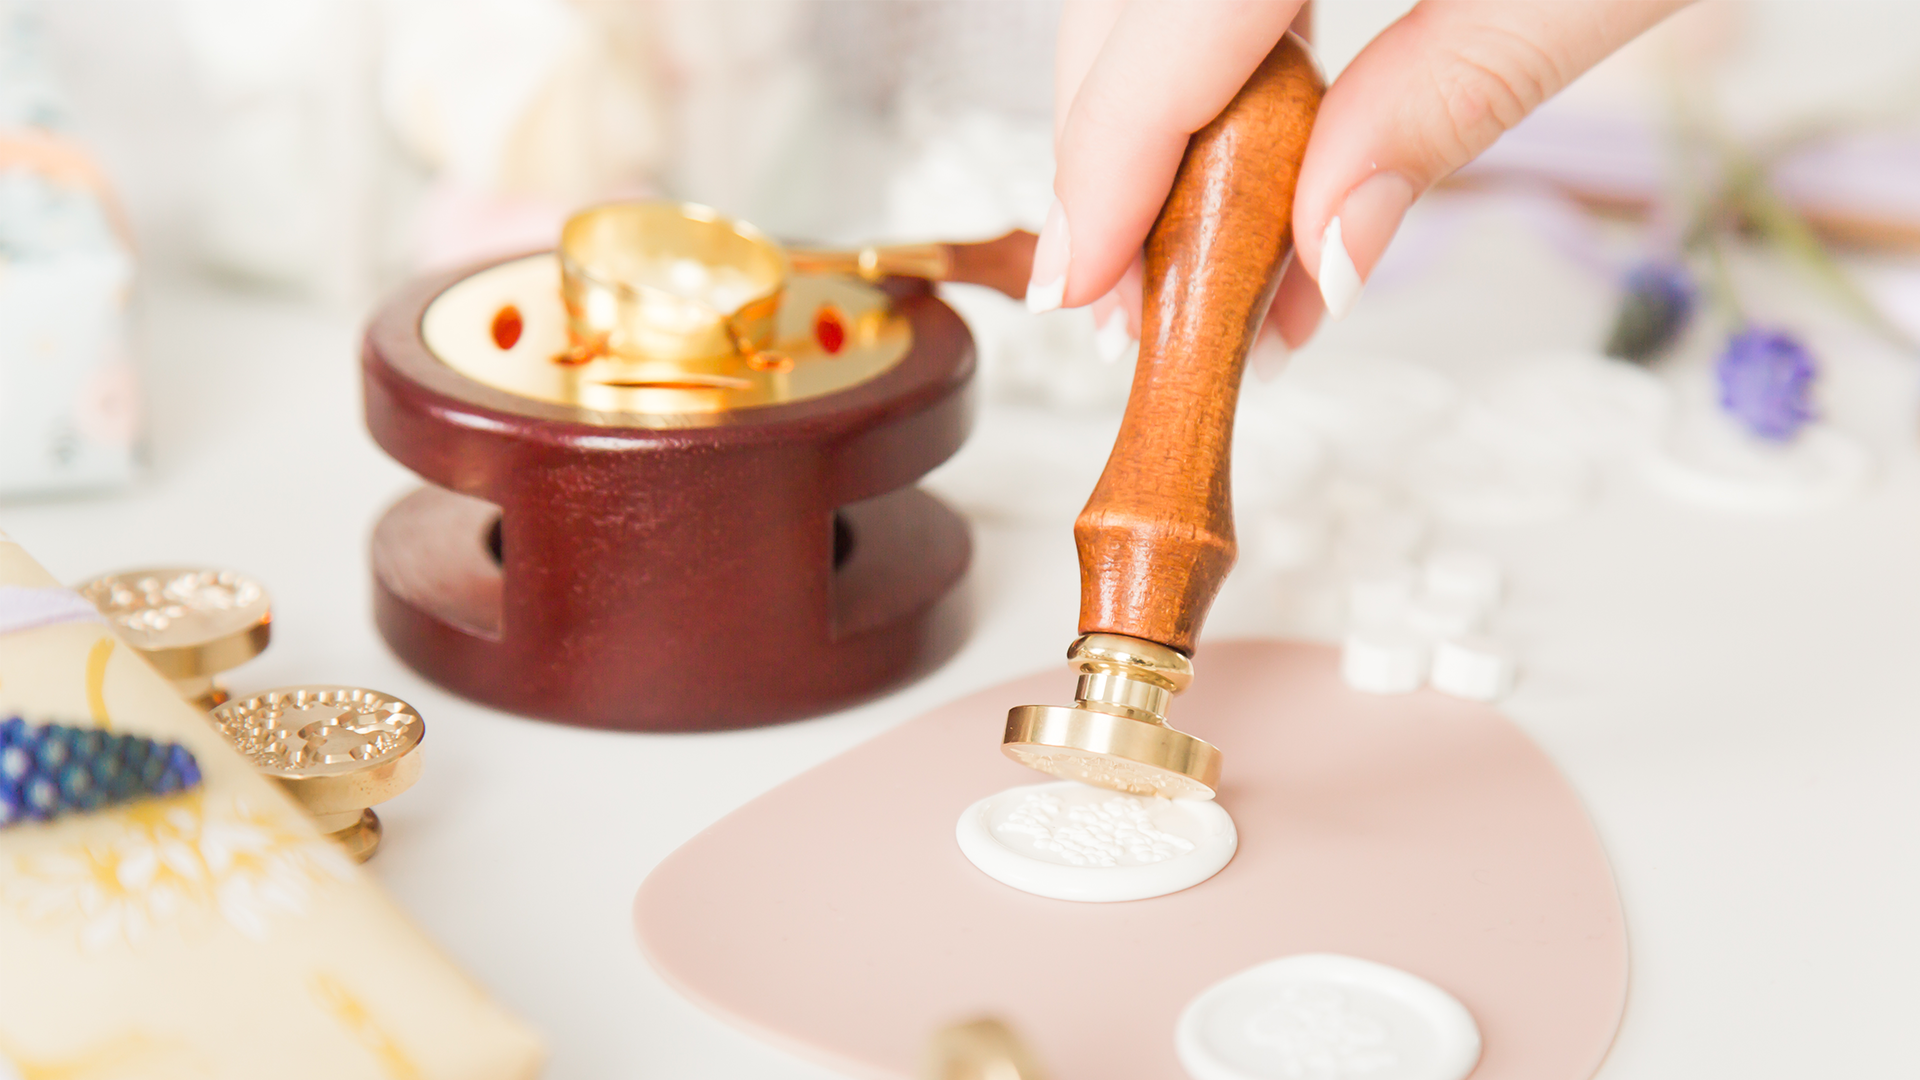
Melting tool: spoon, burner or glue gun
There are roughly three ways to melt wax. A melting spoon combined with a burner is the most predictable method for beginners. You melt slowly, stay fully in control of the amount of wax, and there's little risk of it burning or discolouring. A glue gun, with special wax seal sticks, works faster and is handy if you're making larger batches at once, though it takes a little more practice to get the dosing right. For your very first seals, I'd recommend the spoon and burner combination.

Handy extra accessories and why they make a difference
Alongside the core parts of a wax seal starter kit, it's worth adding a few handy accessories. A wax seal mat, for example, is genuinely useful. Instead of stamping directly onto your envelope or card, you make the seal separately on a flexible mat first. That way you avoid mistakes on your original material, and you can attach the finished seal afterwards with a sticker. I use those backing stickers a lot myself, together with the mat.
Step by step: using your starter kit
- Warm the wax beads in the spoon over the burner. Use 3 wax beads for a 25mm stamp, the standard size. Stir occasionally so the wax melts evenly and doesn't overheat in one spot.
- Check the consistency. The wax should be completely liquid, with no lumps. This usually takes 1 to 2 minutes, depending on the amount.
- Pour the wax gently onto your chosen surface: an envelope, card, gift wrap or the wax seal mat. It's better to use a little too much wax than too little, since a thin layer gives an incomplete print.
- Place the stamp carefully and straight into the still-warm wax. Don't twist or tilt it, as that distorts the print. Let the stamp sit for at least 30 seconds to cool.
- Let it cool completely before lifting the stamp. Lift it straight up, without wobbling, for a clean print.

Common beginner mistakes in short
The most common slip-ups are lifting the stamp too early, using too little wax, and letting the wax overheat. No worries, each of these is easy to prevent with a small adjustment. I cover them in detail, with practical fixes, in my article on common wax sealing mistakes.
What to look for when choosing a starter kit
- Number of wax colours: start with 2 or 3 colours so you can experiment with combinations.
- Stamp choice: pick a versatile motif first, such as a letter or a classic design, before investing in a very specific themed stamp you'll only use once. Still not sure which style suits you? I'll help you decide in my article on which wax seal stamp suits your style.
- Completeness: a good kit has everything you need to get going straight away, wax, stamp and melting tool, without having to order extra parts afterwards.
- Room to grow: check whether you can easily add extra wax colours or a second stamp later, so your kit grows along with you.
Who is a starter kit suitable for?
Honestly, for anyone looking for a new creative hobby or wanting to add a personal touch to post and gifts. Popular uses include wedding invitations, birthday cards, gift wrapping, and sealing a journal or notebook. It also makes a lovely gift. I've given a few away myself and it's always gone down well. Find more inspiration in my article on gift ideas with a wax seal kit.
Frequently asked questions from beginners
Is wax sealing difficult?
No. Most people get the hang of the basic technique after a few practice seals. Patience matters most: let the wax cool properly before lifting the stamp.
Can the wax break during postal delivery?
With flexible wax seal beads, rather than traditional, brittle sealing wax, the risk of breakage is small. For extra peace of mind, you can send the sealed envelope inside an outer envelope.
How much wax do I need per seal?
On average 3 wax beads for a 25mm seal and 4 beads for a 30mm one. If in doubt, use a little too much rather than too little.
Can I mix different wax colours?
Definitely, and it's one of my favourite parts of the process. Melt the colours together in the spoon and stir with a cocktail stick for a swirl effect, or blend them fully for a brand new colour.
How often can I use the same stamp?
As often as you like. A wax seal stamp lasts for years.
Is a starter kit also suitable as a gift?
Absolutely. It's complete, ready to use right away, and suits almost anyone with a creative streak.
Ready to get started? Take a look at my Wax Seal Kit and put together your own set, or explore all the stamp designs in my Wax Seal Stamps collection and colours in my Sealing Wax collection. And if you'd like a bit more inspiration first, read my article on wax sealing as a hobby.
Op zoek naar meer inspiratie?
bekijk het hier
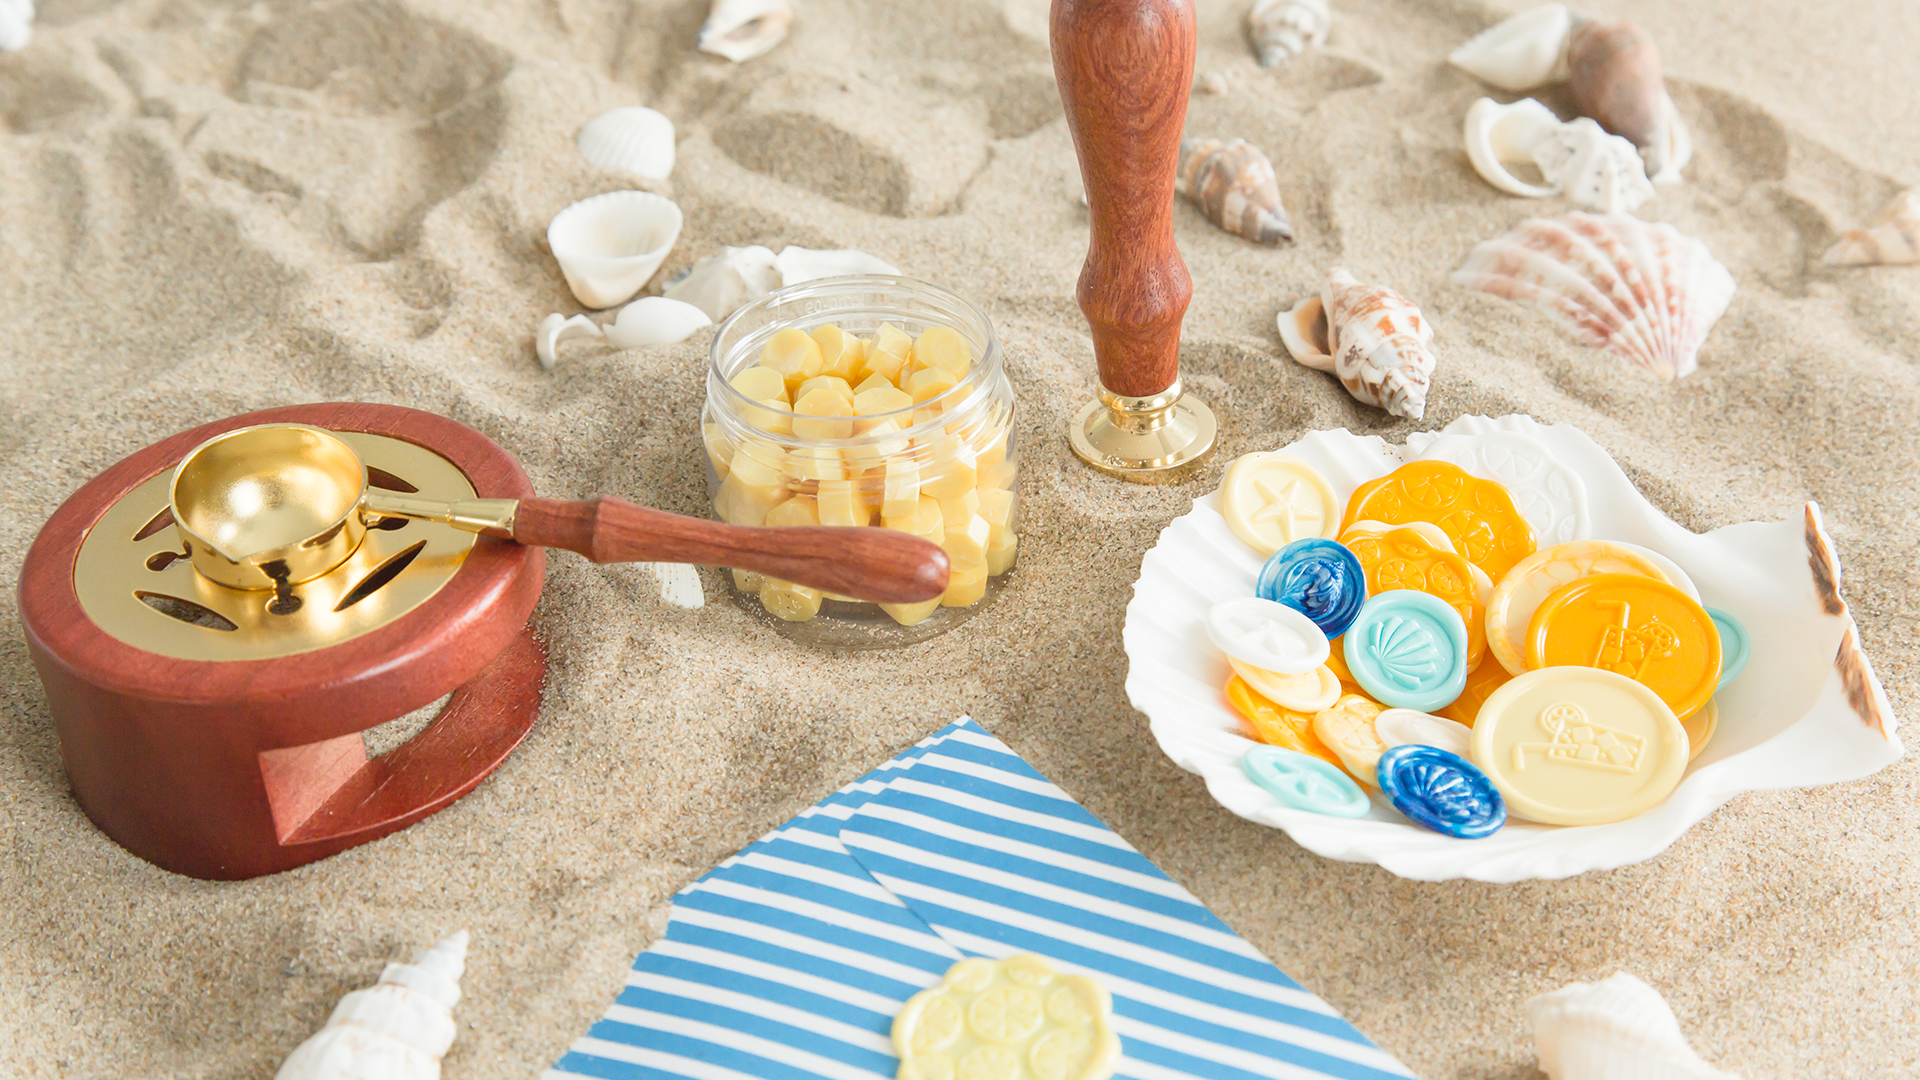
Wax Sealing as a Hobby: Inspiration to Get Started ✨
Discover why wax sealing has become such a beloved creative hobby, and get inspired by some of my favourite projects.
Read more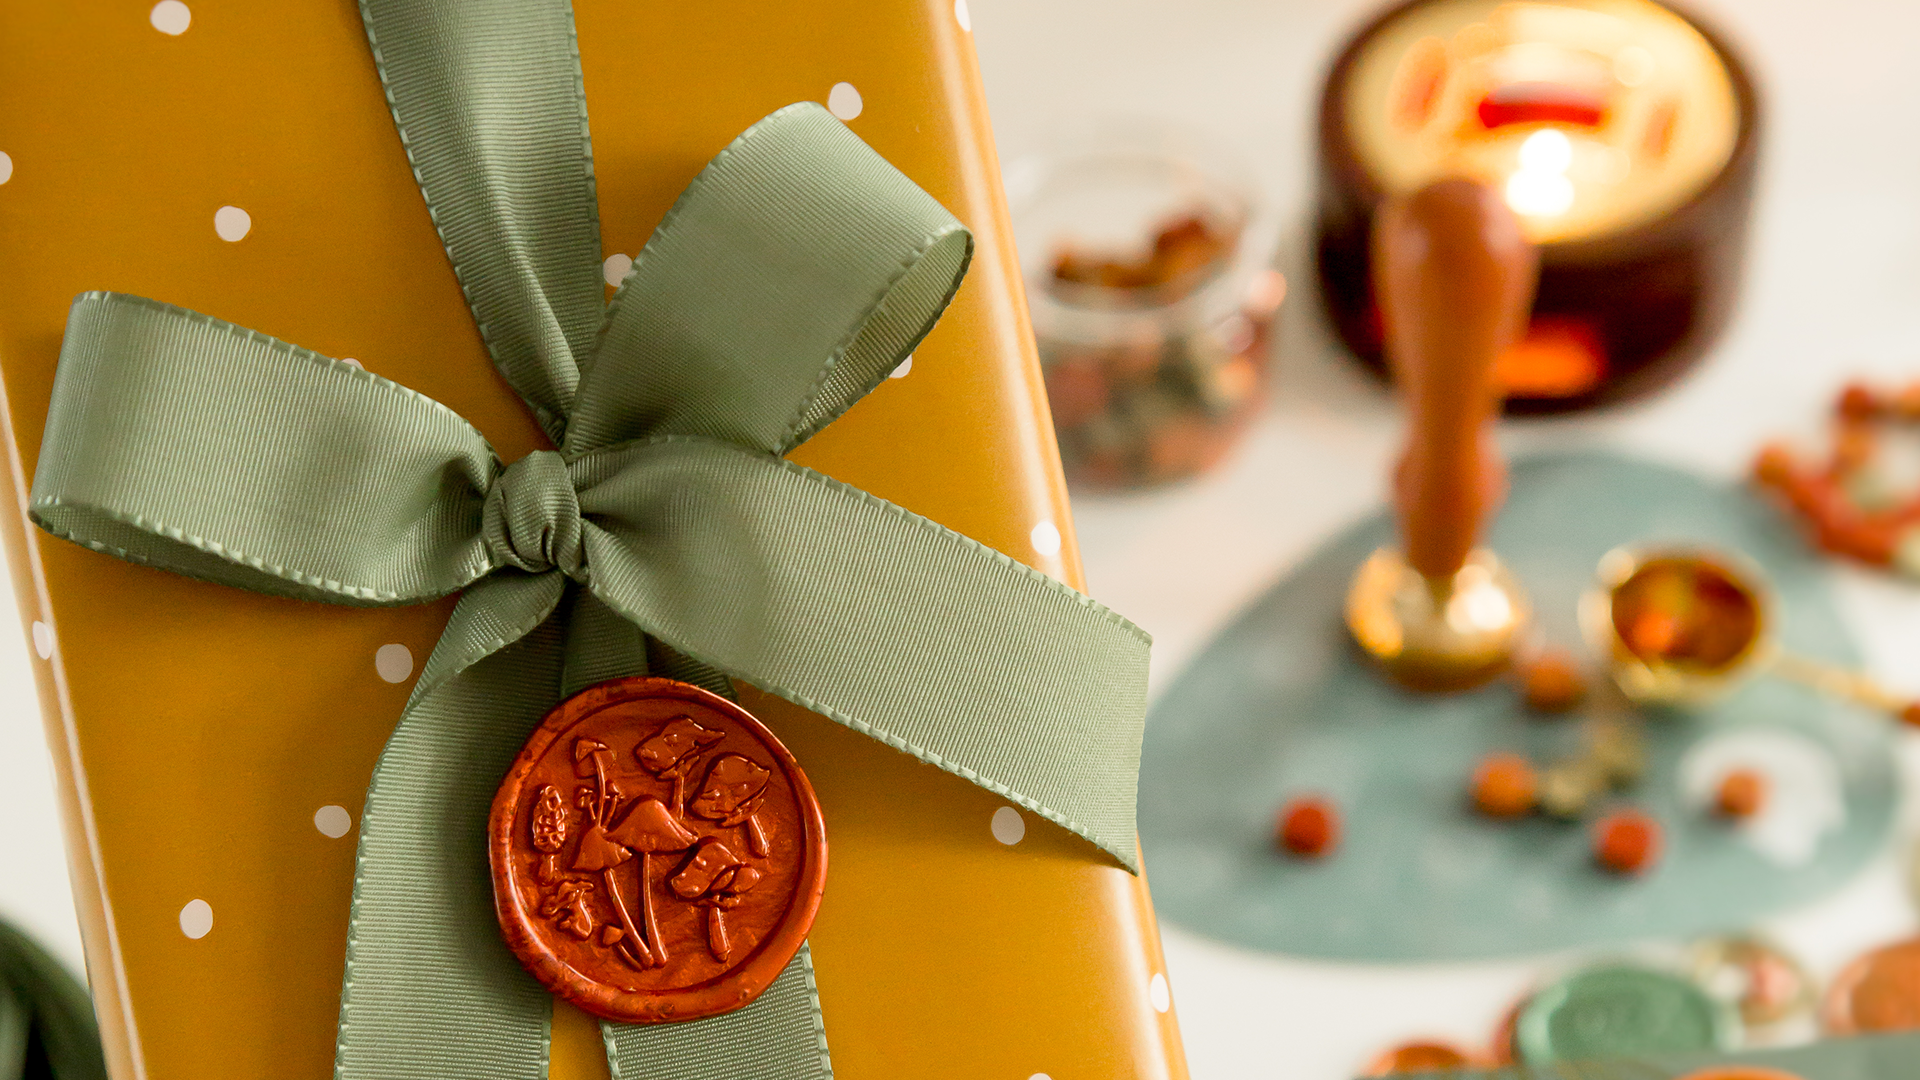
Creative Gift Ideas with a Wax Seal Kit 🎁
Looking for a one-of-a-kind gift? I share my favourite ways to make a Wax Seal Starter Kit extra personal.
Read more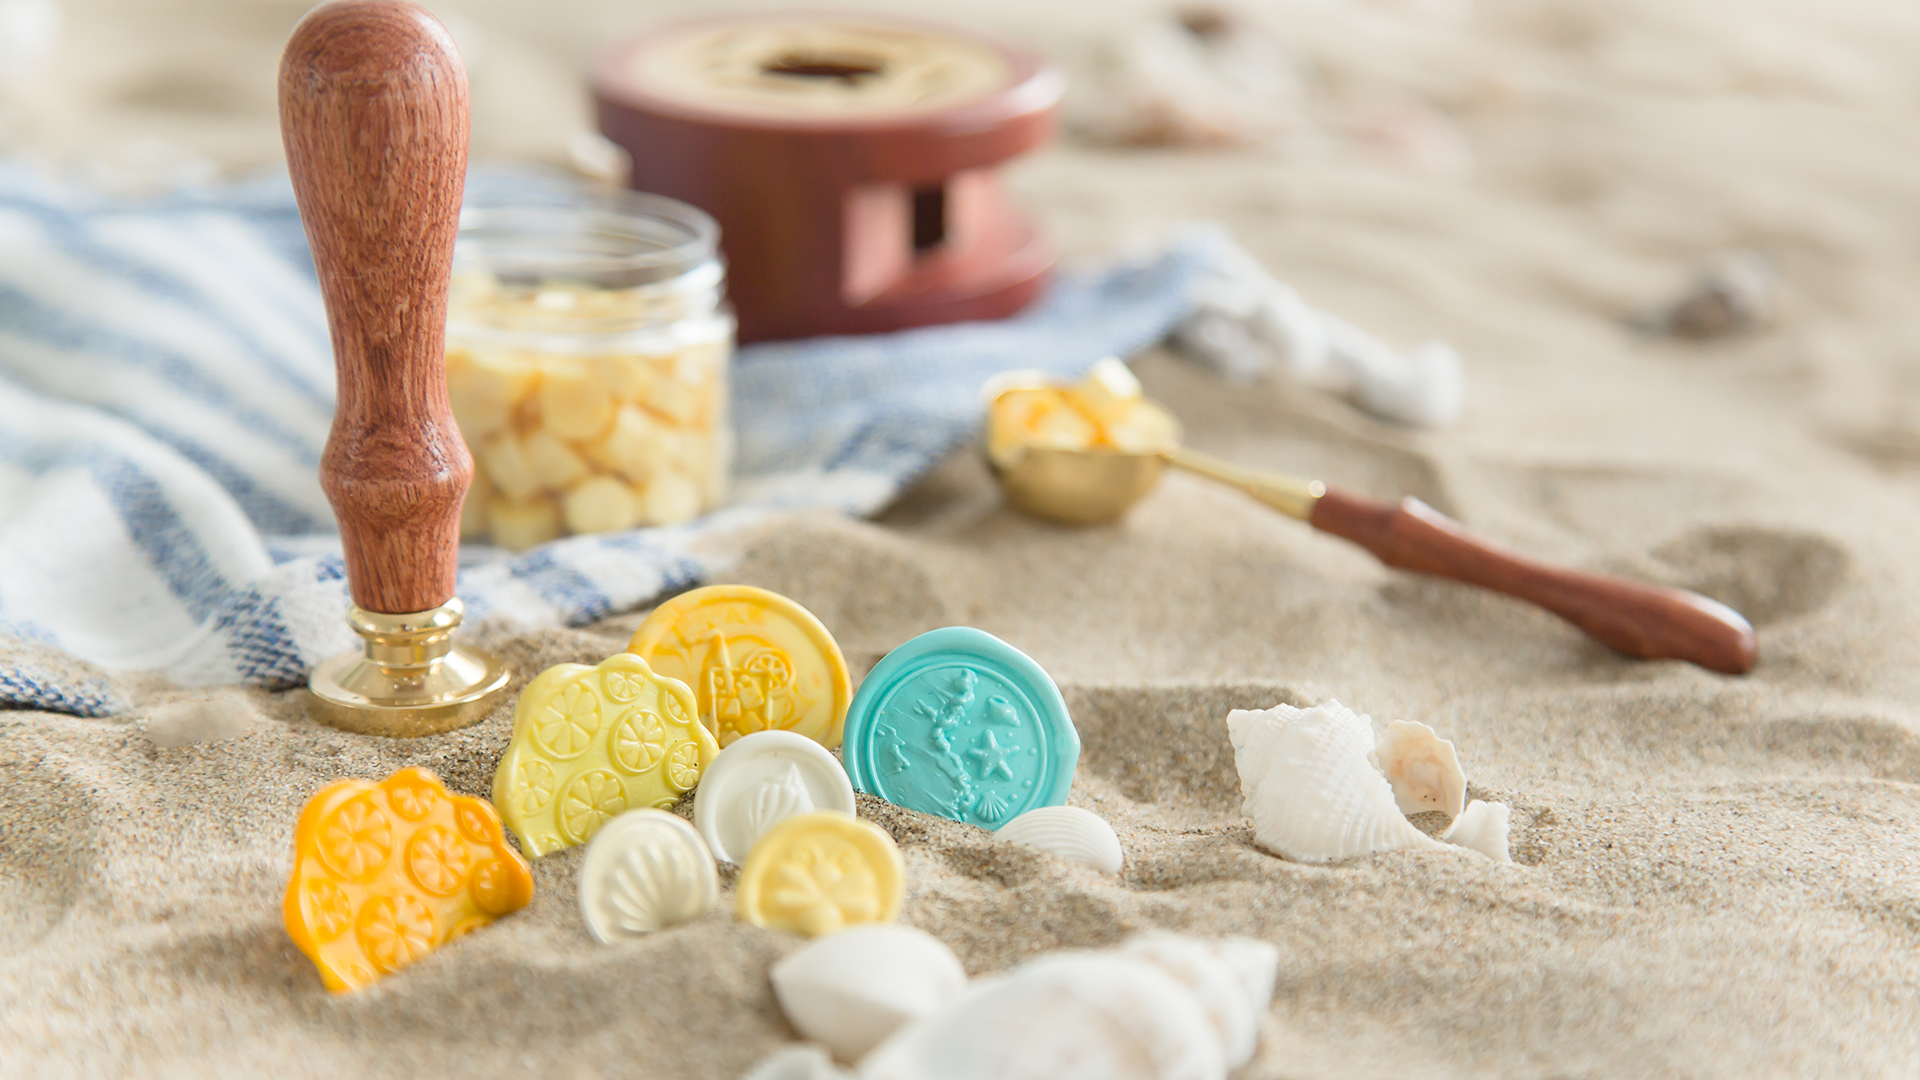
Which Wax Seal Stamp Suits Your Style?
With more than 300 stamps to choose from, it can feel overwhelming. I'll help you find the style that's really you.
Read more