
Wax seals give your invitations a luxurious and personal look. But once you are ready to send them, an important question often comes up: how do you make sure your wax seal arrives safely and still looks beautiful?
In this blog, we explain step by step how to send your invitations with a wax seal in the best possible way. From different ways of placing the seal to practical tips for preventing damage during shipping.
Not sure yet when to send everything out? Take a look at our ideal timeline for wedding invitations and wax seals first.
There are different ways to use wax seals, and your choice directly affects how well your invitation will arrive.
Still looking for the right wax stamp for your invitation? Take a look at our page on personalised wax seal stamps first.

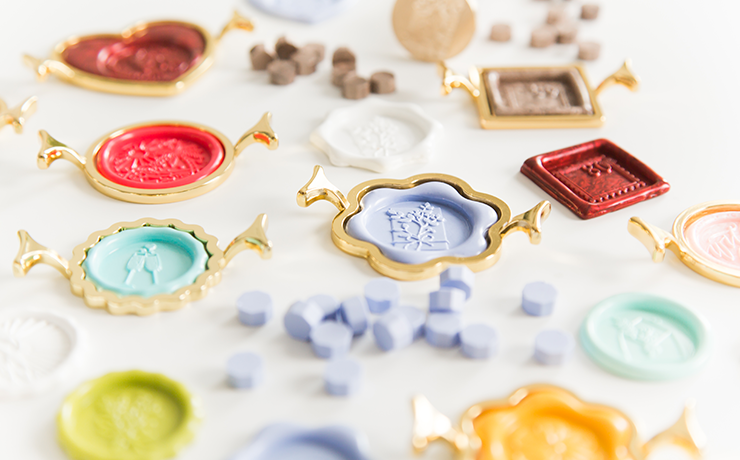
Different ways to place a wax seal on your invitation
There are several ways to add a wax seal to your invitation. The best method depends on the look you want and how you plan to send your invitations.
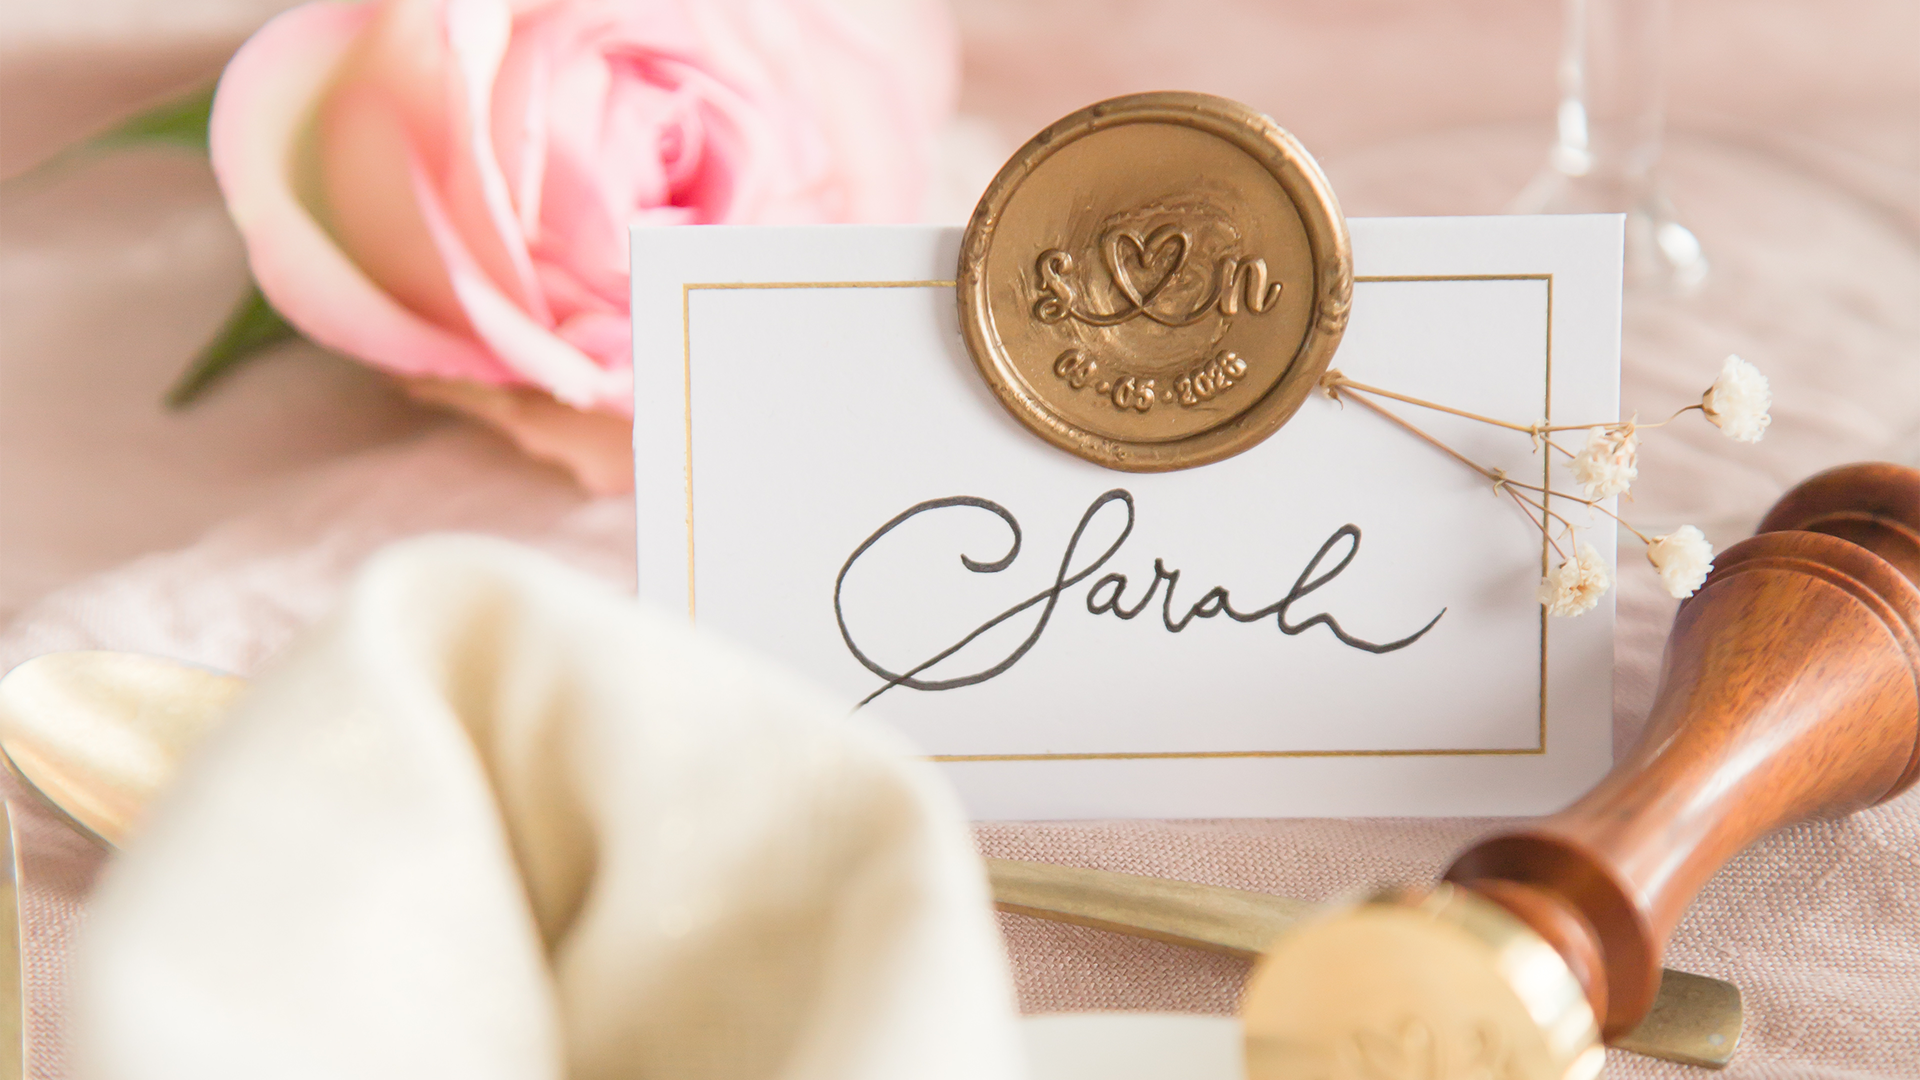
Option 1: pouring wax directly onto the envelope
The most traditional method is to pour the wax directly onto the envelope and press the stamp into it. This creates an authentic, handmade finish and ensures the seal is firmly attached.
The downside is that you only get one chance: if your stamp is slightly crooked or doesn’t turn out perfectly, you cannot correct it. This method is also a bit more sensitive to damage during transport.
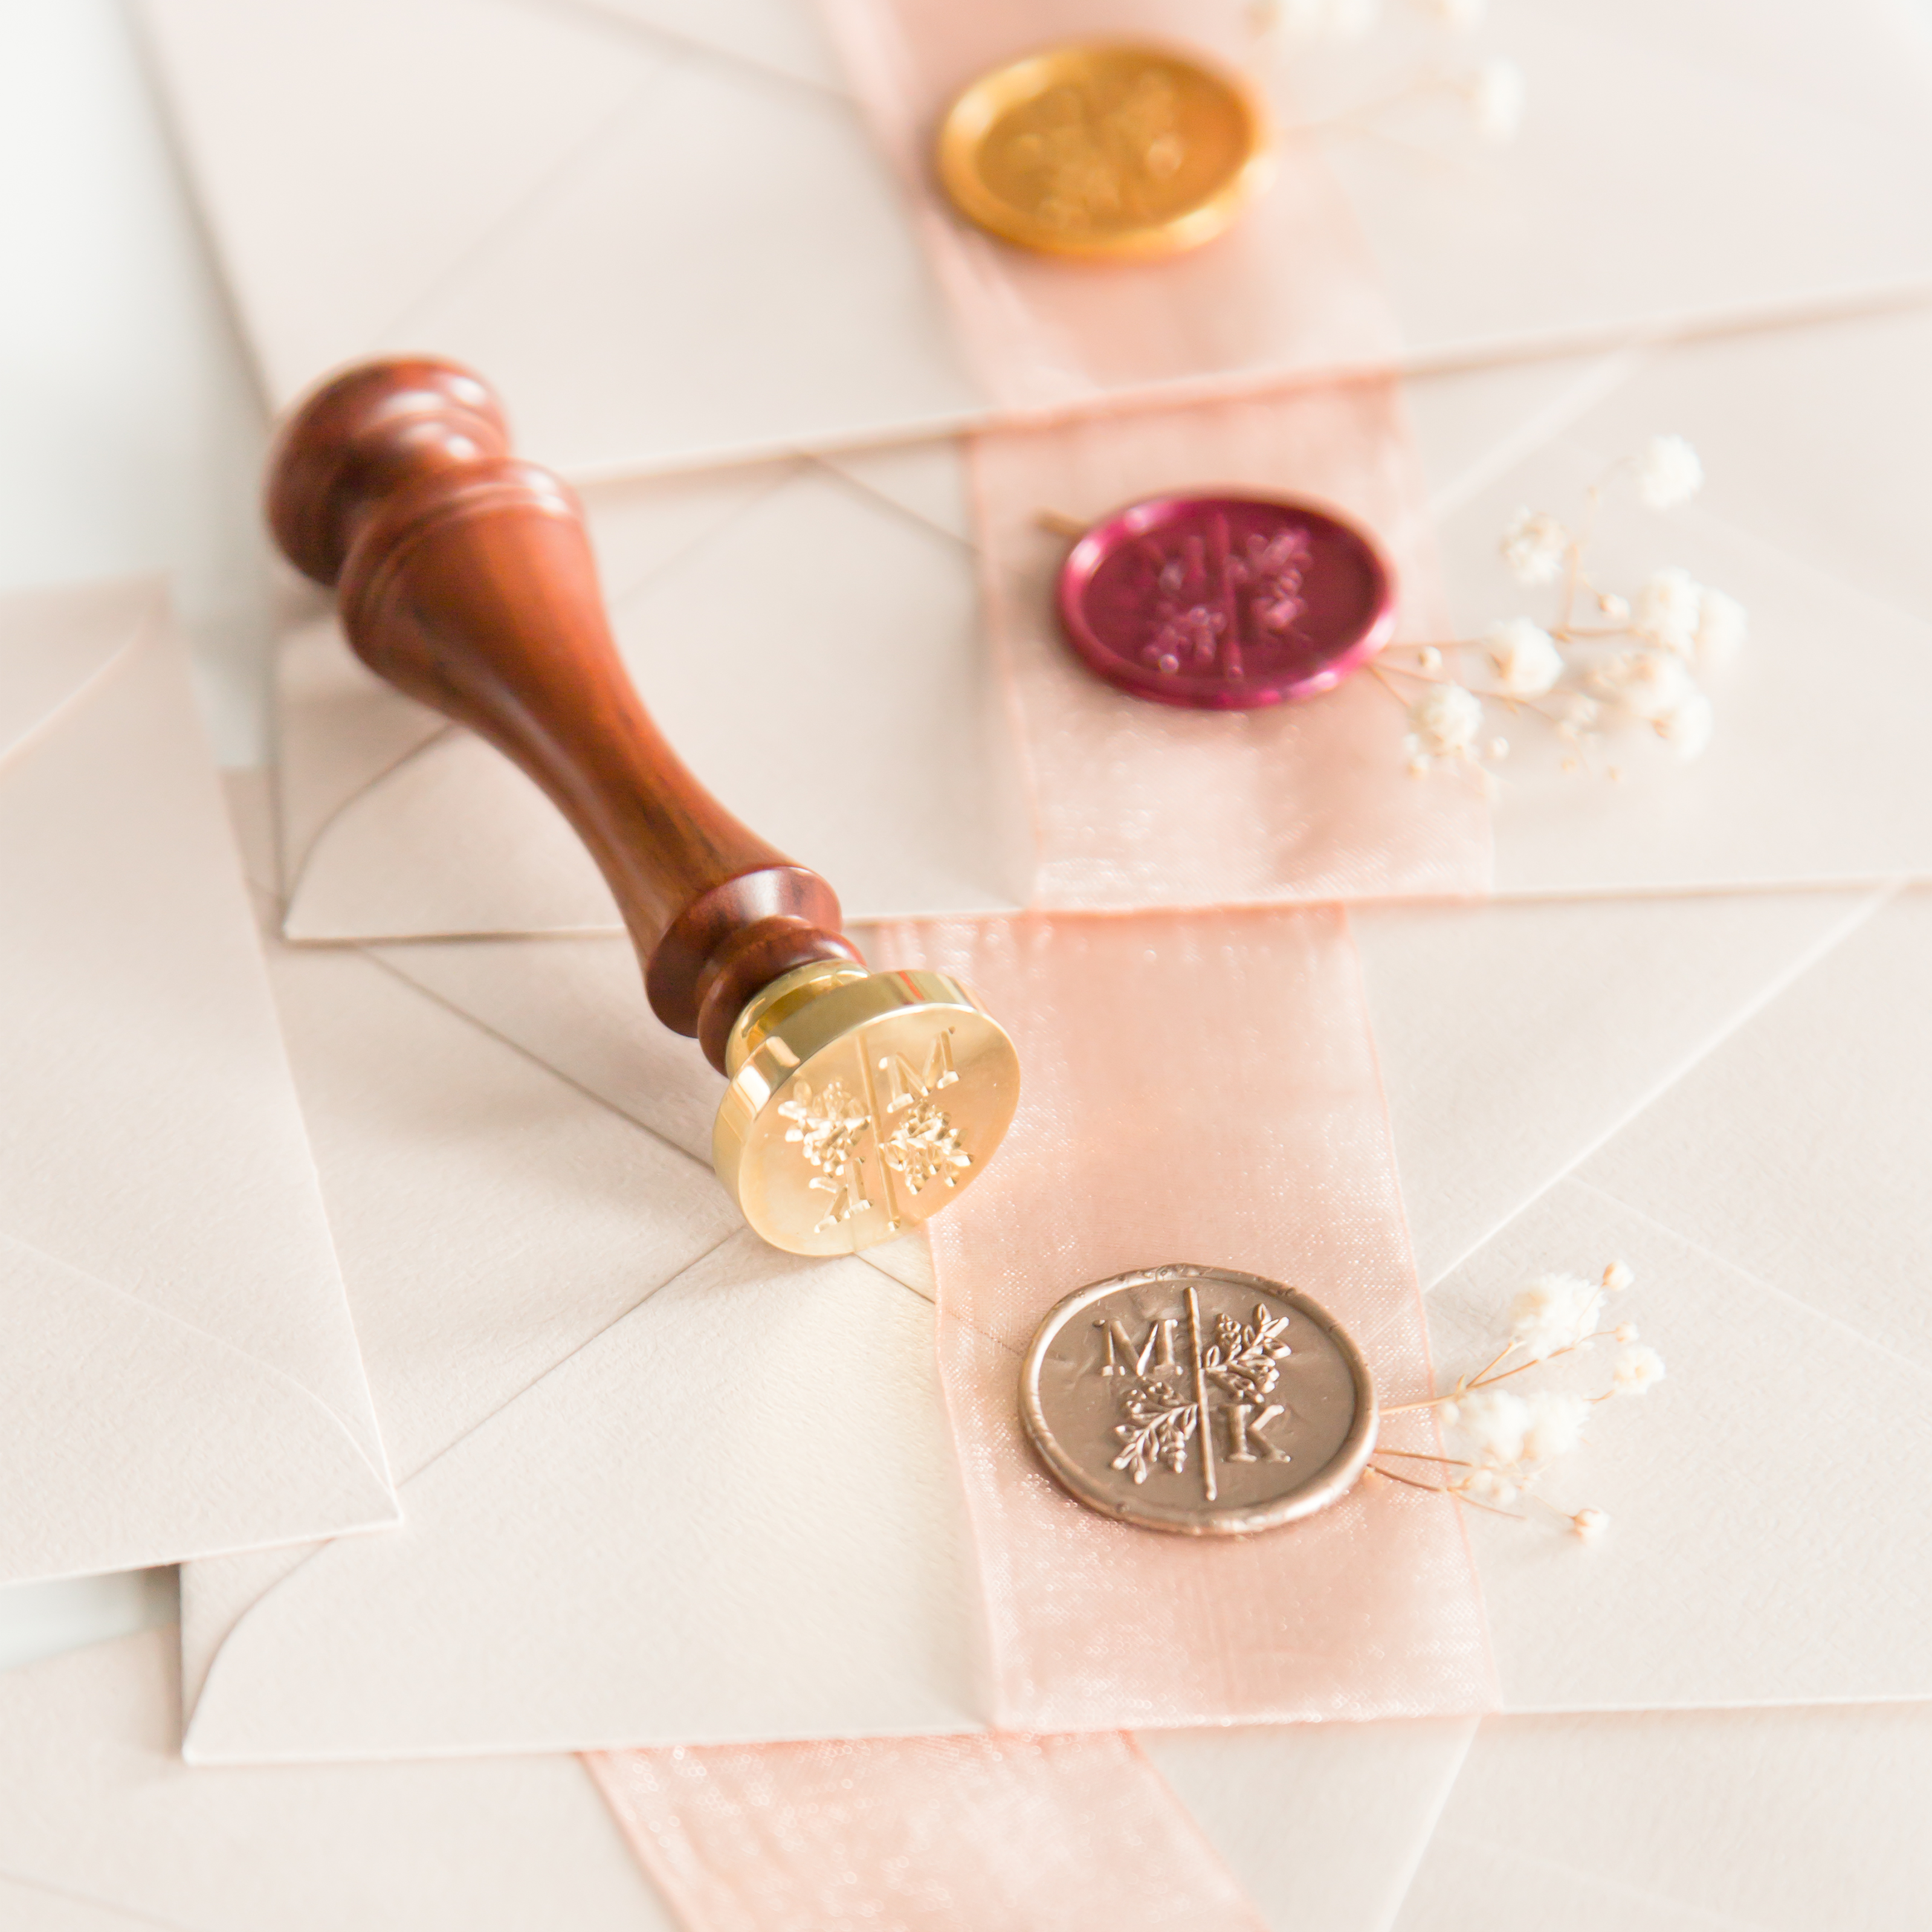
Option 2: making wax seals in advance with a sticker
A popular and practical option is to make wax seals in advance and attach them later to your envelope. You can use backing stickers for this.
The main advantage is that you can take your time making multiple seals and only use the best ones. If one doesn’t turn out right, you simply use another. This gives you much more control over the final result.
This method is also often safer for shipping, as you can position the seal perfectly without any time pressure.
This approach works just as well for save the date cards.
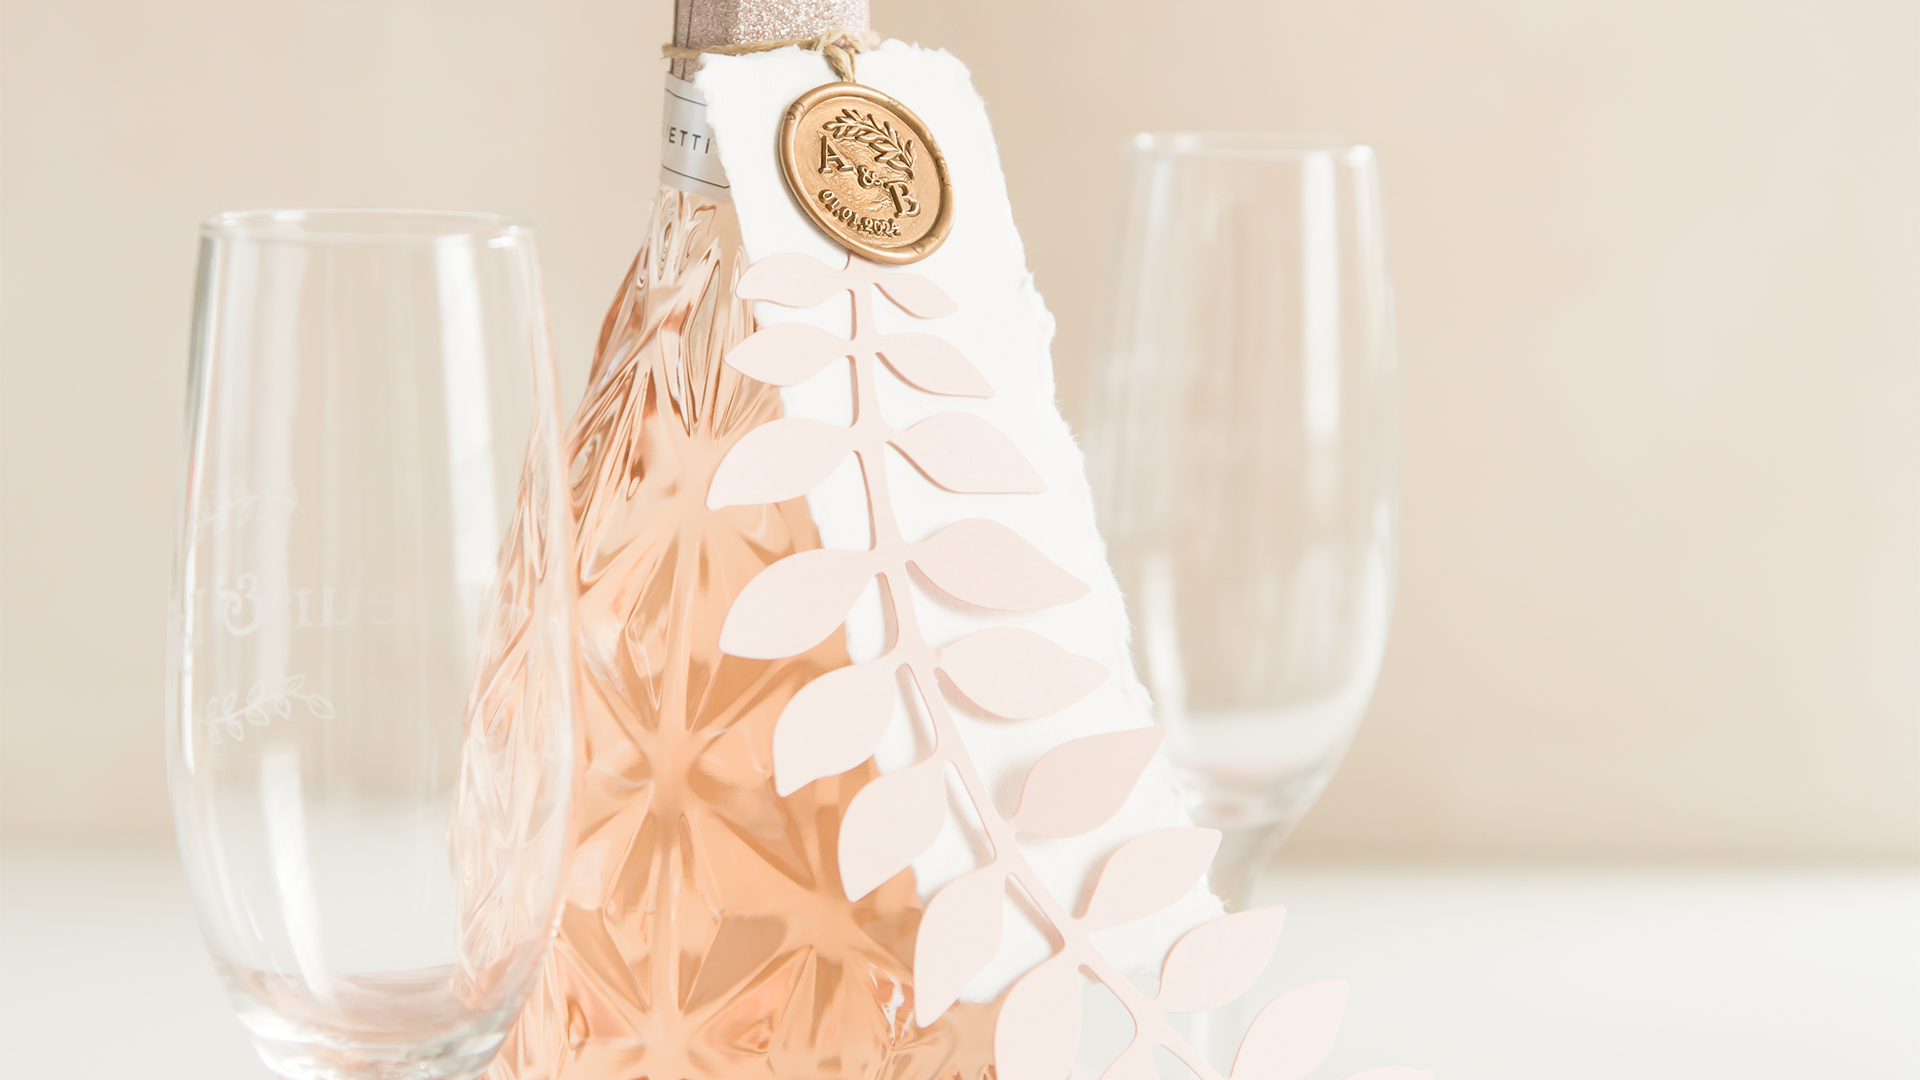
Option 3: placing the wax seal inside the envelope
If you want to be sure your wax seal doesn’t get damaged during shipping, you can place it inside the envelope instead of on the outside.
This can be done either with a directly poured seal or a pre-made seal attached with a sticker. Because the seal is protected inside the envelope, the risk of damage during transport is much lower.
This is an ideal option if you want to combine safety with a beautiful presentation when the invitation is opened.
How to protect a wax seal during shipping
Protecting your wax seal during shipping is essential. Fortunately, there are several simple ways to reduce the risk of damage.
Start by using sturdy envelopes that do not bend easily. You can also consider sending your mail as non-machine sorted, so it doesn’t go through sorting machines that may apply pressure to the seal.
Adding an extra layer of protection can also help. Think of a second envelope, protective paper or padding for more elaborate invitations.
If you are using a personalised wedding stamp or a custom wax stamp design, you naturally want every detail to remain perfectly visible when it arrives.
Step-by-step: sending an invitation with a wax seal
To make it as easy as possible, here is a simple step-by-step guide.
- Choose the right wax seal and colour for your invitation
- Decide whether to apply the seal directly or prepare it separately
- Test one first to check the look and durability
- Use sturdy envelopes for extra protection
- Add an extra protective layer if needed
- Consider non-machine sorting for shipping
- Send a test invitation to yourself
By following these steps, you can make sure your invitations not only look beautiful but also arrive in perfect condition.
The wax seal expert in the Netherlands
JessyAtSea has years of experience in designing and working with wax seals for weddings and invitations. From choosing the right stamp to advising on shipping, we are here to help every step of the way.
With thousands of satisfied customers, a wide range of designs and fast delivery, you can trust JessyAtSea to help you create invitations that arrive safely, exactly as you intended.